
==================
Affiliate Statement
Best Baking Tips is supported by our audience. When you purchase through one of our links, we may earn a small affiliate commission. As an Amazon Associate I earn from qualifying purchases. Your cost is not affected.
==================
Shaping Bread Loaves, the Easy Way
Wondering how to form a loaf of bread? Shaping bread loaves need not be difficult. Like so many baking projects, following a few simple steps often guarantees success.
Bread can be formed into any shape you desire. Some bread is best in a traditional loaf pan while others, like sourdough, are nice as a round loaf. Shaping is a personal preference, but there is a basic technique for forming the traditional rectangular loaf of bread.
If you are a beginning bread baker, use this guide to take you through the process step by step. It is perfect for simple white and wheat bread recipes and the baked loaf is easy to cut up into sandwich-worthy slices.
You will need a clean counter, rolling mat or board, rolling pin, bread pan, bread dough, flour, and butter or cooking spray.
Roll Out the Bread Dough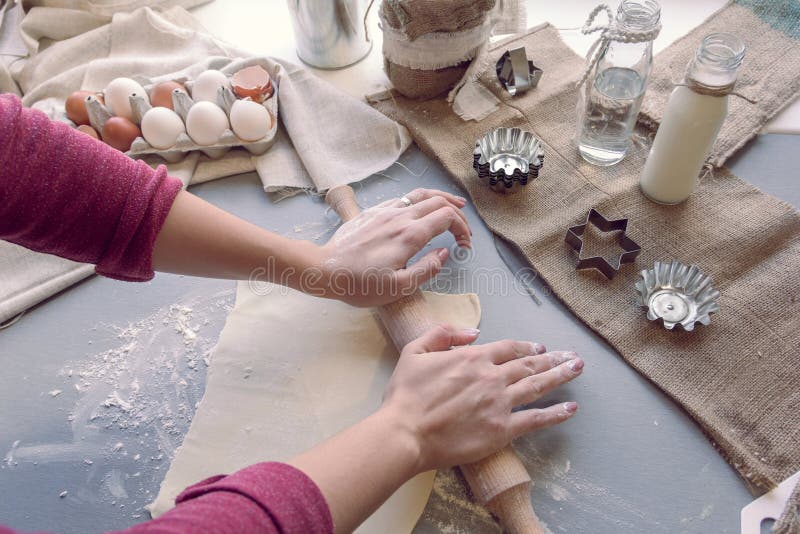
Your bread dough rose nicely on the first rise. It’s at least double the original size with a nice, smooth finish.
Time to get out the rolling pin and flour. Lightly dust the board or mat with flour. Add a bit of flour to your hands and the rolling pin, too. Your dough may still be a little sticky and without the dusting of flour, will be less manageable. In fact, add a little more flour as you roll, if you find the dough is sticking.
Use your rolling pin to gently roll the dough into a rectangle. While we want a bit of stretch at this point, it’s not necessary to roll it out too thinly. In fact, it will make more work for you.
Roll Up the Dough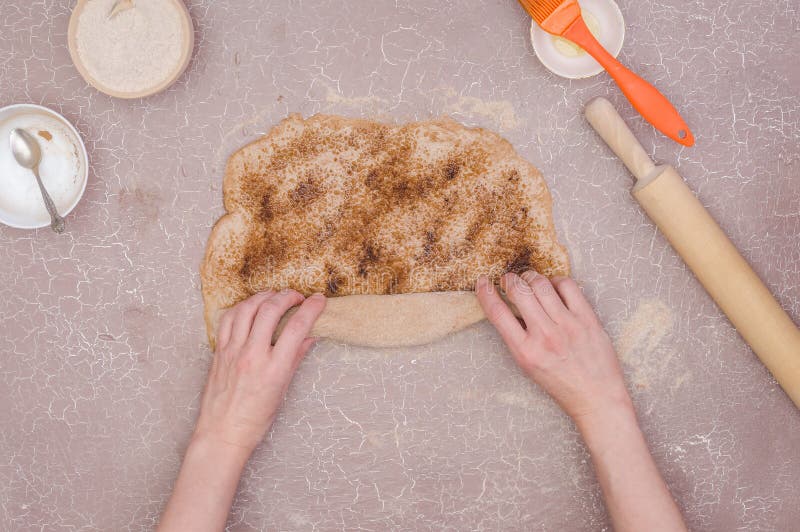
Now we’ll begin to learn how to form a loaf of bread. Your rectangle is the base.
Starting with one of the long sides, pick up the dough. You want to roll your dough in a jelly-roll fashion. Now you have a long, loaf-like shape that resembles a log.
Pinch the Seam
Notice the seam that is formed at the end of the roll. If left as is, it may open during the final rise or baking. To avoid this, pinch along the seam with your fingers to close it. I find it helpful to wet the seam with a bit of water. This helps the dough stick together, forming a tight seam.
Bring the Ends Over
Your dough looks almost like a loaf now. However, you need to complete the form by folding the ends. If you skip this step, your loaf may split open while baking.
But, this step is easy. In fact, it’s similar to the seam from the roll that you just sealed. Fold one end of the bread over the seam. Use a little water and pinch it closed, just as with the seam, itself.
Final Shaping of the Loaf
Now it looks like a loaf of bread. And it is. But it might not be the right size for your bread pan. To finish the shaping, roll the dough over so the seam is on the bottom. Now, finish shaping by pushing on the ends. When it is about right for your bread pan, it’s ready for the final rise.
Place the Loaf in a Pan
You have already prepared the pan with butter, shortening, or spay. Place the shaped loaf into the prepared pan. Cover with a clean towel. Let it rise until it is about double in size, or according to the recipe you are using. This usually takes about 30-40 minutes, depending on the temperature of your room. Bake according to the recipe directions.
Why do some recipes recommend cornmeal in the pan?
Cornmeal offers a bit more texture to the crust. Pizza recipes often use it for that reason.
However, it also helps to prevent the dough from sticking to the pan. For this reason, bakers sometimes use it in the bread pan after greasing the pan. It’s extra insurance against sticking. Use the method if you choose. I don’t find I need it, but it does no harm if you choose to use it.
Is Cornmeal the same as Corn flour?
What If You Don’t Use a Bread Pan
For the everyday loaves of bread that we use for sandwiches and toasting, I prefer to use standard loaf pans. These pans keep the bread in the shape you see in most store-bought loaves of bread. The sides of the pan keep the bread dough in the desired loaf shape during the final rise and baking.
However, some people choose to bake on a cookie sheet or even on a pizza stone. (I use these for certain loaves of bread, too–more on that in future recipes)
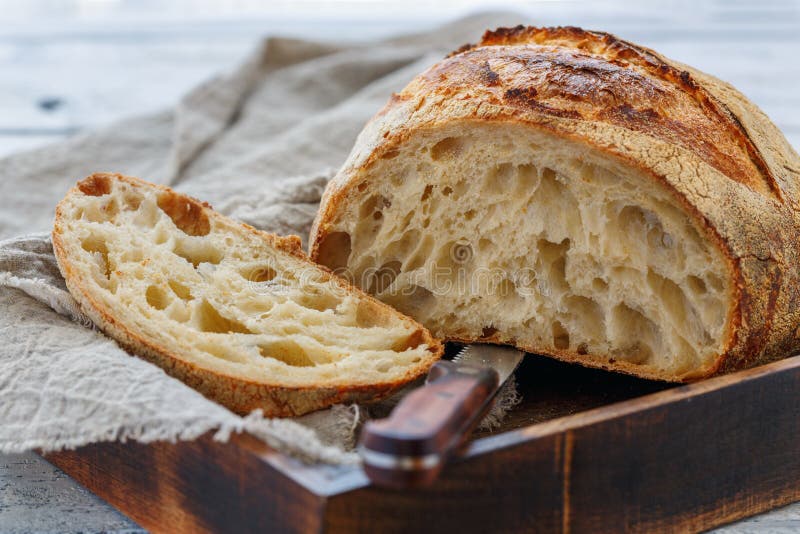
If you want to use the baking sheet or pizza stone for regular bread, you may still shape the loaf in the way described above. The resulting bread will be spread out a bit more. In fact, it will have an oval shape similar to artisan bread.
Indeed, when you cut the slices of this artisan-style bread, you note that the slices are smaller and not the typical rectangular shape. However, they hold up well for your dinner side dish. And they make nice little sandwiches. We also enjoy them with pasta meals as they resemble bruschetta.
Read More:


Thank you, Diane. Even though I’ve baked bread many times, the loaves always seem to be oddly shaped. I’m just not careful enough and don’t have the right technique. I can’t wait to see how they’ll look after taking your advice.
It seems like a simple thing to describe but it makes such a difference to help you have pride in your finished product.
Love your website!
Thanks, Kerry. I’m glad you enjoyed reading. Please let me know how the technique works for you!