==================
Affiliate Statement
Best Baking Tips is supported by our audience. When you purchase through one of our links, we may earn a small affiliate commission. As an Amazon Associate I earn from qualifying purchases. Your cost is not affected.
==================
Making the perfect sourdough bread might initially seem intimidating, but trust me, it’s achievable with a little practice and the right approach. Sourdough is unlike any other bread—it’s made with wild yeast and bacteria, giving it a rich, tangy flavor and that signature chewy texture we all love. While the ingredients are simple—just flour, water, salt, and a starter—the technique makes all the difference, and I’m here to walk you through it.
I’ll show you everything you need to know in this guide, from getting your sourdough starter to the perfect scoring and baking technique. Whether you’re just starting or looking to perfect your loaves, you’ll find all the tips, tricks, and troubleshooting advice you need to bake a golden, crusty loaf with a soft, airy interior. So, let’s get started and turn your kitchen into a sourdough paradise!
Mastering the Art of Sourdough: A Step-by-Step Guide to Perfect Loaf
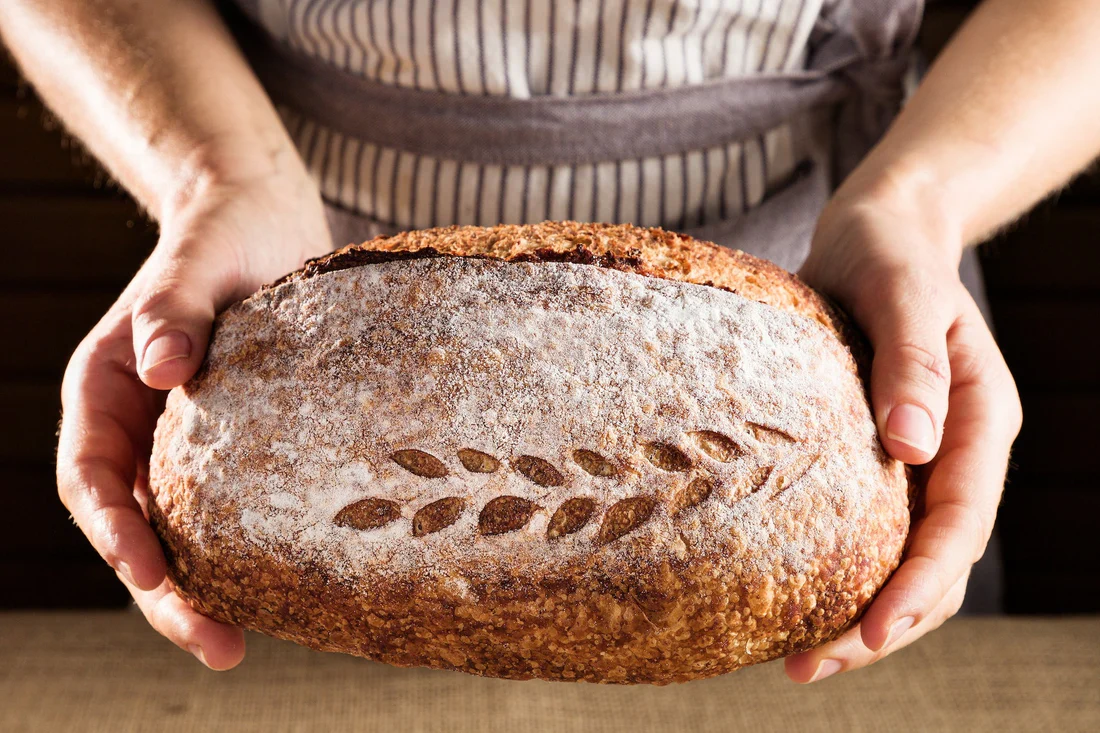
Sourdough bread has this magical appeal, doesn’t it? There’s something deeply satisfying about crafting a loaf of bread from scratch, using a tradition that dates back centuries. The smell of fresh bread baking in your oven is one of those experiences that hits you right in the feels.
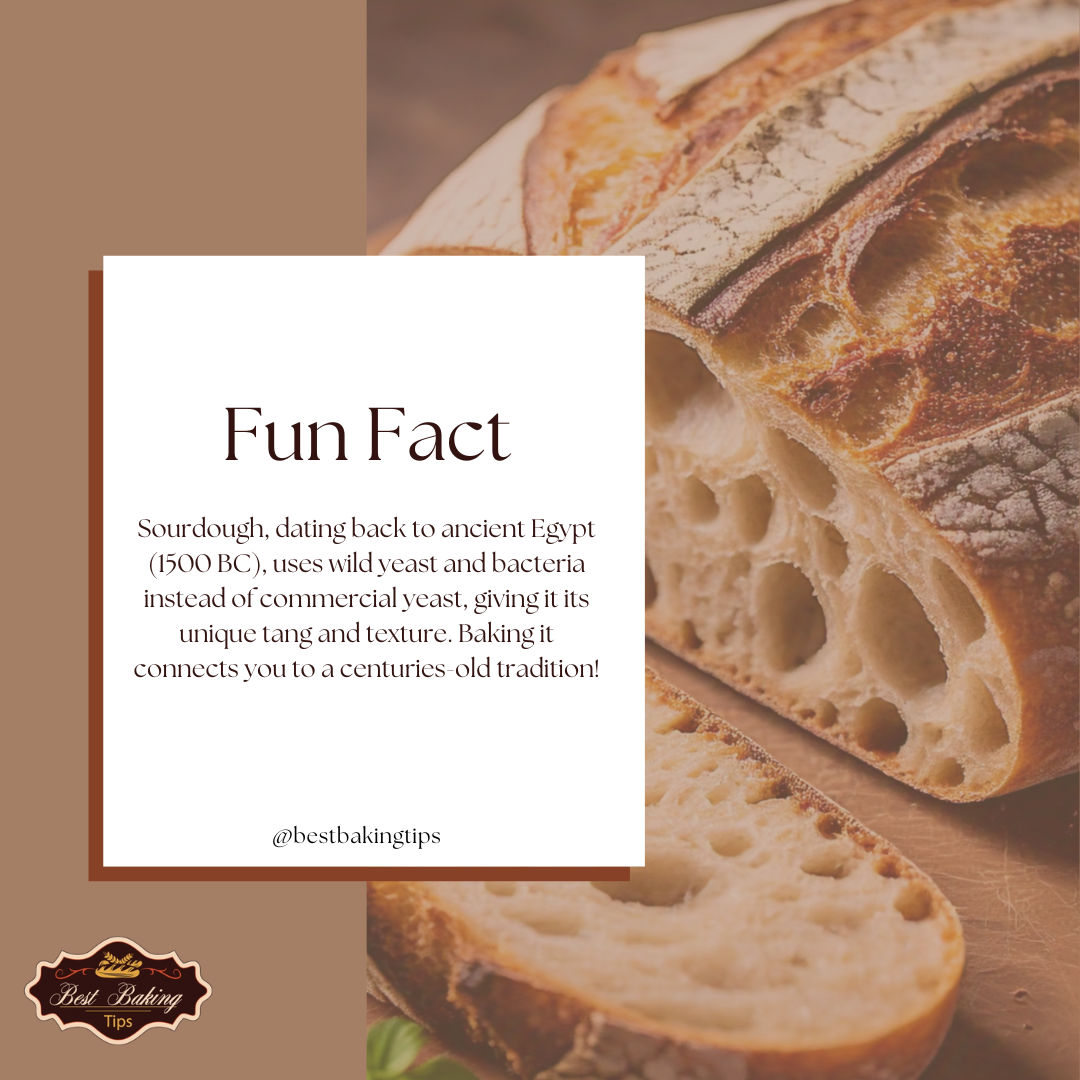
This humble loaf is like a window into history, connected to cultures around the world. Sourdough’s origins trace back to ancient Egypt, which has played a crucial role in feeding civilizations. It’s not just bread; it’s history that you can eat.
And for those health-conscious folks, sourdough is a win, too! This isn’t your average grocery store bread. Sourdough is packed with lactic acid bacteria, which can make it easier to digest. It generally has a lower glycemic index, making it less likely to spike blood sugar. Those friendly acids can help break down gluten, making it easier on some stomachs.
Whether you want to dive into a culinary adventure or savor some delicious, homemade goodness, sourdough is a craft worth exploring. I’m here to guide you through each step, turning what seems daunting into something utterly doable. So, let’s dust off those aprons and get ready to stretch your baking muscles.
Key Highlights: How to Make Perfect Sourdough Bread
- Maintaining a strong, active sourdough starter is key to a successful loaf. Feeding it with equal parts flour and water creates the wild yeast and bacteria needed for fermentation, helping your dough rise with a rich, tangy flavor.
- Developing gluten through kneading or the gentler stretching and folding method gives your dough structure, resulting in a chewy and airy texture once baked. Proper technique ensures your dough is smooth and elastic, leading to a well-risen loaf.
- Fermentation is where the magic happens, developing the flavors and texture of your bread. Pay attention to both primary and secondary fermentation stages, adjusting for temperature to ensure your dough rises slowly and evenly for the perfect crumb.
- Shaping your dough into a round boule or oval batard loaves is crucial for achieving the right rise. Using a banneton helps maintain shape and adds beautiful spirals to your bread, while gentle handling preserves the air pockets you’ve worked hard to develop.
- Baking sourdough in a pre-heated Dutch oven creates a steamy environment, ensuring your bread expands properly and forms a golden, crispy crust. Score the top before baking to control how the bread rises and expands, giving it that artisanal finish.
Gathering Your Ingredients and Tools
Starting with the right ingredients and tools sets you on the path to sourdough greatness. Sure, sourdough needs a bit more than opening a pack of pre-made dough, but trust me, getting the right things together is pure joy and plays a big role in your bread’s success.
Basics Ingredients
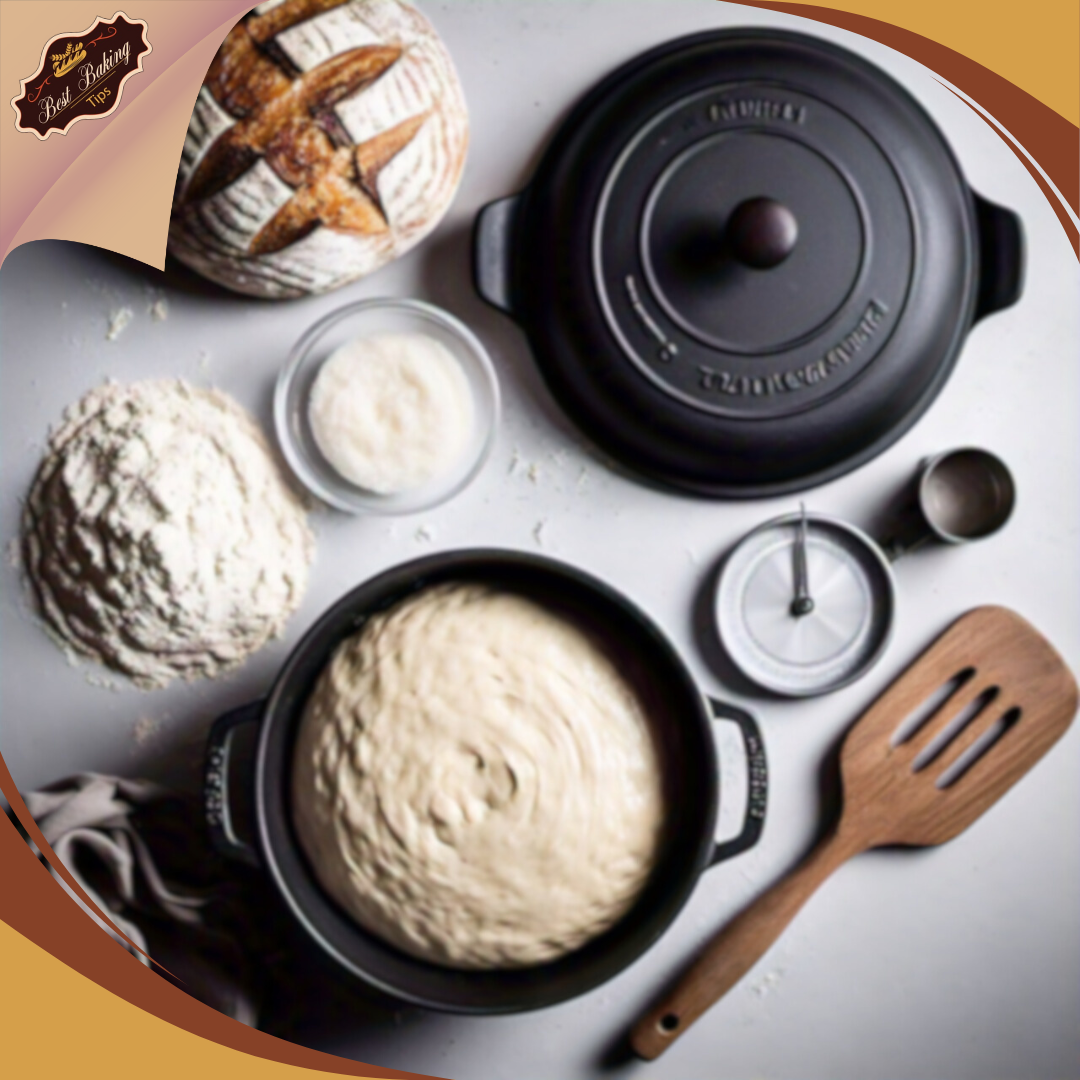
First, let’s talk about ingredients. You really just need a handful of basics: flour, water, salt, and your sourdough starter. Choosing good-quality flour is key to making a perfect sourdough bread. Bread flour with a high protein content will give your loaf the structure it needs.
All-purpose flour can also work, especially if you’re after a lighter texture. But always look for freshness—this isn’t the place to cut corners. And don’t forget non-chlorinated water; it keeps your friendly starter bacteria happy!
Salts
Salt might seem small, but it packs a punch when it comes to flavor. Go for something like sea salt or kosher salt to make your bread taste pop. And, of course, your sourdough starter is the heart and soul of the operation. The yeast and bacteria mix will help your bread rise and develop its unique sour taste. More about that little critter later, though.
Essential Baking Tools
When it comes to tools, a few essentials will make your baking life way easier. A Dutch oven is kind of the holy grail for baking at home since it traps steam to mimic a professional bakery’s bread oven.
You’ll also need a banneton, the fancy basket that helps your dough keep shape during proofing. And then there’s the bread lame. It’s a sharp blade for scoring your dough—essential for those dramatic bread ears and for controlling your loaf’s expansion in the oven.
Getting the right stuff might seem like a bit of investment, but think of them as the teammates that help you score that perfect bread. With these ingredients and tools ready, you’re on solid ground to start your sourdough journey.
Sourdough Bread: Understanding Sourdough Starters
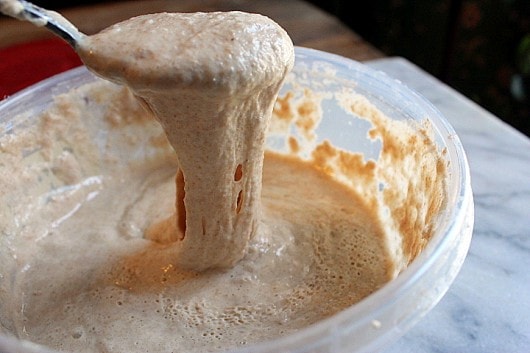
Alright, so we’ve got our ingredients and tools sorted out. Next up, we’ve got to chat about the sourdough starter—a living, breathing blend of wild yeast and bacteria. This is your natural leavening agent, and it’s what gives sourdough its distinctive flavor and texture.
Mix Well
Starting your sourdough starter can feel like adopting a pet. You’ve got a jar of life that needs attention and care. But don’t sweat it—getting it going is easier than it sounds. You’ll mix equal parts of flour and water, let it sit, and repeat until it bubbles with activity, usually over five to seven days.
Add Fresh Flour and Water
Keeping a starter healthy means feeding it regularly. By adding fresh flour and water, you’ll need to ‘refresh’ your starter—that’s baker speak for feeding. This process not only keeps it active but also balances the flavors. Remember, its environment impacts its behavior, so pay attention to your kitchen’s temperature. A warmer spot speeds up fermentation, while cooler areas slow it down.
Think of your starter as your bread’s muscle. When it’s strong, it raises a loaf like a pro. A weak starter might leave you with dense bread and a sad face. So, ensure you’re looking out for those bubbles and a pleasant sour aroma, signs of a happy little culture.
Trust me, once you get a grip on maintaining a starter, you’ll feel like a pro-home baker. It’s like having a reliable old friend in your fridge—always ready to help you whip up some artisan-level bread.
Mastering the Art of Dough Kneading and Folding
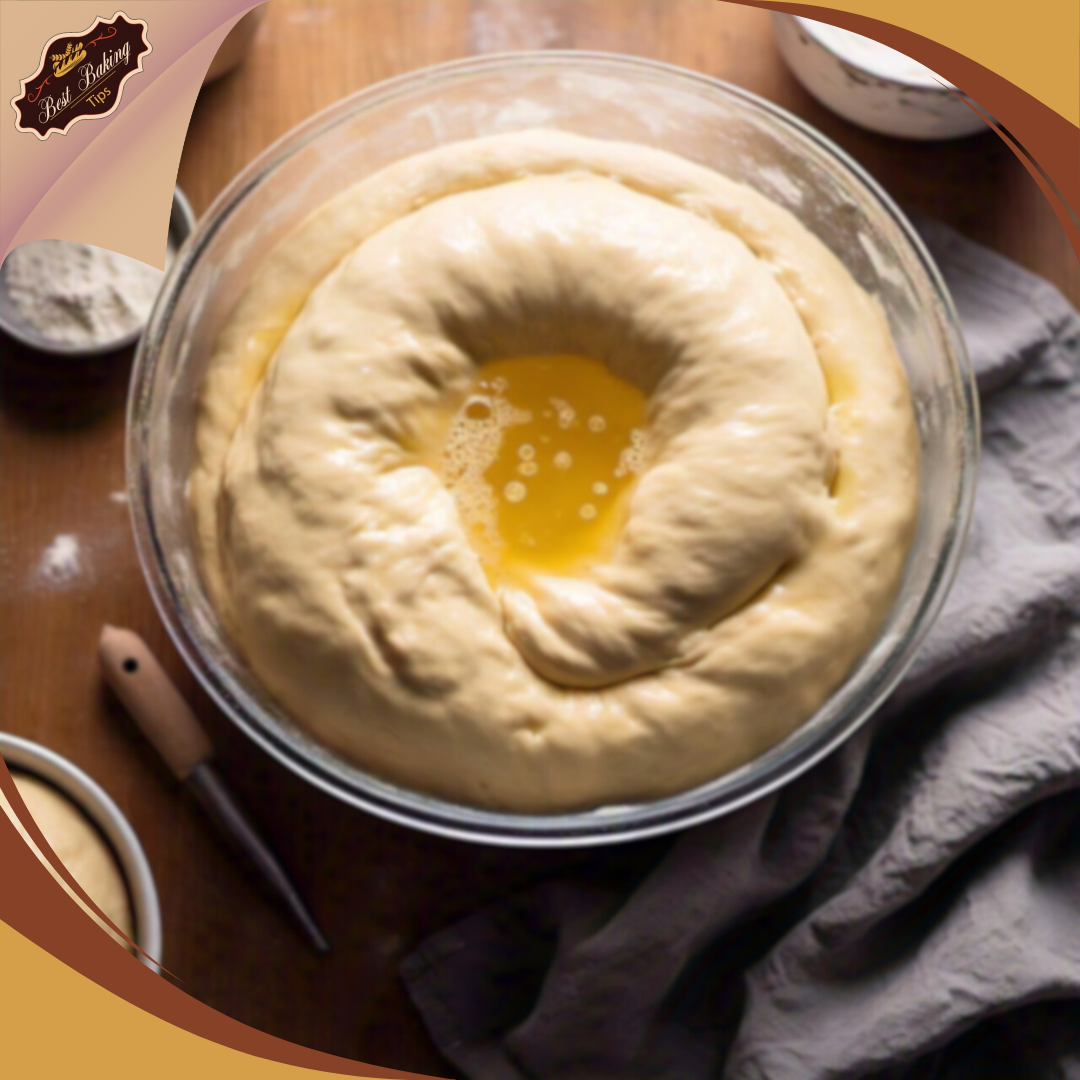
Now that your starter is all bubbly and happy, the next thing to focus on is your dough. Here’s where kneading and folding come into play, shaping that dough into something wonderful: sourdough bread.
Developing Gluten
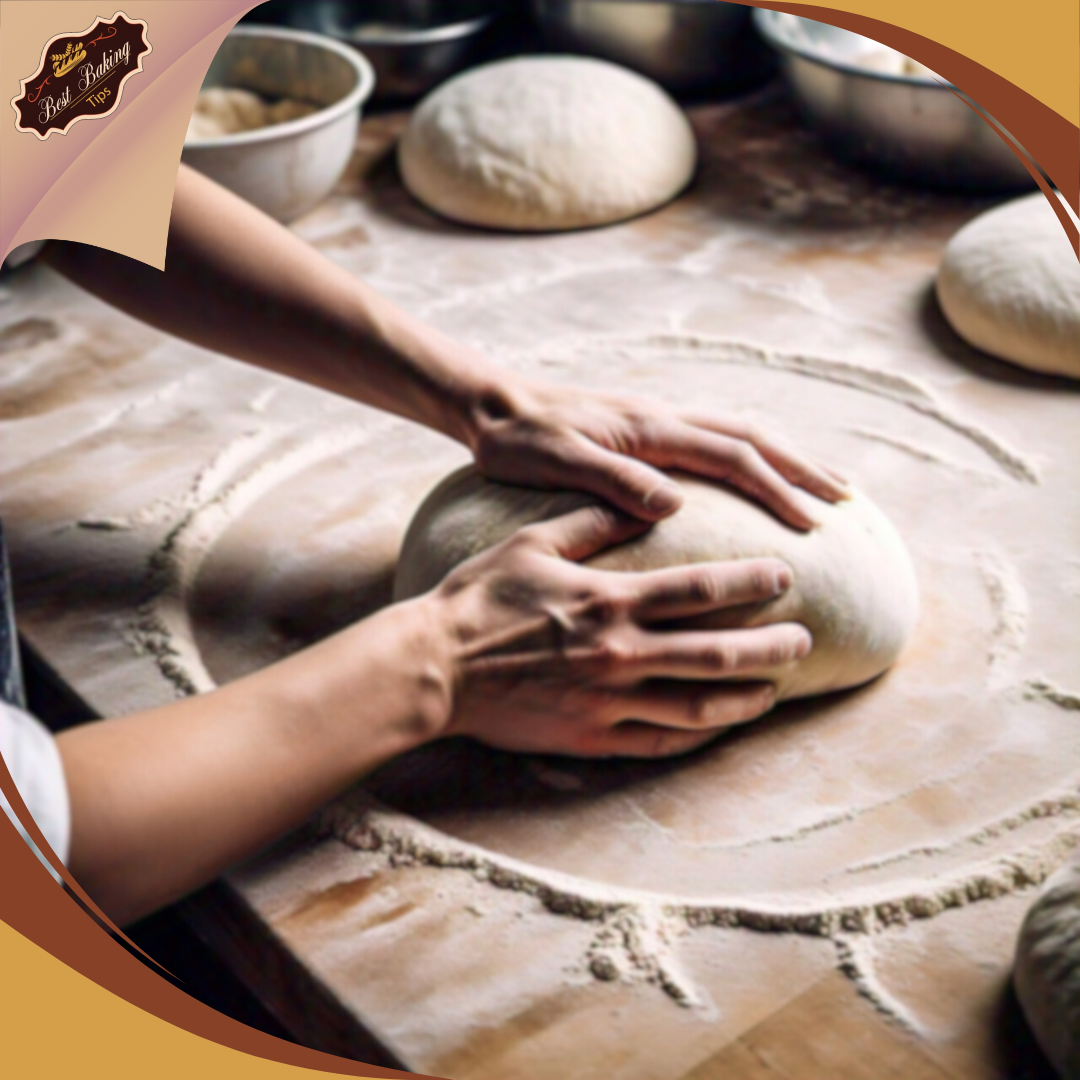
Kneading is all about developing gluten, which gives structure and chewiness to your bread. Think of gluten as the stretchy network that traps gases released by the yeast, helping your bread rise right. Traditional kneading involves pressing, folding, and turning the dough, which can be a bit of a workout—but fun!
Technique
Many bakers today are going for a gentler approach with stretching and folding, especially with wetter doughs. This technique is less about brute force and more about rhythm. You’ll lift, stretch, and fold the dough onto itself. This method helps develop gluten without tiring your arms out.
You want to get to the point where your dough is smooth and elastic. A simple test is to stretch a small piece—if it forms a ‘windowpane’ without tearing, you’re golden. It means the gluten has developed nicely and is ready to trap those tiny bubbles that make bread light and airy.
Don’t rush this step. It’s your chance to connect with the dough and tune into its texture and elasticity. With each turn, you’ll feel it transform, getting stronger and more cohesive. By the end, you’ll have dough ready for the occasion; what a perfect sourdough bread!
So roll up your sleeves and get hands-on. Feel the dough change under your fingers. This tactile part of bread-making is what makes it so uniquely satisfying.
The Fermentation Process: Patience and Timing
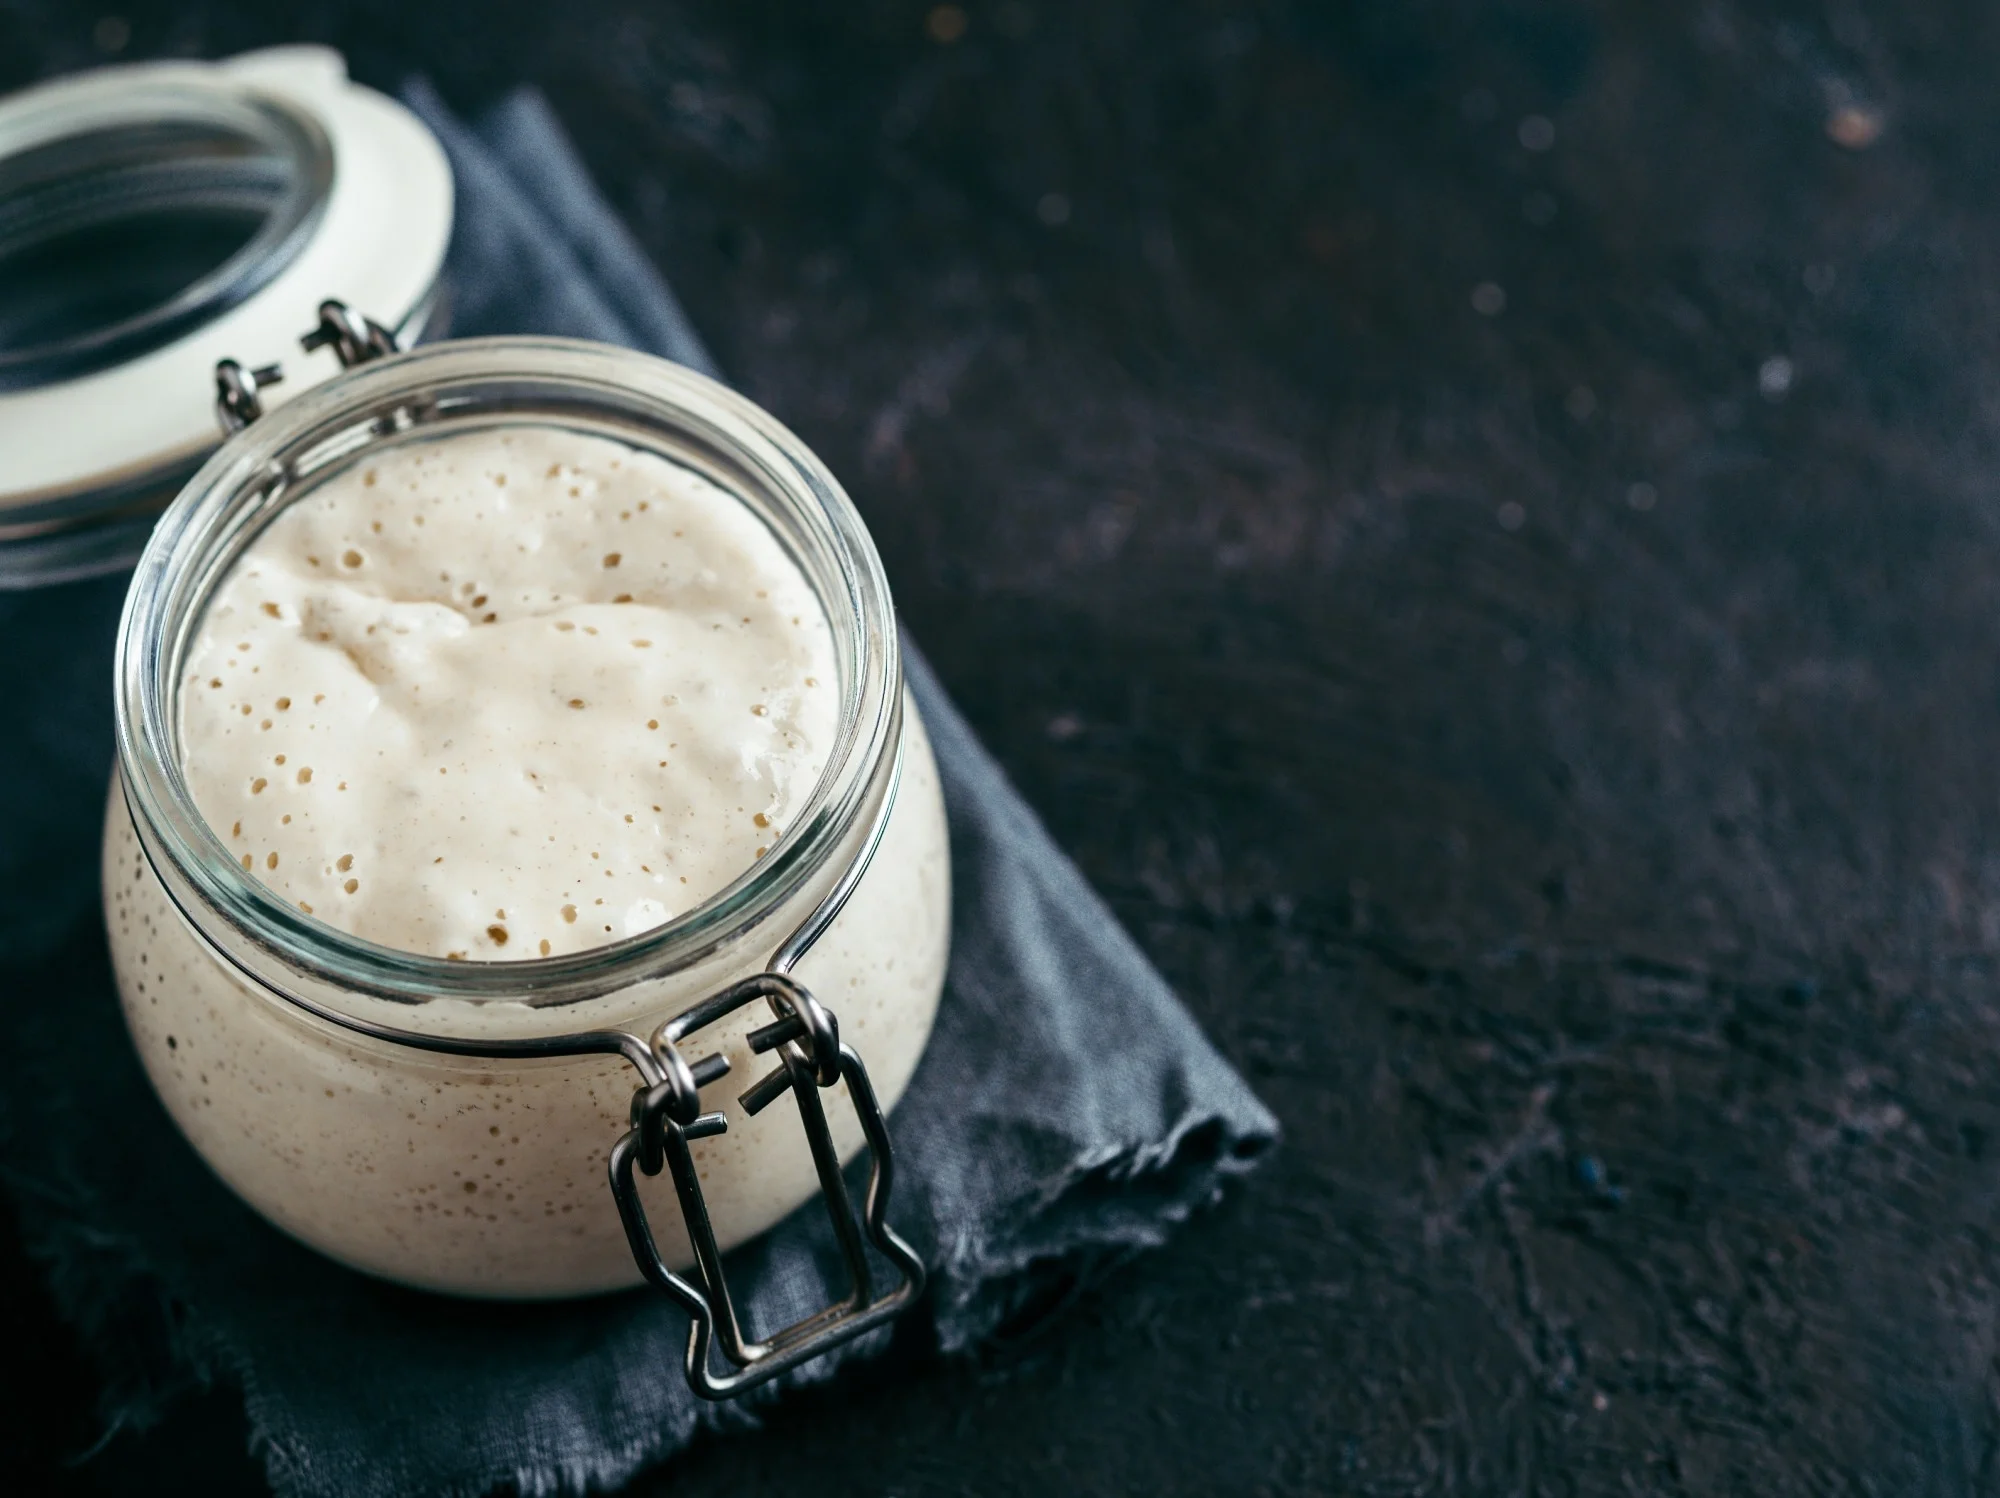
Fermentation is like the secret sauce in sourdough bread making. It’s where all that work you’ve done so far starts to pay off. This step is about letting time do its magic, developing flavor and texture.
Two Fermentation Stages
There are two fermentation stages in sourdough baking: primary and secondary. The primary one is where you let the dough sit after mixing, allowing yeast to feast on sugars in the flour, producing carbon dioxide—the stuff that makes your dough rise.
Temperature
Temperature plays a huge role here. A warmer environment speeds things up, while cooler temps slow the process. You’re aiming for a steady rise and not a quick one; slow and steady wins the race in sourdough. A typical room temp for primary fermentation is around 21 to 24°C (70 to 75°F), but you can adjust based on your kitchen.
It’s key to watch your dough for signs of proper fermentation. Look for dough that’s doubled in size, and you’ll usually see some nice bubbles on the surface and throughout. It’s a moment of balance—not too much or too little. Letting it go too long can over-ferment the dough, making it collapse or taste too sour.
Patience Matters
Patience is a virtue here. This is the time when flavor development breaks through. The wait can be tough but trust the process. Judging when fermentation has hit the sweet spot becomes second nature as you practice.
So give your dough the time it needs. Think of it as a power nap for your bread, waking up refreshed and full of life, ready for the next phase of baking greatness.
Shaping Your Sourdough Bread
Once your dough has had its beauty rest, it’s time to shape. This is where you mold your dough into what it’ll become. Shaping isn’t just cosmetic—it’s about creating tension in the dough’s surface to help it rise and not spread out.
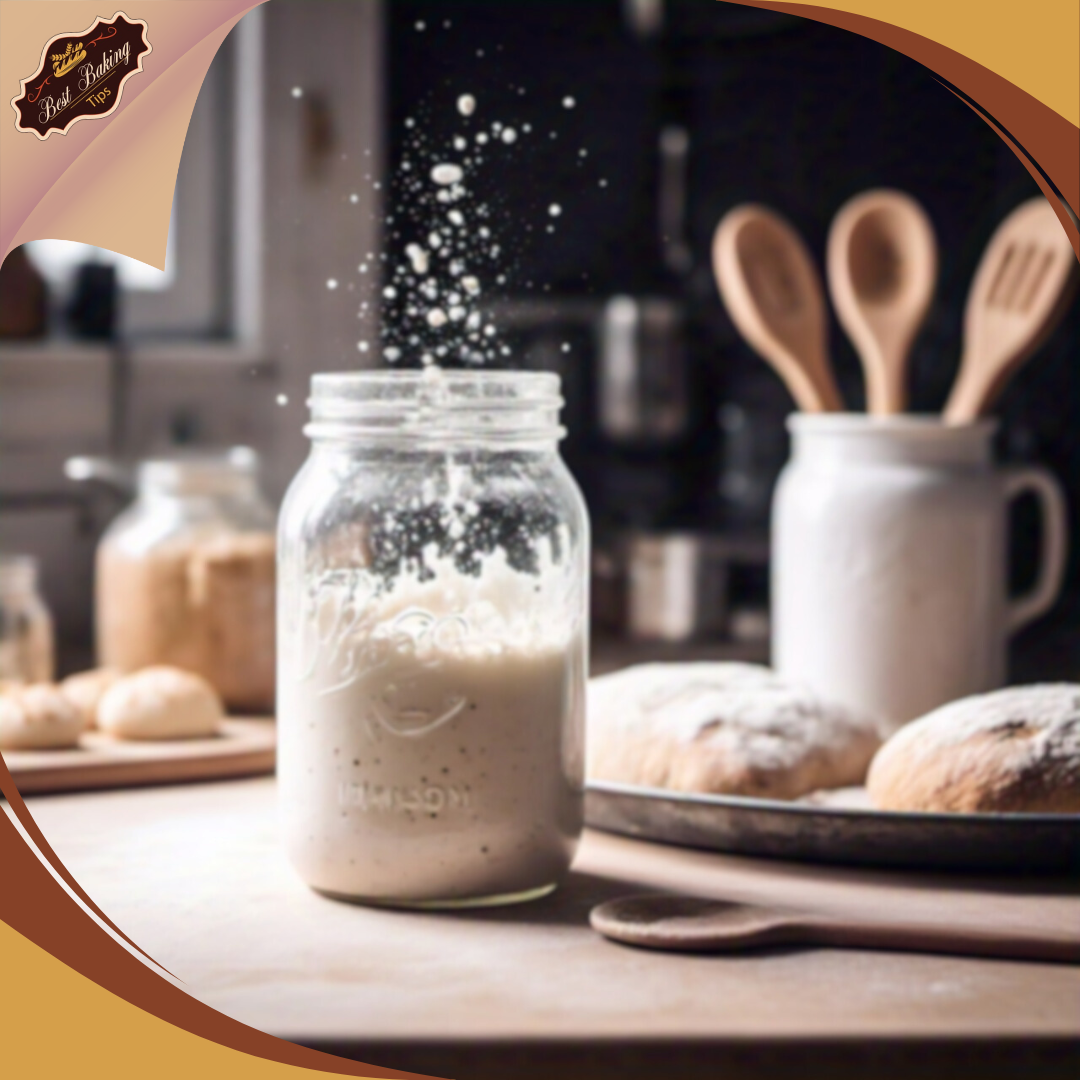
Ways to Shape Your Sourdough Bread
There are all sorts of ways to shape your loaf. The basic round boule is a great place to start. First, you need to lightly flour your work surface to prevent sticking. Gently coax your dough into a rough ball, then fold the edges towards the center, tucking them beneath it. Flip it over and use the tension from your hands to round it out by dragging it slightly across the surface. You’ll feel the dough tighten.
Oval loaves, or batards, are another fantastic option. The process is somewhat similar, but you’ll first shape it into a rough rectangle, then fold and roll it into an oval. It fits easily into bannetons and adds visual variety to your bread game.
Cozy Baskets
Speaking of banneton baskets, using one is like giving your dough a cozy little bed while it proves. It helps maintain shape and can create lovely spiral patterns on your loaf. Dust it well with flour or line it with a cloth sprinkled with rice flour to prevent sticking.
Be Gentle
Be gentle during shaping to avoid pressing out those lovely air pockets you’ve worked so hard to develop. You’re aiming for compactness with the potential to expand as it bakes. Over time, you’ll get the hang of it, creating uniquely yours loaves each time.
From here, your loaf is ready for its final proofing before baking. Mastering shaping takes practice, but remember; each loaf is a new opportunity to learn and refine your technique.
Check out this video where you can learn how to bake the perfect sourdough bread with a step-by-step guide.
By: Natashas Kitchen
Time to Bake: Techniques for Getting a Perfect Crust and Crumb
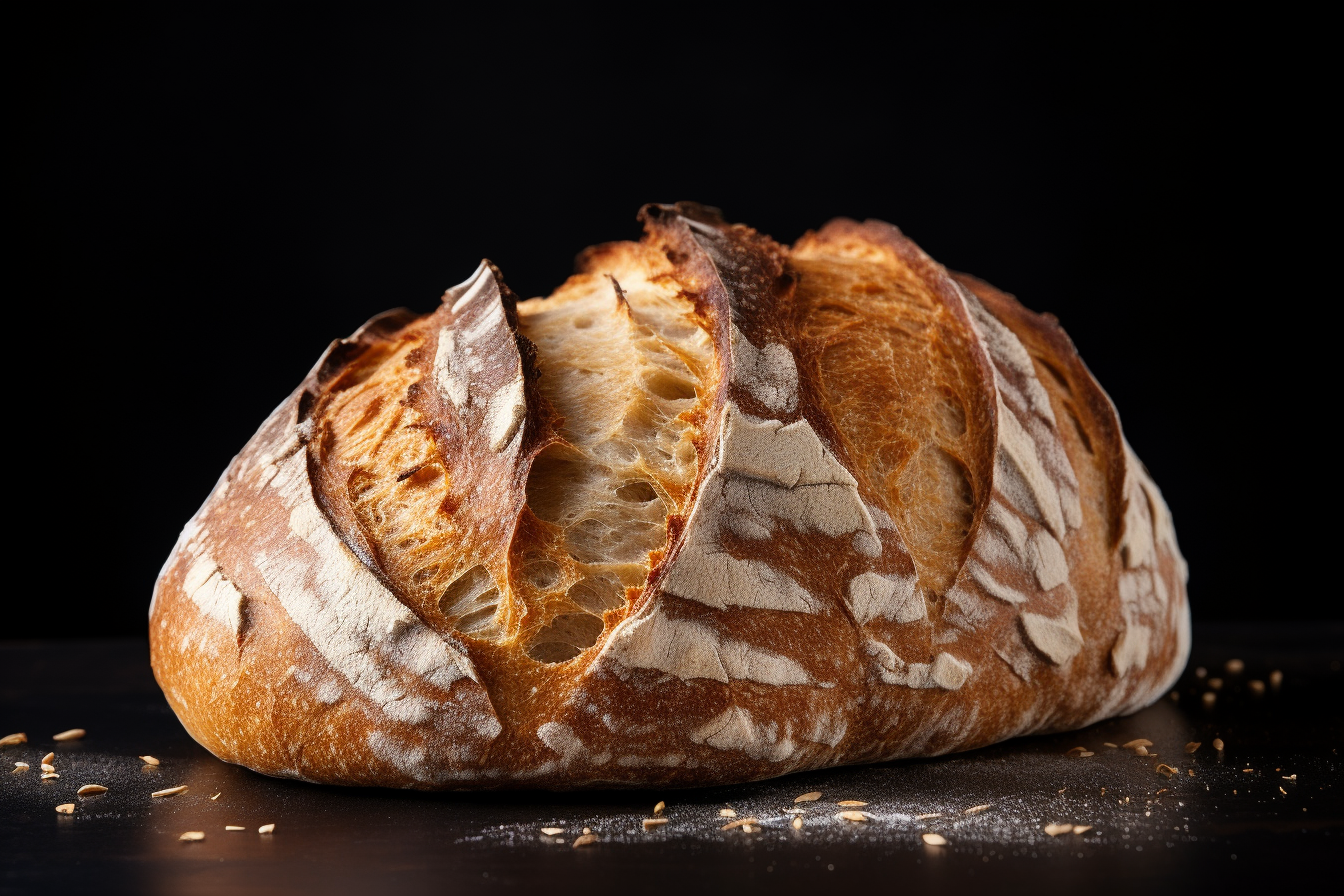
With your dough shaped and proofed, it’s finally time to get baking. This is when all your hard work turns into a glorious loaf. Baking sourdough bread isn’t just about dough development; it’s about creating the conditions in your oven to nail that crust and crumb.
Dutch Oven
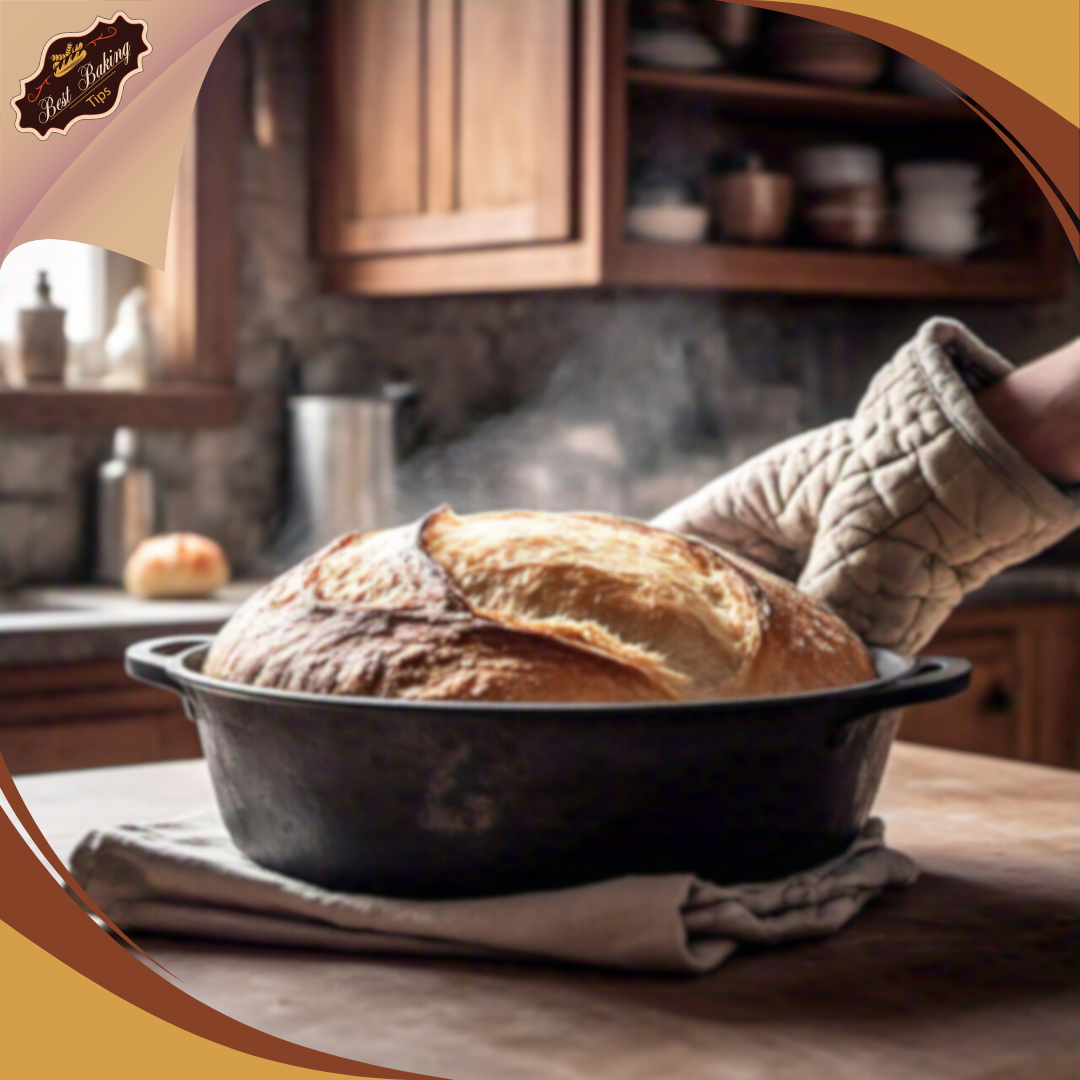
A Dutch oven is your best friend here. It traps steam that’s naturally released by the dough as it bakes. This steam is pivotal—it keeps the surface of the bread moist longer, allowing it to expand properly before the crust sets. If you don’t have a Dutch oven, don’t worry. You can mimic this environment by placing a baking dish with water in the oven to create steam.
Pre-Heat your Oven
Pre-heat your Dutch oven to ensure it’s hot when your dough goes in. Carefully transfer your proofed loaf onto some parchment paper. Scoring the top with a sharp bread lame or knife isn’t just for those artisanal vibes; it controls how your loaf expands during baking by directing the steam. It helps avoid unplanned burst seams and gives your bread that iconic look.
When you’re ready, remove the Dutch oven carefully, place your scored dough inside, cover it with the lid, and pop it back in the oven. Bake initially covered, then uncover it for the last part of the baking to get that golden, crisp crust. The lid helps with steam retention and gives your crust a deep, authentic color.
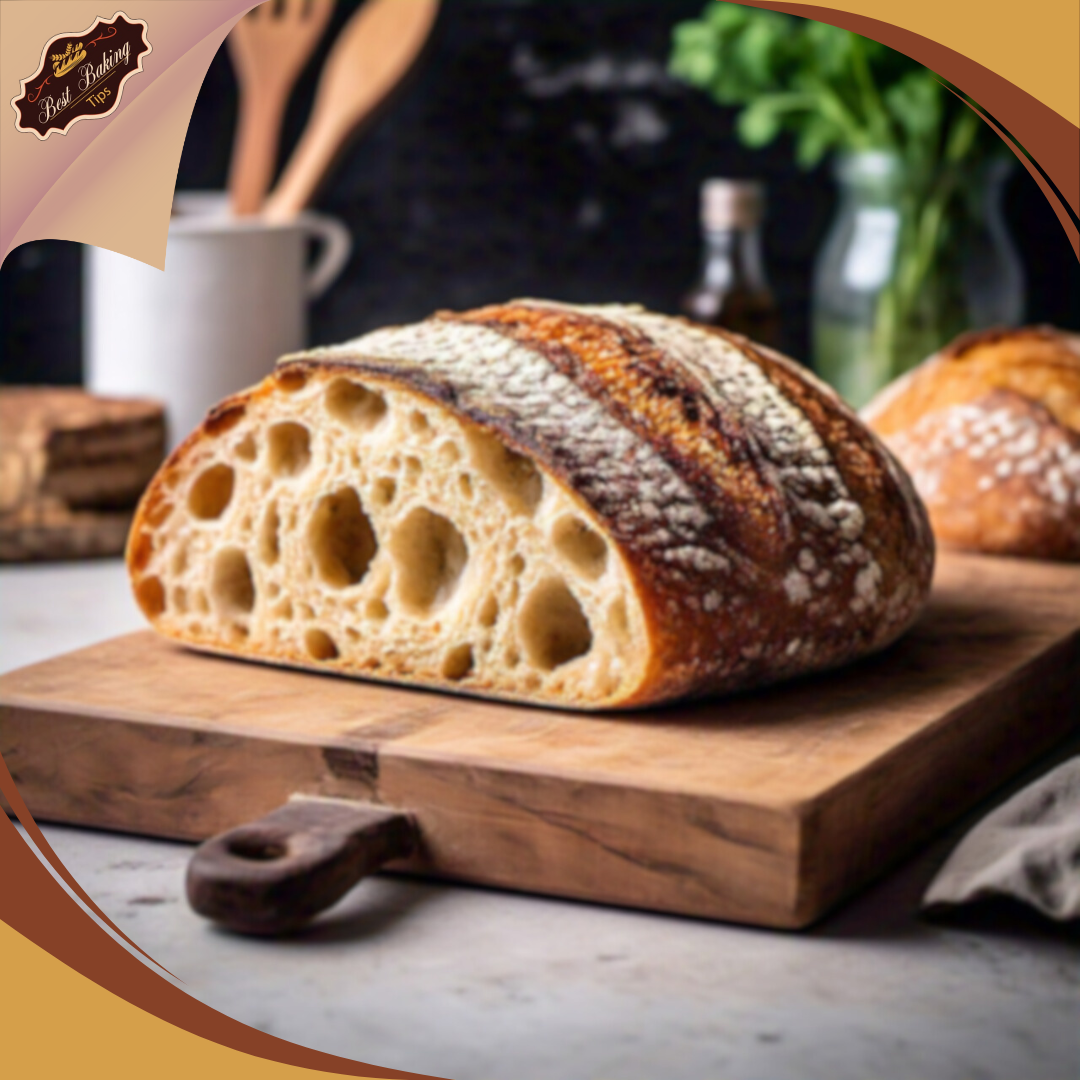
Your kitchen is going to smell incredible as the loaf bakes. Keep an eye on that internal temperature—around 92°C (200°F) is where you want to be to ensure your bread is thoroughly cooked. Baking transforms your dough into a loaf with a crunchy crust and a soft, airy crumb. That crackle when you slice into it is music to any baker’s ears, and the inside should be filled with those lovely, uneven holes that are the hallmark of a well-made sourdough.
Troubleshooting Common Sourdough Problems
Every baker faces a few hiccups, especially when starting with sourdough bread. It’s normal to run into some bumps along the way. The good thing is there’s usually a fix for every issue.
Flat or Dense?
Ever pull out a loaf and find it rather flat or dense? That might be a weak starter or under-proofed dough. Ensure your starter is nice and active, with plenty of bubbles before you bake. As for proofing, it takes practice to get the timing right; your dough should noticeably rise and jiggle delicately when shaken. It’s a bit like learning to read the dough’s mood.
Too Sour
If your bread is too sour, you might have let it ferment too long. A shorter ferment time or a cooler spot for your dough can help balance out those flavors. On the flip side, if you’re not getting enough sour tang, try extending the fermentation period slightly or using a higher ratio of whole-grain flour, which can naturally enhance the sourness.
Sticking
Does your loaf stick to the banneton and tear apart when you try to remove it? Frustrating. Dust your banneton with rice flour, which reduces sticking, or line it with parchment paper until you’re more confident releasing the loaf smoothly.
Uneven Air Holes
Is the crumb structure not quite there? Uneven air holes could mean your dough hydration wasn’t quite right or shaped a little over-enthusiastically. Playing around with the water content or being gentler during shaping can help even things out.
Embrace the Journey: Every Loaf is a Lesson
Your content goes here. Edit or remove this text inline or in the module Content settings. You can also style every aspect of this content in the module Design settings and even apply custom CSS to this text in the module Advanced settings.
Enjoying and Storing Your Homemade Sourdough
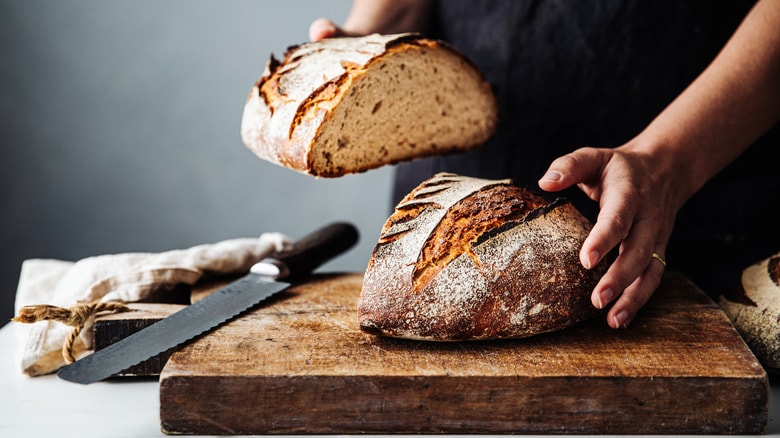
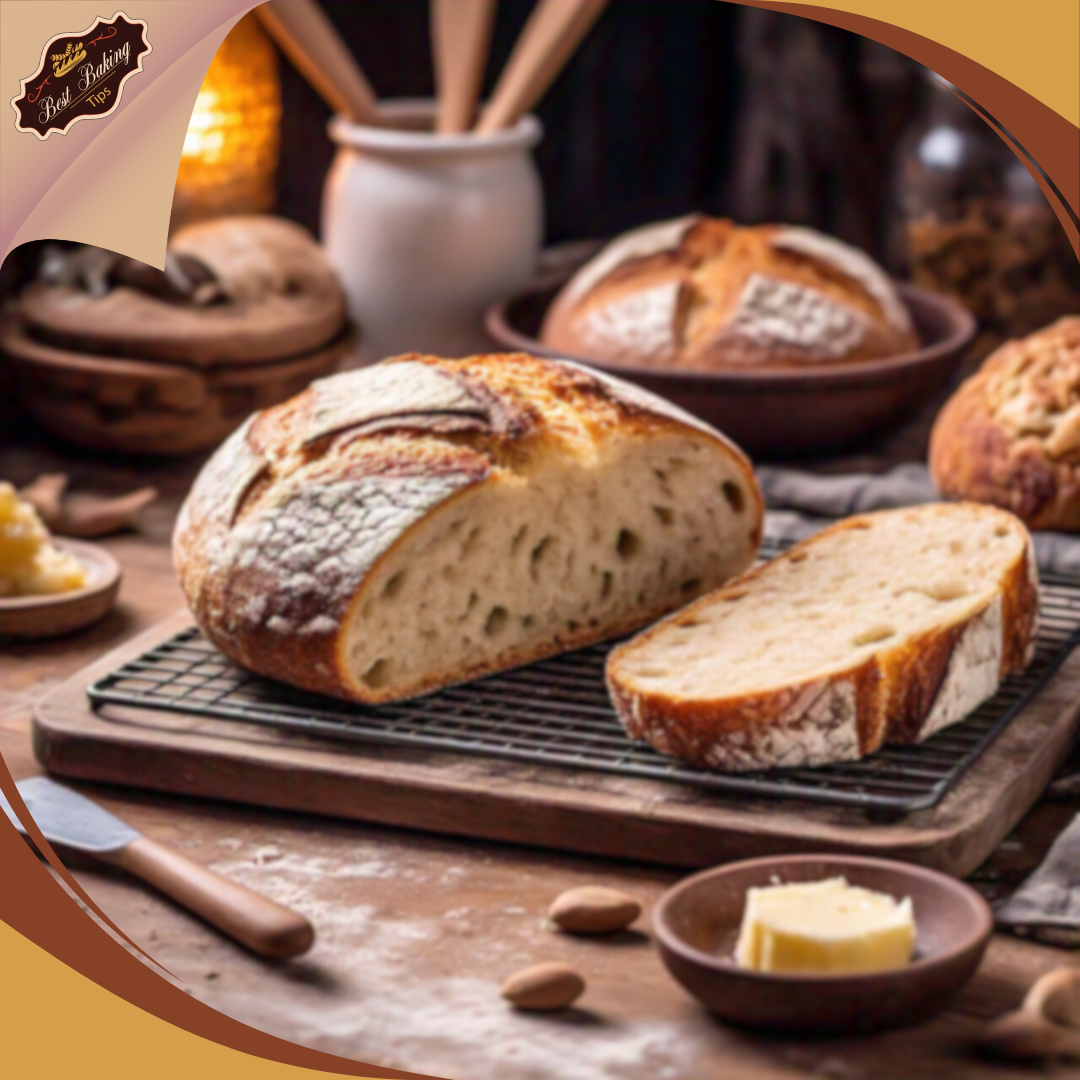
You’ve baked a beautiful sourdough bread, and now it’s time for the best part: enjoying and storing it to keep that fresh-baked glory as long as possible. There’s nothing like slicing into a fresh loaf, hearing that classic crackle, and revealing the airy crumb inside.
Wait it to Cool
To enjoy sourdough at its peak, wait for it to cool completely before slicing. This bit of patience locks in moisture and flavor, keeping the bread nice and tender. If you’ve got a whole loaf, try storing it cut-side down on a cutting board covered loosely with a cloth to let it breathe. This keeps the crust crispy, though it’s best enjoyed within two to three days.
Old Sourdough?
Got day-old sourdough? That’s where creativity kicks in. Ever tried making French toast with sourdough? Or turning what’s left into croutons? Even dry slices make a killer grilled cheese or toast. Just pop them in the oven or on a skillet, and you’ve got a tasty upgrade.
Longer Storage
For longer storage, sourdough does well frozen. Slice the loaf beforehand so you can pull out just what you need. Wrap it tightly in foil, then a zip lock bag, and freeze. When you’re ready to eat, a quick visit to the oven can make it deli-fresh again.
Pairing Ideas
Pairing ideas? Sourdough’s tangy flavor and satisfying texture pair brilliantly with everything from butter and jam to hearty soups and stews. Try an open-faced sandwich with your favorite toppings, and you’ll discover a new world of flavors.
From that first flour to the last slice, sourdough baking is a rewarding journey. Every loaf offers something new, and the joy of sharing it with family and friends is the cherry on top.
Watch this video to learn the secret to making the best sourdough bread.
By: The Perfect Loaf
Embracing the Art of Sourdough Baking
In conclusion, perfecting sourdough bread is a rewarding journey that combines patience, attention to detail, and the right techniques. From crafting a healthy sourdough starter to mastering kneading, fermentation, shaping, and baking, every step plays a crucial role in achieving that golden, crusty loaf with a soft, airy interior. The process might seem daunting at first, but with each batch, your skills will improve, and you’ll start to create loaves that are uniquely your own. Don’t forget that even if you face a few challenges along the way, there’s always room to troubleshoot and refine your methods.
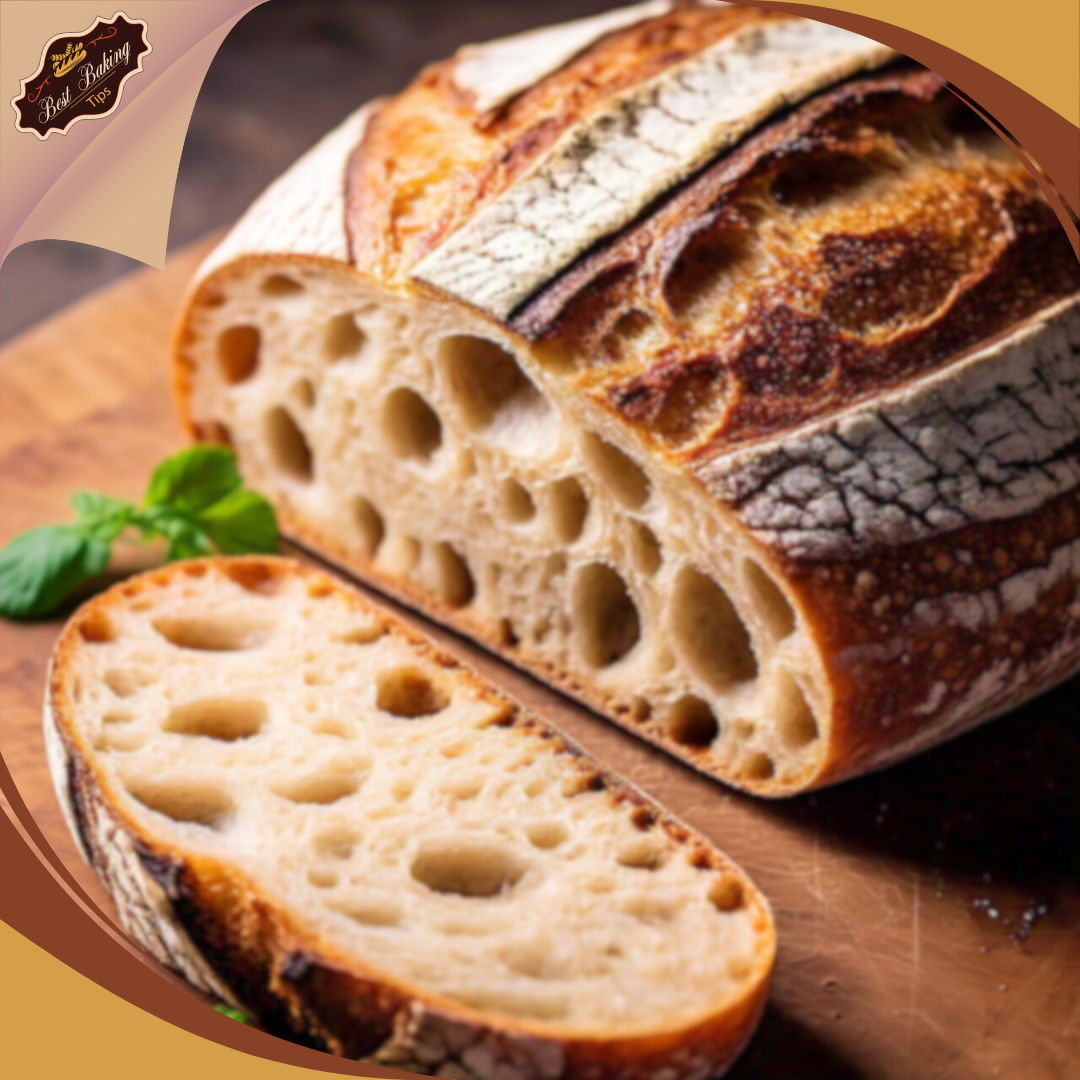
Sourdough bread is more than just a recipe; it’s an ancient craft connecting us to the past, offering a delicious and healthful alternative to store-bought bread. The beauty of sourdough lies in its simplicity and the satisfaction of baking something from scratch. Whether you’re a beginner or a seasoned baker, sourdough offers endless opportunities for growth and creativity in the kitchen. So, embrace the process, enjoy the journey, and soon enough, you’ll pull out perfectly baked loaves that fill your home with warmth and irresistible aroma. Happy baking!
Frequently Asked Questions
How Do I Know if My Sourdough Starter is Ready to Use?
Your sourdough starter is ready when it’s bubbly, has a pleasant sour aroma, and doubles in size within 4-6 hours of feeding. To test its readiness, perform the “float test”: take a spoonful of the starter and drop it into a glass of water. If it floats, it’s ready to use. Give it more time and feed it a bit longer if it sinks.
Why is My Sourdough Bread Dense and Flat?
A dense or flat loaf can result from an underactive starter, insufficient fermentation, or insufficient proofing time. Ensure your starter is fully matured and bubbly before use, and allow your dough to rise properly at each fermentation stage. Watch the dough’s volume increase and check for bubbles or jiggles during the second proofing.
How Can I Get a Crispy, Golden Crust on My Sourdough Bread?
Bake your sourdough in a pre-heated Dutch oven or use a baking stone with steam to achieve a crispy, golden crust. The steam helps the bread expand properly before the crust sets. Additionally, scoring the dough before baking directs how the loaf expands and allows for an even crust. Make sure to bake with the lid on initially and uncover for the final phase to achieve the perfect golden-brown finish.
Level Up Your Baking with Us!
Want to take your baking to the next level? Whether you’re just starting or have years of experience, there’s always room to grow and improve.
Join us on Facebook, Instagram, Pinterest, Twitter, and TikTok.
Become part of our vibrant baking community and learn new tips and tricks to bake irresistible treats from the comfort of your kitchen!

