

==================
Affiliate Statement
Best Baking Tips is supported by our audience. When you purchase through one of our links, we may earn a small affiliate commission. As an Amazon Associate I earn from qualifying purchases. Your cost is not affected.
==================
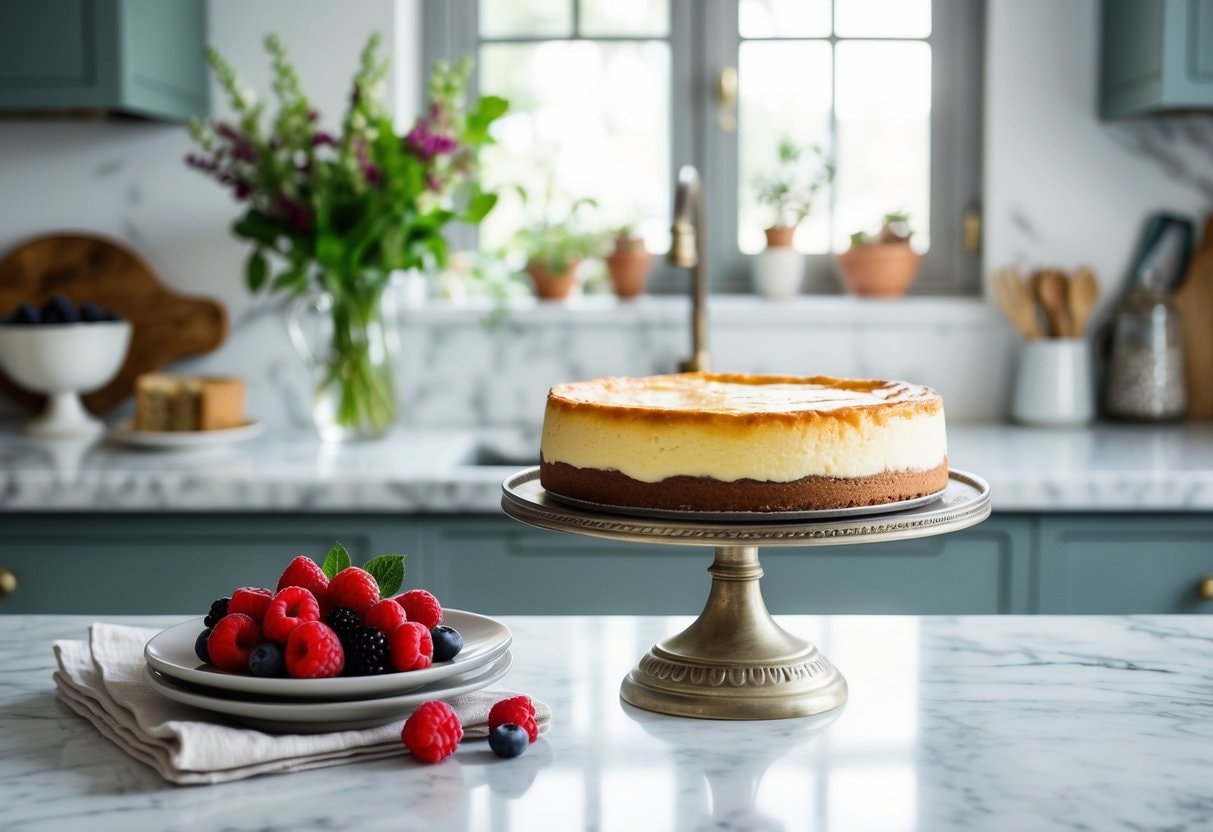
If there’s one dessert that never fails to impress on Valentine’s Day, it’s this Italian Baked Cheesecake Recipe. This has been a favorite in my kitchen for years, and every time I make it, it brings back memories of warm, cozy gatherings and special celebrations. Unlike the dense, overly sweet cheesecakes you might be used to, this Italian version is lighter, thanks to the creamy ricotta, yet still rich and indulgent. The subtle hint of citrus adds a refreshing twist, making each bite feel like a little taste of Italy. If you’re looking for a dessert that’s elegant, delicious, and made with love, this is it.
Baking this cheesecake is just as rewarding as eating it. As it bakes, your kitchen fills with the comforting aroma of vanilla and citrus, making the anticipation almost as sweet as the first bite. The golden, slightly caramelized top gives way to a smooth, creamy, irresistible center. I love serving it with a dusting of powdered sugar, a drizzle of honey, or fresh berries for a touch of freshness. Whether surprising someone special or just treating yourself, this cheesecake is the perfect way to make Valentine’s Day even sweeter.
Italian Baked Cheesecake: A Sweet Valentine’s Treat for Your Loved One
Valentine’s day is coming, and I have the perfect dessert for you! An authentic Italian baked cheesecake is a great way to show your love. This cheesecake uses ricotta cheese instead of cream cheese, making it lighter and more flavorful than American versions.
I learned this recipe from my Italian grandmother, and it’s been a family favorite for generations. The best part? It’s easier to make than you might think. No water bath is needed!
Let me share my tips for creating the perfect Italian baked cheesecake recipe. I’ll guide you through each step from choosing the right ingredients to mixing techniques. Get ready to impress your valentine with this delicious treat!
Key Takeaways
- Italian cheesecake uses ricotta for a lighter texture and unique flavor.
- This recipe is simpler than traditional American cheesecake methods.
- Proper ingredient selection and mixing techniques are key to success.
Discovering the Essence of a True Italian Cheesecake
I love a good Italian cheesecake, and I’ve learned there’s more to it than meets the eye. The key is in the ingredients and technique. A true Italian cheesecake often uses ricotta cheese instead of cream cheese. This gives it a lighter, fluffier texture. Some recipes even mix in mascarpone for extra creaminess.
I’ve found that many authentic recipes skip the crust altogether. This lets the cheese flavor shine. If there is a crust, it’s usually thin and made with simple ingredients like graham crackers or cookies. The filling is where the magic happens. Here’s what I typically include:
- Whole milk ricotta cheese.
- Cream cheese or mascarpone cheese.
- Eggs.
- Sugar.
- A hint of lemon zest.
Baking is a gentle process, too. I use a lower temperature, around 325°F (165°C), and often bake in a water bath. This helps prevent cracks and keeps the cheesecake creamy. My recipe uses the normal temperature, but feel free to try the lower temperature and water bath. The result? A dessert that’s less sweet and heavy than its American counterpart but just as delicious. It’s perfect for Valentine’s Day or any special occasion.
Ingredients List
Let’s gather the key components for our Italian baked cheesecake recipe. I’ll guide you through each essential ingredient to create a dessert that’s sure to impress your valentine or guests on any special occasion.
Cream Cheese: The Base of Perfection
For this recipe, I recommend using full-fat cream cheese. It’s the foundation of our cheesecake and gives it that rich, creamy texture we all love. Make sure your ingredients are at room temperature before you start mixing. This helps create a smoother batter without any lumps.
I also like adding extra ricotta cheese after mixing, giving it an authentic Italian touch. An extra 4 ounces of ricotta will do the trick. It adds a subtle texture and lightness to the cheesecake.
Sweet Additions: Sugars and Flavorings
To sweeten our cheesecake, I use a combination of granulated sugar and vanilla extract. Don’t be tempted to reduce this amount too much, as sugar plays a crucial role in the texture of the cheesecake.
For flavoring, I add two teaspoons of pure vanilla extract. It enhances the overall taste without overpowering the cheese flavor. I also sometimes include a bit of lemon zest – about one tablespoon. It adds a fresh, citrusy note that perfectly complements the cheese’s richness.
The Crust: Crafting the Foundation (Optional, But Nice!)
For the crust, I use graham cracker crumbs. You’ll need about 1 1/2 cups (180 grams) of crumbs. If you can’t find graham crackers, digestive biscuits work great, too. Mix the crumbs with 1/4 cup (50 grams) of granulated sugar and 1/3 cup (75 grams) of melted butter.
This combination creates a delicious base that holds together well and contrasts the creamy filling nicely. Press this mixture into the bottom of your springform pan. I like using flat-bottomed glass to ensure it’s evenly distributed and firmly packed.
Eggs and Dairy: Binding Elements
Eggs are crucial in our cheesecake. They act as a binder and help create that smooth, custard-like texture. For this recipe, I use four large eggs. Add them one at a time, mixing well after each addition. This helps incorporate air into the batter, making the cheesecake lighter.
My favorite 9″ Springform Pan for cheesecakes and other desserts is: Petíts Desserts Springform Pan Set
Read our full review on this pan at: Springform 9 inch pan set Review
Authentic Italian Baked Cheesecake
Looking for the decadent Italian Cheesecake? We love New York Style, too, but the Baked Italian Cheesecake is our favorite when we have company coming. It adds that “wow!” factor to any meal! Recipe:
Cheesecake
- 16 oz ricotta (whole milk preferred).
- 16 oz cream cheese (softened).
- 16 oz sour cream.
- 2 cups granulated sugar.
- 4 eggs.
- 1/2 cup flour.
- 2 tsp vanilla extract.
- 1/2 cup butter (unsalted, melted).
- 1/2 tbsp butter (unsalted, melted).
Toppings
- 1.5 cup raspberries (or strawberries or favorite fruit (more, if desired).
- 2 tbsp powdered sugar.
Instructions
- Pre-heat oven at 350 degrees F.
- In a large bowl, add whole milk ricotta, softened cream cheese, sour cream, sugar, eggs, flour, vanilla extract, 1/2 cup melted butter.
- Beat on medium high speed for about 20 minutes. I use my stand mixer but a hand electric mixer works, too.
- Butter springform pan with the other 1/2 tbsp of melted butter. If not using silicone pan under, wrap aluminum foil around the pan to prevent leakage.
- Pour cheesecake mixture into springform pan. Bake for 1 hour.
- Turn off oven and let cheesecake sit in oven for 2 hours. Do not open oven – The cheesecake needs to cool slowly.
- Remove cheesecake from oven. Cheesecake might be slightly jiggly in the middle.
- Refrigerate cheesecake in the fridge for another 4-5 hours, or overnight. It will firm as it chills.
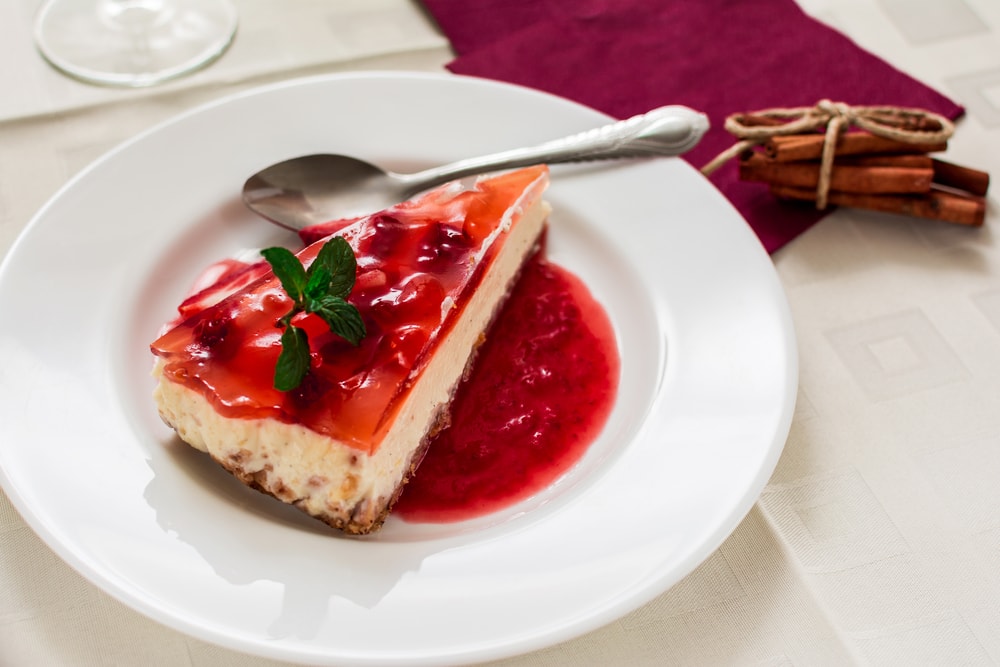
- Top cheesecake with fresh raspberries, and sprinkle powdered sugar over the berries.
- Slice, Serve, and enjoy!
Decorative Touches: Fruits and Toppings
While the cheesecake is delicious, I love adding some decorative touches. Fresh berries are my go-to topping. Strawberries, raspberries, or a mix of berries look beautiful, adding a fresh, tangy contrast to the rich cheesecake. I also sometimes make a quick berry sauce. Simply simmer 2 cups of mixed berries with 1/4 cup of sugar and a splash of lemon juice until syrupy. Try grating some dark chocolate over the top for a chocolate lover’s twist. Or, for a classic Italian touch, dust the cheesecake with a bit of cocoa powder just before serving.
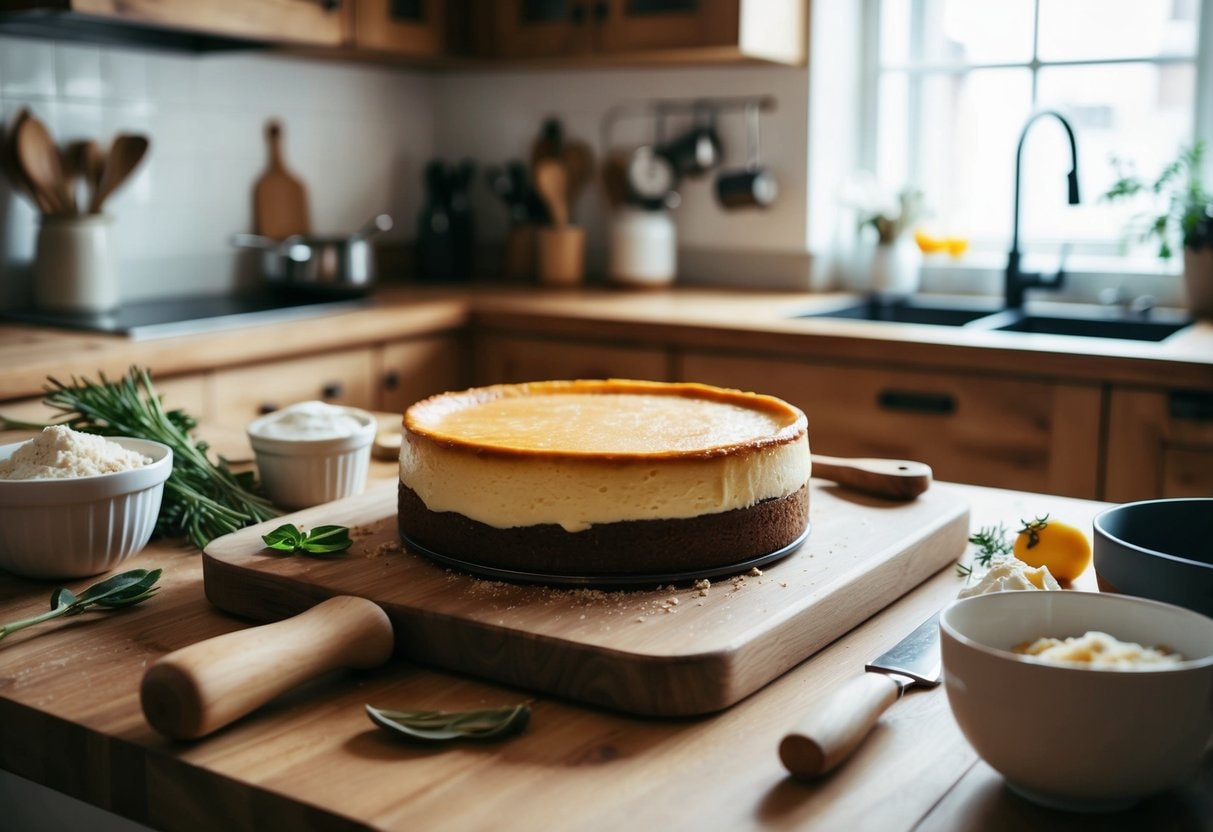
Preparing for the Bake
Getting ready to bake an authentic Italian cheesecake recipe involves key steps. I’ll cover the essential tools and pre-baking procedures to ensure perfect cheesecake.
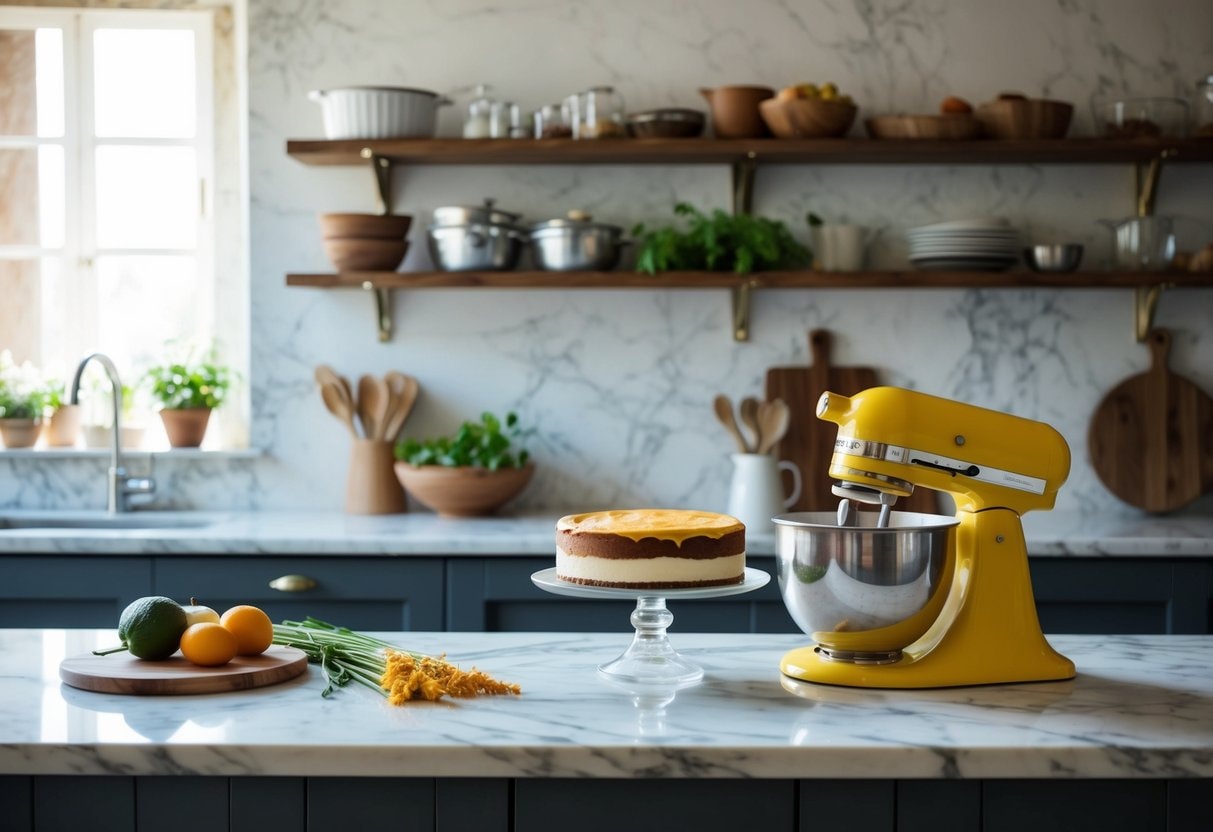
The Right Tools: Pans and Equipment
For this recipe, I always use a 9-inch springform pan. It’s crucial for easy removal of the cheesecake. I make sure to butter and flour the pan before use. I also keep these items handy:
- Large mixing bowl.
- Electric mixer or whisk.
- Spatula.
- Measuring cups and spoons.
This authentic Italian cheesecake doesn’t need a water bath, which simplifies the process. Some use a regular baking sheet or aluminum foil to clean your oven. I like this springform pan with a silicone tray.
Pre-baking Procedures
I always start by bringing all ingredients to room temperature. This helps create a smooth batter without lumps.
Mixing and Blending Techniques
Getting the right consistency and texture is key for a perfect cheesecake. In this Italian baked cheesecake recipe, I’ll share my tips for mixing ingredients to create a smooth, creamy filling.
Cream Cheese Consistency
I always start with softened ricotta cheese and cream cheese. I take it out of the fridge 1-2 hours before mixing. This makes blending much easier.
Incorporating Sugars and Flavorings
Next, I add sugar gradually while mixing. I use granulated sugar for sweetness and a touch of powdered sugar for texture. I mix in flavorings like vanilla extract or lemon zest. These add depth to the cheesecake.
For a richer taste, I sometimes include a splash of liqueur. Amaretto or limoncello work well. I beat everything on medium speed for 1-2 minutes. The mixture should look creamy and well-combined.
Adding the Eggs: Timing and Technique
Adding eggs is the trickiest part. I use room-temperature eggs to prevent curdling. I crack each egg into a separate bowl first. This lets me check for shells.
I add the eggs one at a time, mixing at low speed. I wait until each egg is fully incorporated before adding the next. Over-mixing can lead to cracks, so I’m careful not to beat too long. Just 20-30 seconds per egg is enough. After all eggs are added, I hand the batter a final mix. This removes any air bubbles that might cause cracks.
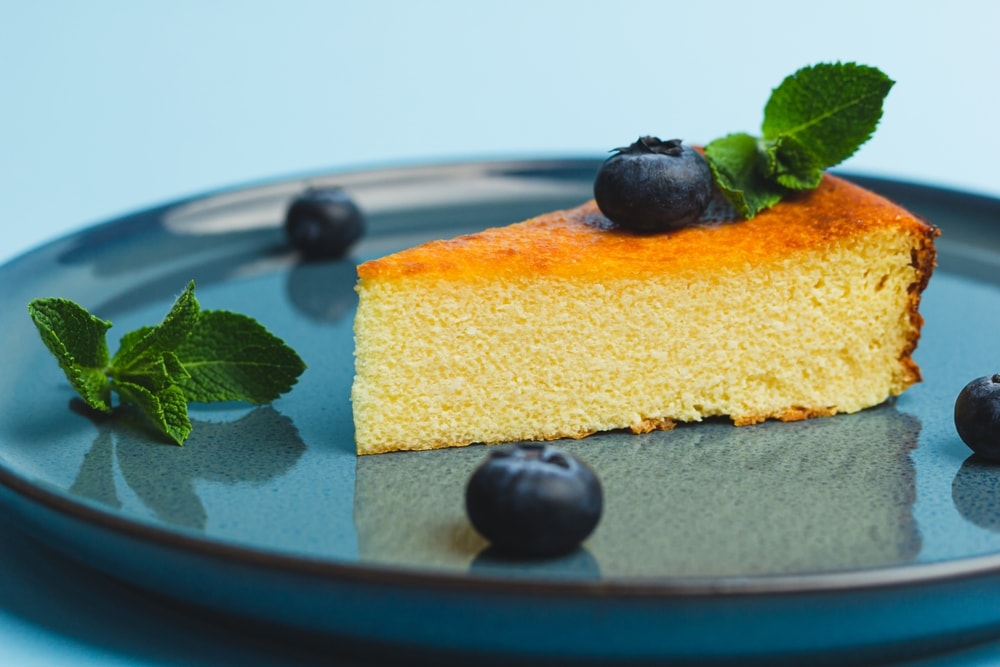
Did you Know?
Italian cheesecake is lighter and less dense than New York-style cheesecake. I’ve noticed it’s not as sweet and has a more delicate flavor. The texture is grainier due to the ricotta, while New York cheesecake is smoother and creamier.
Constructing the Crust

The crust is a key part of any great cheesecake. I’ll show you how to make a perfect base for your Italian baked cheesecake recipe. This includes picking the right biscuits, mixing the crust, and preparing it in the pan.
Choosing the Right Biscuits
For an authentic Italian cheesecake, I like to use Digestive biscuits. They have a slightly sweet, nutty flavor that works well with the creamy filling. If you can’t find Digestives, graham crackers are a good substitute.
I usually need about 2 cups of crushed biscuits for a 9-inch pan. I put them in a zip-top bag and use a rolling pin to crush them. You can also use a food processor if you prefer. The texture should be fine, like breadcrumbs. This helps the crust hold together better when mixed with butter.
Creating the Perfect Crust Mix
I combine the crushed biscuits with melted butter and a bit of sugar to make the crust mix. Here’s my go-to recipe:
- 2 cups crushed biscuits.
- 1/4 cup sugar.
- 1/2 cup melted butter.
I mix these in a bowl until the crumbs are evenly coated with butter. The mixture should hold together when pressed between your fingers. If it seems too dry, I add a little more melted butter. If it’s too wet, I’ll mix in more crushed biscuits.
Pressing and Preparing the Pan
Now, it’s time to get the crust into the pan. I always use a 9-inch springform pan for my cheesecakes. It makes removing the cake much easier later on. First, I grease the pan lightly with butter. Then, I pour the crust mix into the pan. Using the back of a spoon or the bottom of a measuring cup, I press the mixture firmly into the bottom of the pan.
I press it up the sides, too, about 1 inch high. This creates a nice edge for the cheesecake. Once the crust is pressed, I pop the pan in the fridge for about 30 minutes. This helps the crust set before I add the filling.
Italian Baked Cheesecake Recipe: The Baking Process
Baking an authentic Italian cheesecake requires attention to detail and proper technique. I’ll share tips for getting the perfect texture and flavor every time.
Oven Temperatures and Timing
I always start by preheating my oven to 325°F (165°C). This moderate temperature helps the cheesecake bake evenly without browning too quickly.
I typically bake my Italian cheesecake for about 1 hour and 15 minutes. However, baking times can vary depending on your oven and pan size. It’s crucial to avoid opening the oven door during the first hour of baking. This prevents temperature fluctuations that could cause cracks or uneven baking.
Water Bath Method
I always use a water bath when baking my cheesecakes. It creates a moist environment that prevents cracking and ensures even cooking. Here’s how I set up my water bath:
- Wrap the outside of the springform pan in foil.
- Place the pan in a larger baking dish.
- Fill the dish with hot water, about 1 inch deep.
This method helps my Italian ricotta cheesecake bake gently and evenly, resulting in a creamy texture.
Checking for Doneness
Knowing when your cheesecake is done can be tricky. I look for these signs:
- The edges are set, but the center still jiggles slightly.
- The internal temperature reaches 150°F (65°C).
- A toothpick inserted near the center comes out clean.
I avoid overbaking, which can lead to a dry, cracked cheesecake. Once done, I turn off the oven and let the cheesecake cool inside for about an hour, with the door slightly ajar. After cooling, I refrigerate my authentic Italian cheesecake for at least 4 hours or overnight before serving. This allows the flavors to develop and the texture to set perfectly.
Final Touches and Presentation
The final steps of preparing an Italian baked cheesecake recipe are crucial for achieving the perfect texture and appearance. I’ll share my tips for cooling, decorating, and serving this delicious dessert to impress your valentine or guests.
Cooling and Setting
After baking, I always let my cheesecake cool gradually. I turn off the oven and open the door for about an hour. This slow cooling helps prevent cracks on the surface. Next, I remove the cheesecake from the oven and let it cool at room temperature.
This usually takes 2-3 hours. Once cooled, I cover the cheesecake with plastic wrap and refrigerate it for at least 4 hours, preferably overnight. This chilling time allows the flavors to meld and the texture to set perfectly.
Decorative Toppings for the Big Reveal
Just before serving, I love adding some eye-catching toppings to my Italian cheesecake. Here are my favorite options:
- Fresh berries: Strawberries, raspberries, or blueberries.
- Chocolate shavings or curls.
- Candied lemon peel.
- A light dusting of powdered sugar.
- Whipped cream rosettes.
I arrange the toppings in a heart shape for a Valentine’s Day twist or use red fruits for a romantic touch.
Serving Suggestions
To serve the cheesecake, I first run a warm knife around the edge of the springform pan. This helps release the cake smoothly. I prefer to serve slices at room temperature for the best flavor and texture. I take the cheesecake out of the fridge about 30 minutes before serving. For a special touch, I sometimes pair each slice with:
- A dollop of fresh whipped cream.
- A scoop of vanilla gelato.
- A shot of espresso for an authentic Italian experience.
Remember, a little goes a long way with this rich dessert. I usually cut small, elegant slices to satisfy them without overwhelming them.
Storage Tips
Proper storage keeps your Italian cheesecake fresh and tasty. I’ll share my short-term and long-term storage tips to help you enjoy every last bite.
Short-Term: Refrigeration
I always store my Italian cheesecake in the fridge. It stays fresh for up to 5 days when kept cool. Here’s what I do:
- Let the cheesecake cool completely after baking.
- Cover it tightly with plastic wrap or aluminum foil.
- Place it in the refrigerator.
I avoid storing it with strong-smelling foods. The cheesecake can absorb odors easily. I take it out of the fridge about 30 minutes before serving for the best taste. This lets it warm up a bit and brings out the flavors.
Long-Term: Freezing and Thawing
When I want to keep my Italian cheesecake for longer, I freeze it. It can last up to 3 months in the freezer. Here’s my method:
- Cool the cheesecake completely.
- Wrap it tightly in plastic wrap, then in foil.
- Place it in a freezer-safe container or bag.
To thaw, I move it to the fridge the night before I want to eat it. This slow thaw keeps the texture nice. I never thaw it at room temperature – that can make it soggy. After thawing, I eat it for the best taste within 2-3 days. Sometimes, I freeze individual slices for quick treats later.
Pairing Suggestions
I love sharing wine-pairing tips for my Italian baked cheesecake recipe. The right wine can make the flavors pop! I like to serve espresso or fruit-infused sparkling water as a non-alcoholic option. When it comes to food pairings, fresh berries are my go-to. They add a tart contrast to the rich cheesecake. A drizzle of honey or chocolate sauce can also elevate the dessert.
I suggest pairing the cheesecake with chocolate-covered strawberries and champagne for a romantic Valentine’s Day spread. It’s a classic combo that never fails to impress! Remember, the best pairing is one you enjoy. Don’t be afraid to experiment and find your personal favorite!
Here’s an additional video about Italian Cheesecake.
By: Michael Marotta
Final Thoughts: A Sweet Ending to Your Valentine’s Day Celebration
In conclusion, this authentic Italian baked cheesecake offers a delightful twist on the classic dessert, making it the perfect choice for Valentine’s day. Its lighter, fluffier texture from the ricotta cheese and a subtle citrusy hint create a refreshing and indulgent treat. Easy to prepare yet elegant, this cheesecake will impress any loved one with its rich flavors and creamy consistency.
Whether you serve it with fresh berries, a dusting of powdered sugar, or a drizzle of honey, this cheesecake will elevate your celebration. It’s a delicious dessert and a way to share the warmth of homemade love with those who matter most. Let this sweet treat be the highlight of your festivities this Valentine’s day, creating both sweet memories and smiles.
Frequently Asked Questions
Italian cheesecake has some unique features that set it apart. Let’s explore the key aspects of this delicious dessert and how to make it perfectly.
What Makes an Italian Cheesecake Recipe Authentic?
An authentic Italian cheesecake uses ricotta cheese as its main ingredient. This gives it a lighter, fluffier texture compared to other cheesecakes. The recipe often includes lemon zest for a subtle citrus flavor.
What Are the Key Ingredients for a Traditional Italian Cheesecake?
The star ingredients in a traditional Italian cheesecake are ricotta and mascarpone cheese. I also like to add eggs, sugar, and a touch of vanilla extract. Some recipes call for a bit of flour to help bind everything together.
What Are Some Tips for Achieving the Perfect Consistency in a Ricotta Cheesecake?
To get the best texture, I always drain the ricotta cheese overnight. This removes excess moisture. I also recommend using a water bath when baking. It helps the cheesecake cook evenly and prevents cracks on the surface.
Can Italian Cheesecake Be Prepared in Advance, and How Should It Be Stored?
Yes, I often make my Italian cheesecake a day ahead. After it’s cooled completely, I cover it tightly with plastic wrap and store it in the fridge. It tastes even better the next day as the flavors have time to meld.
Does a Classic Italian Cheesecake Recipe Include a Crust, or is It Typically Crustless?
Traditional Italian cheesecake is often crustless. But I’ve seen variations with a light crust made from crushed cookies or graham crackers. It comes down to personal preference.
Elevate Your Baking Skills with Us!
Looking to enhance your baking abilities? Whether you’re a beginner or a seasoned pro, there’s always something new to learn and master.
Join us on Facebook, Instagram, Pinterest, Twitter, and TikTok.
Join our dynamic baking community and discover fresh tips and techniques to create mouthwatering treats right in your own kitchen!