==================
Affiliate Statement
Best Baking Tips is supported by our audience. When you purchase through one of our links, we may earn a small affiliate commission. As an Amazon Associate I earn from qualifying purchases. Your cost is not affected.
==================
Understanding baking temperatures and times is the cornerstone of creating delectable treats, yet it’s a science often overlooked. From achieving the perfect golden brown crust to preventing undercooked centers, these two factors intertwine to influence texture, flavor, and overall success. Let’s delve into the intricacies of temperature and time, exploring how they interact and impact your baking endeavors.
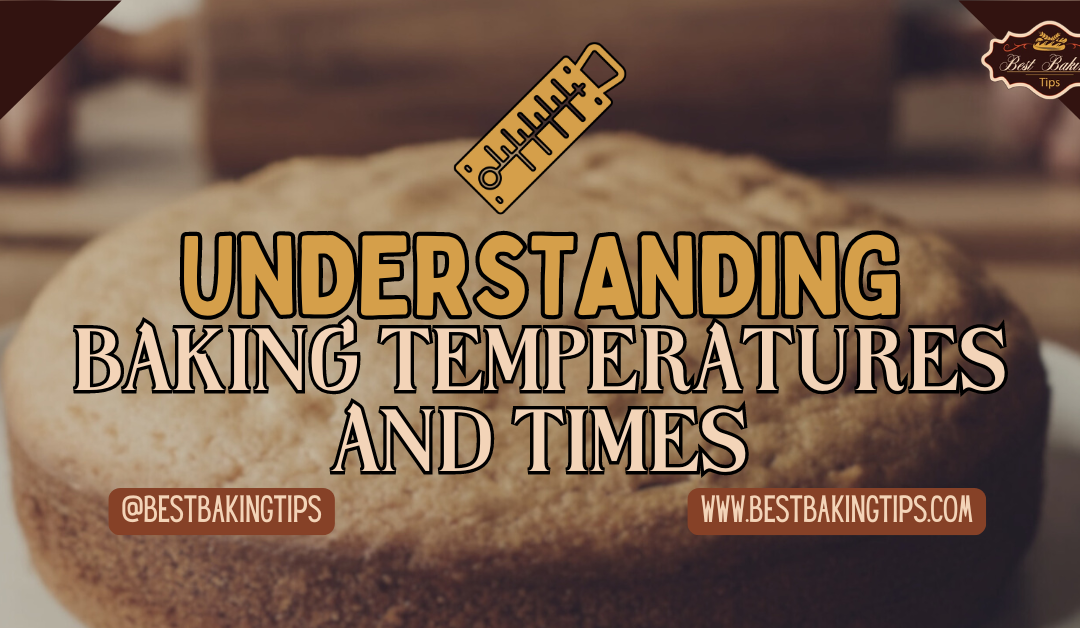
Understanding Baking Temperatures and Times
Baking is both an art and a science. Getting the right temperature and timing can make or break your treats. Understanding baking temperatures and times is essential for those perfect baked goods.

The key to successful baking lies in understanding how temperature and time work together. Too hot, and your cake might burn on the outside while staying raw in the middle. Too cool, and it might never rise properly. Temperature and time affect texture, flavor, and color in ways that can surprise even experienced bakers.
In this post, I’ll guide you through the basics of baking temperatures and times. We’ll explore how to adjust for different types of cakes, the impact of ingredient temperature, and tips for dealing with common baking challenges.
Key Takeaways
- Proper temperature and timing are crucial for achieving the desired texture and flavor in baked goods
- Ingredient temperature can significantly impact the outcome of your baking
- Adjusting baking temperatures and times may be necessary based on factors like altitude and oven type
Fundamentals of Baking Temperatures
Baking temperatures play a crucial role in creating delicious treats. They affect how ingredients interact and determine the final texture and flavor of baked goods.
Role of Temperature in Baking
Temperature controls how fast ingredients react and how much moisture evaporates during baking. Higher temps make the outside cook faster, while lower temps allow for even baking throughout.
I’ve found that precise temperatures are vital for perfect cakes. Too hot, and the outside burns before the inside cooks. Too cool, and the cake may not rise properly.
Different baked goods need different temps. Cookies often bake at 350°F (175°C), while bread might need 400°F (200°C) or higher.
It’s important to follow recipes closely. Even small temp changes can affect the final product a lot.
Understanding Oven Preheating
Preheating is key for consistent baking. It ensures the oven is at the right temp when you put your food in.
I always preheat my oven for at least 15-20 minutes. This lets it reach the set temp and spread the heat evenly.
Some ovens have a preheat indicator, but I use an oven thermometer to be sure. Actual temps can differ from what the dial shows.
For delicate items like soufflés, proper preheating is extra important. It helps them rise quickly and evenly.
Conventional vs Convection Ovens
Conventional ovens heat from top and bottom elements. They can have hot and cool spots, so I rotate pans for even baking.
Convection ovens use a fan to circulate hot air. This gives more even heat and often cooks food faster.
When using a convection oven, I lower the temp by 25°F (14°C). This prevents overbaking due to the faster cooking time.
Convection is great for crispy foods like cookies. But for cakes, I often stick to conventional baking for a more delicate texture.
Some recipes are designed for one type of oven. I always check and adjust if needed.
Baking Times Explained
Baking times are crucial for achieving perfect results. They depend on several factors and can vary based on the recipe, oven type, and desired outcome.
The Relationship Between Time and Temperature
Time and temperature work together in baking. Higher temperatures usually mean shorter baking times, while lower temperatures require longer times. I’ve found that overbaking at high temperatures can lead to tough textures.
For example, a standard cake typically bakes at 350°F (175°C) for 25-30 minutes. But if I increase the temperature to 375°F, I’ll need to reduce the baking time by a few minutes.
Not all baked goods follow this rule strictly, though. Some recipes call for starting at a high temperature and then lowering it, or vice versa.
Adjusting Baking Times for Different Oven Types
Different ovens can affect baking times. I’ve noticed that convection ovens, which circulate hot air, usually require shorter baking times than conventional ovens.
When using a convection oven, I typically reduce the temperature by 25°F (about 14°C) and check for doneness a few minutes earlier than the recipe suggests.
For gas ovens, which can have hot spots, I make sure to rotate my baking trays halfway through the process to ensure even baking.
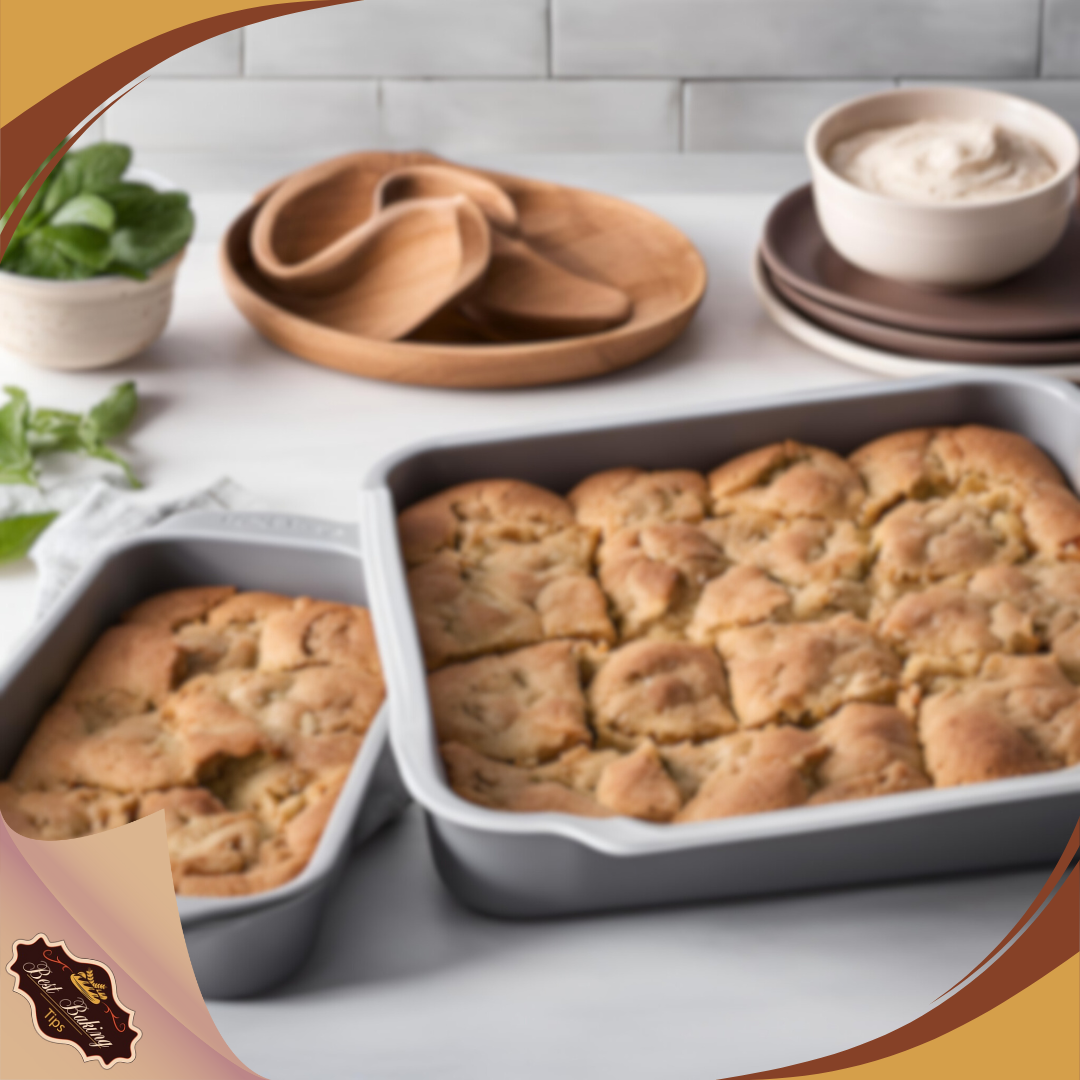
Using Baking Times for Different Baked Goods
Baking times vary greatly depending on what I’m making. Here’s a quick guide to some common baked goods:
- Cookies: 8-12 minutes at 350°F
- Cupcakes: 15-20 minutes at 350°F
- Layer cakes: 25-35 minutes at 350°F
- Bread loaves: 30-45 minutes at 375°F
I’ve learned that smaller items like cupcakes need about 15-20% less baking time than standard cakes. Larger items might need 25-30% more time.
The best way to check for doneness is to use visual cues and the toothpick test. For cakes, I insert a toothpick into the center. If it comes out clean, the cake is done.
Temperature Precision and Measurement
Getting the right temperature is key for baking success. I’ll explain how to make sure your oven is accurate and how to use thermometers effectively.
Calibrating Your Oven for Accurate Temperatures
I always start by checking if my oven’s temperature matches what I set it to. Many ovens can be off by 25°F or more.
To fix this, I use an oven thermometer to test the actual temperature.
If there’s a difference, I adjust the oven’s settings. Most ovens have a calibration feature. I check my oven manual to find out how to do this. It often involves turning a screw behind the temperature dial.
For ovens without this feature, I make a mental note of the difference. If my oven runs 25°F hot, I set it 25°F lower than the recipe calls for.
Using Oven Thermometers
An oven thermometer is a must-have tool in my kitchen. I place it in the center of the oven to get the most accurate reading.
Some ovens have hot spots, so I move the thermometer around to find these areas.
I check the thermometer through the oven window instead of opening the door. This keeps the heat inside.
For long bakes, I check it a few times to make sure the temperature stays steady.
I also use the thermometer to check how long it takes my oven to preheat. This helps me plan my baking time better. Knowing my oven’s quirks makes me a more confident baker.
Effects of Altitude on Baking
Altitude can greatly impact baking results. When baking at high altitudes, you’ll need to make some key adjustments to temperatures and times to get the best results.
Adjusting Temperatures for High Altitudes
At high altitudes, I’ve found that increasing oven temperature is often necessary. The lower air pressure causes liquids to evaporate faster, so a hotter oven helps set the structure of baked goods more quickly.
For every 1,000 feet above sea level, I typically raise the temperature by 15-25°F. This helps prevent baked goods from collapsing or becoming too dry.
At altitudes above 3,500 feet, I might increase temperatures by 25-30°F. But I’m always careful not to go too high, as this can lead to overbaking.
High-Altitude Baking Time Modifications
Along with temperature changes, I also adjust baking times at high altitudes.
Generally, I reduce baking time by about 5-8 minutes for every 30 minutes of the original recipe time.
This shorter baking time compensates for the faster evaporation and helps prevent overbaking. I always start checking for doneness a few minutes earlier than the recipe suggests.
For cakes and quick breads, I might reduce baking time by up to 25%. Cookies usually need only a slight reduction.
I find it’s crucial to watch baked goods closely and use visual cues for doneness, as timing can vary based on specific recipes and altitudes.
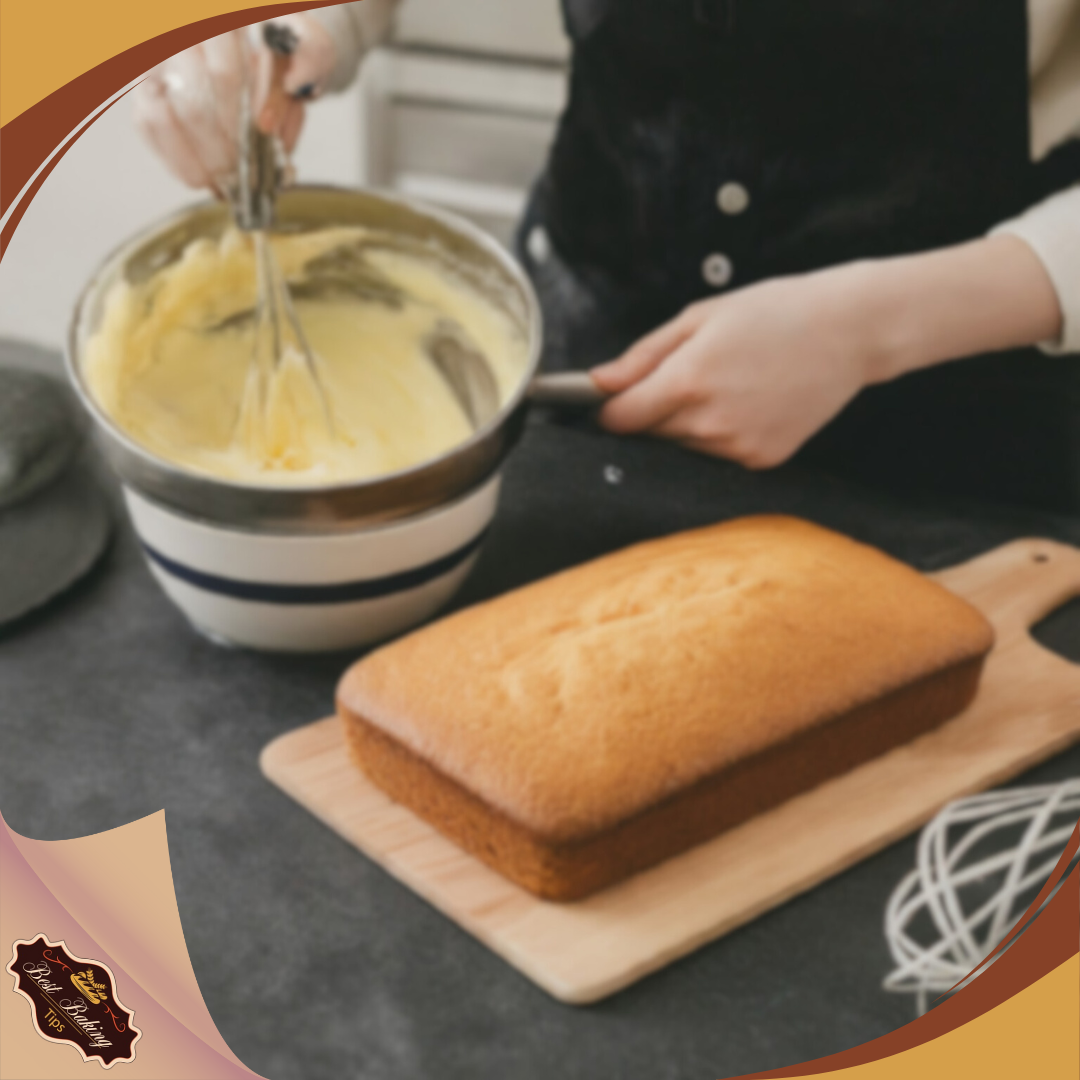
Ingredient Temperatures and Outcomes
The temperature of ingredients can greatly affect the final product in baking. I’ll explore why ingredient temperature matters and look at how different butter temperatures impact baked goods.
Importance of Ingredient Temperature
Ingredient temperature plays a crucial role in baking. Cold ingredients can cause batters to curdle or separate. Warm ingredients may lead to improper texture or spreading.
I always bring refrigerated items like eggs, milk, and butter to room temperature before baking. This helps them mix more easily and evenly.
Room temperature ingredients also trap air better during mixing. This creates a fluffier, lighter texture in cakes and cookies.
Cream cheese should be softened for cheesecakes and frostings. Cold cream cheese can leave lumps.
Yeast needs warm liquid to activate properly for bread making. The ideal temperature range is 80°F to 90°F.
Butter: Melted vs. Room Temperature
Butter temperature can make or break a recipe.
Room temperature butter (65°F-67°F) creams well with sugar. This traps air, creating light and fluffy cakes or cookies. I can easily press a finger into room temperature butter, leaving an indent.
Melted butter produces denser, chewier cookies. It results in flatter cookies that spread more during baking. Melted butter works well for brownies and some quick breads. It creates a fudgy texture.
Cold butter is best for flaky pie crusts and biscuits. The cold butter pieces create steam pockets as they melt in the oven. This results in a flaky, layered texture.
Common Baking Challenges
Baking can be tricky. Temperature and timing issues often lead to problems. I’ll cover some frequent challenges and how to fix them.
Uneven Baking and Heat Distribution
Uneven baking is frustrating. It can leave parts of your cake raw while others burn.
To fix this, I rotate my pans halfway through baking. This helps spread the heat more evenly.
For gas ovens, I’m extra careful. They tend to have hot spots, so I use an oven thermometer to check temps in different areas. This lets me adjust my baking setup.
Convection ovens can help too. They circulate air better. But I lower the temp by 25°F when using one. This stops things from cooking too fast on the outside.
Preventing Over-Baking
Over-baking dries out cakes and cookies. So, I keep a close eye on time and use visual cues.
Cakes are done when a toothpick comes out clean. Cookies should be golden at the edges but still soft in the middle.
I set a timer for the lower end of the bake time. Then I check every few minutes. This stops me from forgetting and burning things.
Ingredient temperature matters too. Room temp eggs and butter mix better. This leads to more even baking and less risk of over-cooking.
Mitigating Under-Baking
Under-baked goods are gooey and unsafe to eat. I always use the right pan size. A too-large pan makes thin batter that cooks fast on the outside but stays raw inside.
I check doneness with a skewer or toothpick. For cakes, it should come out clean. Breads should sound hollow when tapped.
If the top browns too fast, I cover it with foil. This lets the inside keep cooking without burning the top.
Sometimes, I lower the oven temp and bake longer. This helps thick items cook through without burning.
Advanced Baking Techniques
I’ve discovered some advanced methods that can elevate your baking skills. These techniques require practice but yield impressive results. They involve careful control of temperature and moisture during the baking process.

Baking with Steam
Steam plays a key role in creating crispy crusts and moist interiors.
I add steam to my oven by placing a pan of hot water on the bottom rack. This works great for breads and pastries.
For bread, I spray water into the oven when I first put the loaf in. I do this quickly to keep heat from escaping. The steam helps the crust stay flexible while the bread rises.
Some ovens have built-in steam injectors. If yours doesn’t, you can use a spray bottle. Be careful when opening a hot oven to add steam.
Blind Baking Techniques
Blind baking is crucial for pies with wet fillings. It prevents soggy bottoms.
I start by chilling my crust in the fridge for 30 minutes.
Next, I line the crust with parchment and fill it with pie weights or dried beans. This keeps the crust from puffing up.
I bake the crust at 375°F for about 15 minutes. Then I remove the weights and parchment.
I brush the crust with egg wash and bake for 5-10 more minutes until golden.
For extra crispness, I sometimes sprinkle the crust with sugar before the final bake.
Understanding Baking Temperatures and Times
Mastering the art and science of baking hinges on a deep understanding of temperature and time. From the initial preheat to the final golden-brown perfection, these elements work in tandem to transform ingredients into delectable treats. By grasping the role of oven calibration, ingredient temperature, and the impact of altitude, you’ll be well-equipped to tackle any recipe with confidence. Remember, practice makes perfect, and every bake is an opportunity to refine your skills. So, don your apron, preheat your oven, and embark on a culinary adventure!
Let’s bake something delicious together! Share your favorite baking tips and triumphs in the comments below.
Frequently Asked Questions

Baking temperatures and times can be tricky. I’ll answer some common questions to help you get the best results in your kitchen.
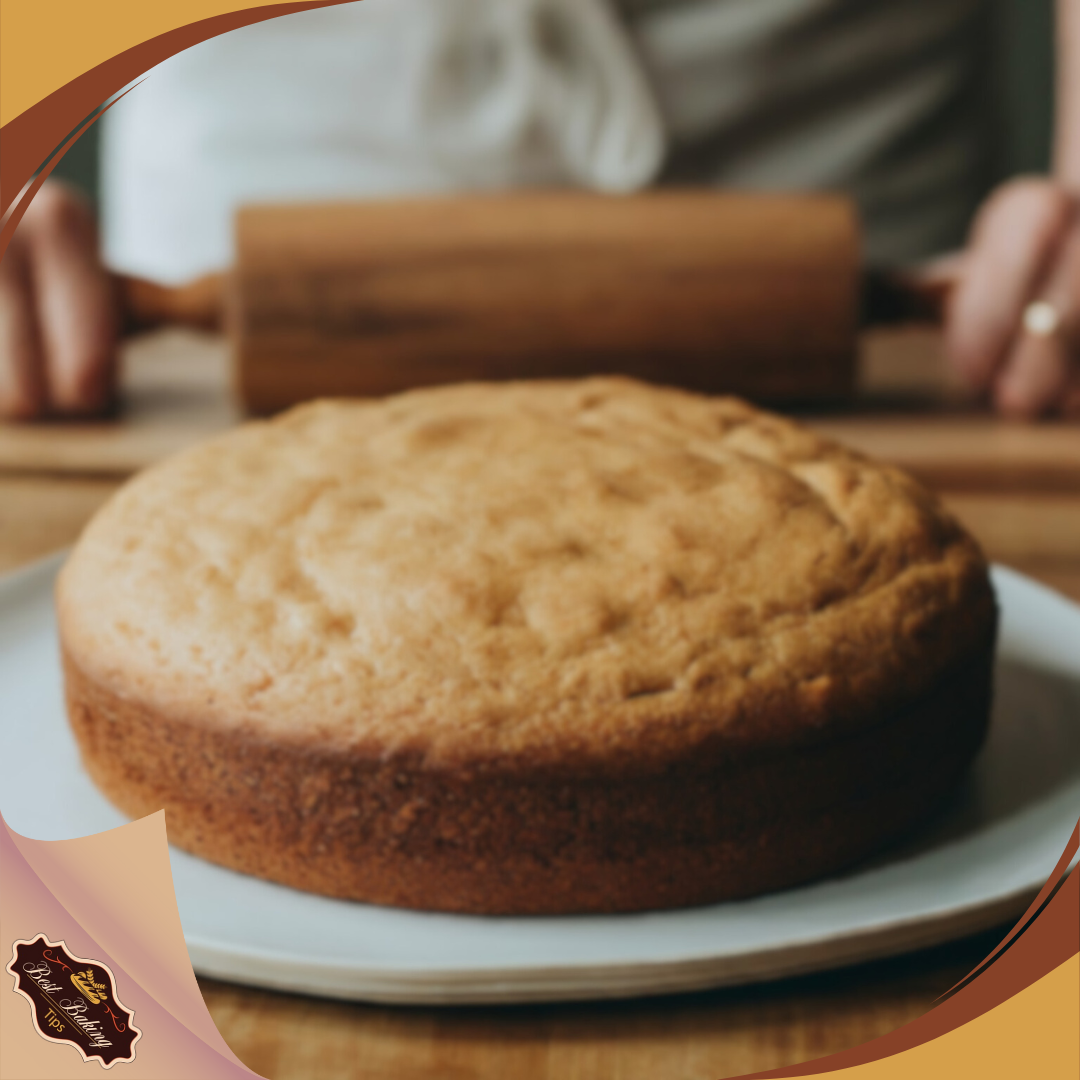
What is the standard baking temperature for most cakes?
The standard baking temperature for most cakes is 350°F (175°C). This temperature works well for many cake recipes and gives a nice golden color.
For cupcakes, I reduce the baking time by 15-20%. Larger cakes may need 25-30% more time in the oven.
How can one convert Fahrenheit temperatures to Celsius for baking?
To convert Fahrenheit to Celsius, use this formula: (°F – 32) x 5/9 = °C.
For example, to convert 350°F to Celsius: (350 – 32) x 5/9 = 176.67°C
Round this to 175°C for easier oven setting.
What factors determine the adjustment of baking times for varying oven temperatures?
Several factors affect baking times when I change oven temperatures. These include the size and shape of the pan, the cake batter’s moisture content, and the oven’s accuracy.
I also consider the cake’s density. Denser cakes need more time to bake through, even at higher temperatures.
How do you determine the proper baking time when changing oven temperatures?
When I change oven temperatures, I adjust baking times accordingly. If I increase the temperature, I decrease the baking time. If I lower the temperature, I increase the time.
I always check for doneness earlier than the recipe suggests. I use a toothpick or skewer to test the cake’s center.
What is the recommended internal temperature for a fully baked cake?
A fully baked cake should have an internal temperature of about 210°F (99°C). I use a digital thermometer to check this.
The cake is done when the center reads 210°F and a toothpick comes out clean or with just a few moist crumbs.
What guidelines should be followed for baking in an electric oven?
In an electric oven, I preheat it fully before baking. This ensures even heat distribution. I also rotate the cake halfway through baking for even browning.
I avoid opening the oven door too often. This can cause temperature fluctuations. Instead, I use the oven light to check on my cake’s progress.
Craving Delicious Vegan Treats & Support?
Join our vibrant vegan community on social media! We share mouthwatering recipes, honest product reviews, and endless inspiration for your plant-based journey.
Connect with us on:
- Facebook: Vegan Globetrotter
- Instagram: @veganglobetrotter
- Pinterest: The Vegan Globetrotter
- Twitter: @VeganGlobetrot
- YouTube: Vegan Globetrotter
See you there!