==================
Affiliate Statement
Best Baking Tips is supported by our audience. When you purchase through one of our links, we may earn a small affiliate commission. As an Amazon Associate I earn from qualifying purchases. Your cost is not affected.
==================
What if I told you that achieving this bakery-quality result could be as simple as learning how to autolyse dough? Welcome to the world of autolysing dough—a technique beloved by artisan bakers and culinary enthusiasts for its transformative power. Imagine pulling a loaf of bread from the oven, its crust crackling with a golden-brown sheen, and its crumb so light and airy it seems to defy gravity. In this article, we’ll dive into the art and science of how to autolyse dough, uncovering the benefits of this process and providing you with practical tips to master it in your kitchen. Whether you’re a novice home baker or a seasoned pro, understanding how to autolyse dough could be the key to unlocking the next level of your baking prowess. Ready to elevate your bread-baking game? Let’s get started!
Mastering the Art of Autolysis: Benefits and Expert Tips for Perfect Dough
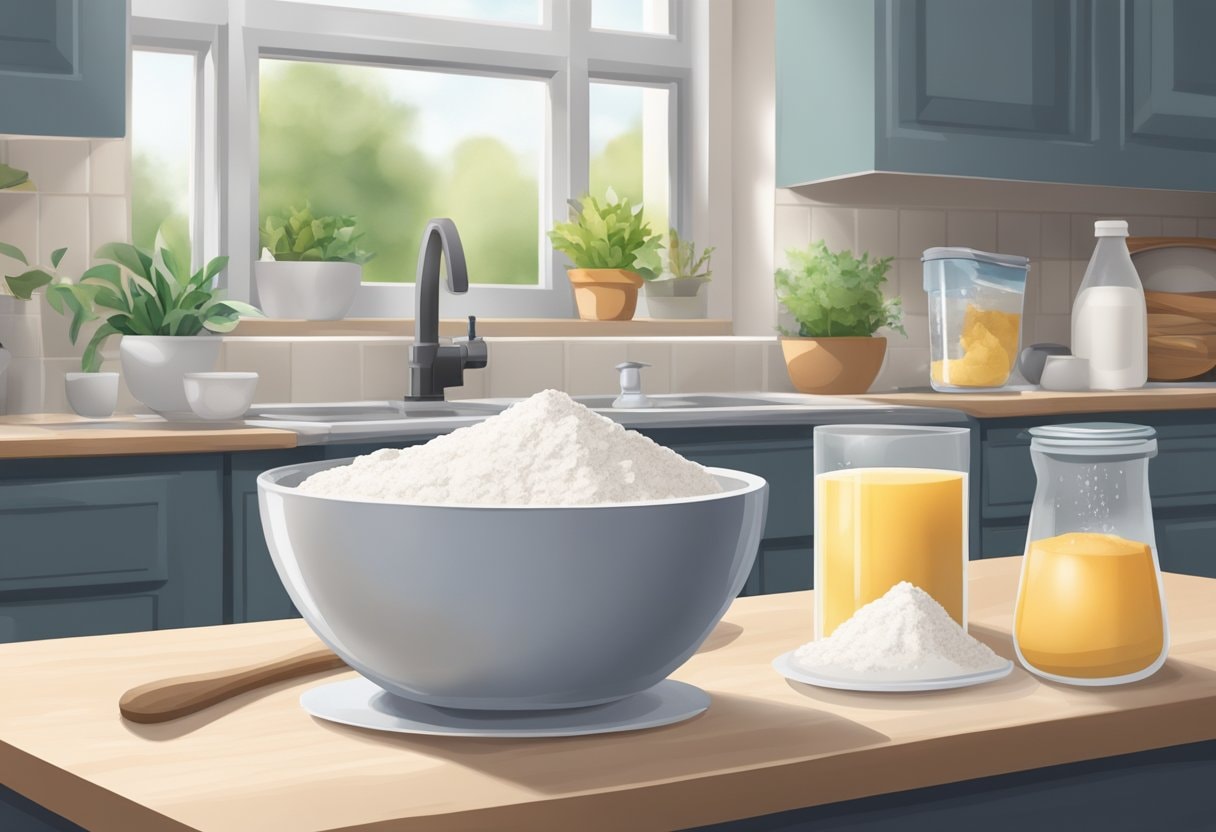
My love of homemade bread started with my Mom’s baking. Even today, I remember the delicious aroma as we entered the house on baking day! Mom kneaded her bread dough by hand. One part of the process she used to make it easier was to pre-soak her flour in water to help the gluten knit together before adding other ingredients. This technique, known as autolyse dough, was something she learned from her mother. It’s a method I’ve continued to use in my bread-making through the years. Learning how to autolyse dough has truly enhanced my baking experience.
Understanding the autolyse method helps transform your bread-baking game. Simply mixing flour and water and allowing it to rest makes the dough easier to handle and reduces kneading time. In my experience, it makes the bread texture and taste so much better! This process can improve your bread’s color, flavor, and texture, giving you a more professional result with minimal effort.
Key Takeaways
- Autolyse improves dough quality by enhancing gluten development.
- It simplifies the baking process by reducing kneading time.
- Resting flour and water together is crucial for better bread texture and flavor.
- Autolyse times vary by the type of flour and the humidity in the air.
What Is Autolyse?
Autolyse is a straightforward technique used in bread baking. Learning how to autolyse dough involves mixing just flour and water and then letting the mixture rest. This resting period allows the flour to hydrate fully. During this time, enzymes break down proteins and starches, which helps gluten develop. This makes the dough easier to knead and shape later on.
Here’s a Basic Overview of the Steps:
- Combine Flour and Water: Mix the flour and water until there are no dry spots.
- Rest Period: Allow the mixture to rest. This can be anywhere from 20 minutes to an hour.
- Continue Mixing: After the rest, add the remaining ingredients, like salt and yeast, and continue with your recipe.
By letting the dough rest, the flour absorbs the water better. This makes the dough softer and more elastic. Autolyse is particularly useful with whole-grain flours. Since they have more bran, they need more time to soften.
Using autolyse can help improve the texture and flavor of bread made with these flour. You can find more details about the method in The Perfect Loaf’s guide to autolyse and King Arthur Baking’s article on using the autolyse method.
The Science Behind Autolysis
When I autolyze dough, I’m allowing the flour and water to interact before adding any other ingredients. This process helps the gluten network form and improves the dough’s texture. Think of it as giving the flour a head start. During autolysis, enzymes in the flour break down protein chains. This makes the dough easier to stretch and shape later on. The two main enzymes at work are:
- Amylase: Breaks down starch into sugars.
- Protease: Breaks down proteins, improving gluten formation.
This step also lets water fully hydrate the flour. As a result, the dough becomes smoother and more elastic.
Effects of Autolysis
The impact of autolysis is noticeable:
- Better Dough Texture: The dough is easier to knead and shape.
- Improved Flavor: Enzyme activity increases the dough’s natural sweetness.
- Enhanced Gluten Development: Stronger gluten means a better rise and crumb structure.
I usually let the dough rest for 20-60 minutes, depending on the type of flour. Softer flours need less time, while whole grain flours benefit from longer rest periods.
Benefits of Autolysing Dough
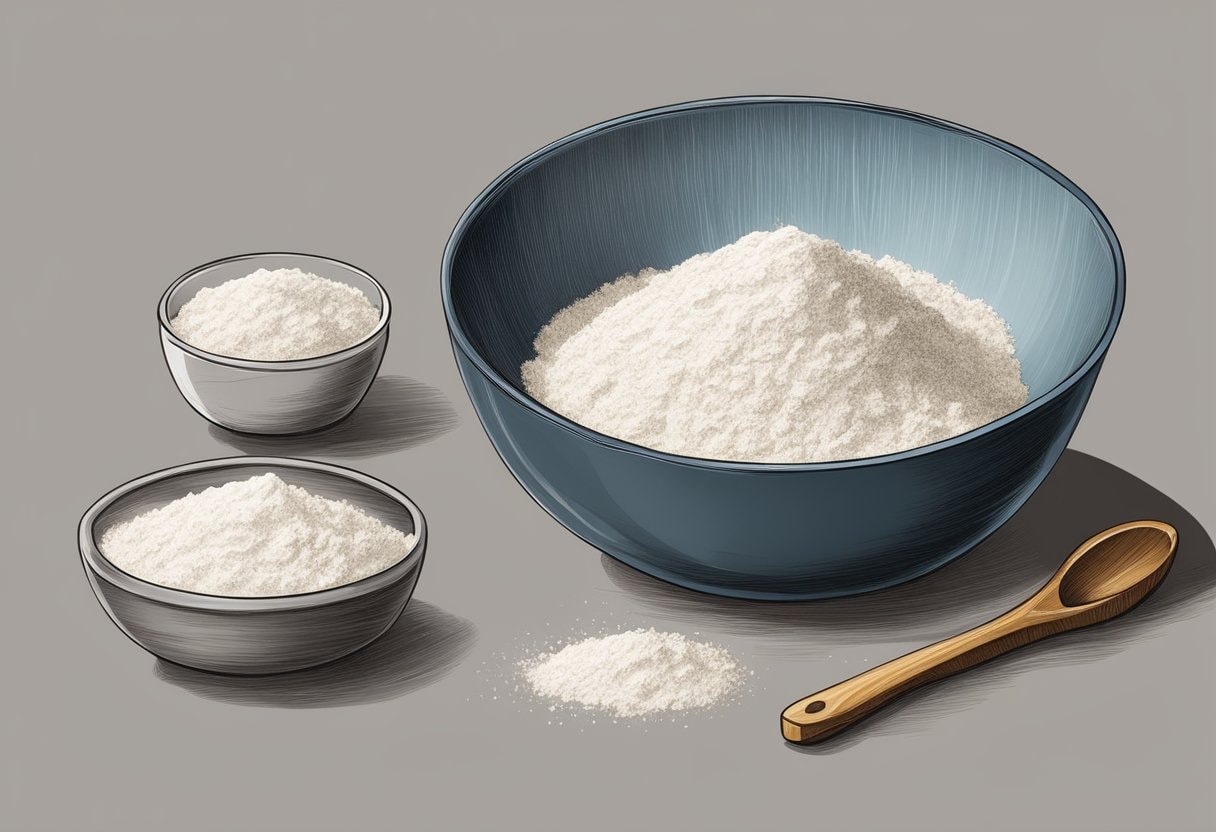
Autolysing dough has several advantages that can improve your bread baking.
- Improved Texture: When I autolyse dough, the gluten develops better. This results in a dough that’s easier to shape and has a nice, elastic structure.
- Better Flavor: Autolysing allows enzymes to break down the starches in flour into simple sugars. These sugars help enhance the flavor of the bread.
- Enhanced Dough Handling: The dough becomes more manageable. This means I spend less time and effort kneading the dough, which can be a big plus if I bake frequently.
- Increased Volume: Bread made from autolysed dough often has greater volume. The dough traps more gas during fermentation, leading to a lighter, airier loaf.
- Consistency: Autolysing helps hydrate the flour evenly. This reduces the chance of dry spots, ensuring a consistent dough every time I bake.
Knowing how to autolyse dough isn’t just about ease; it’s about getting the best possible results from your baking efforts. Using this method can also reduce mixing and kneading time, making the whole baking process smoother and more enjoyable. I find it especially useful when working with whole wheat flour.
When to Autolyse
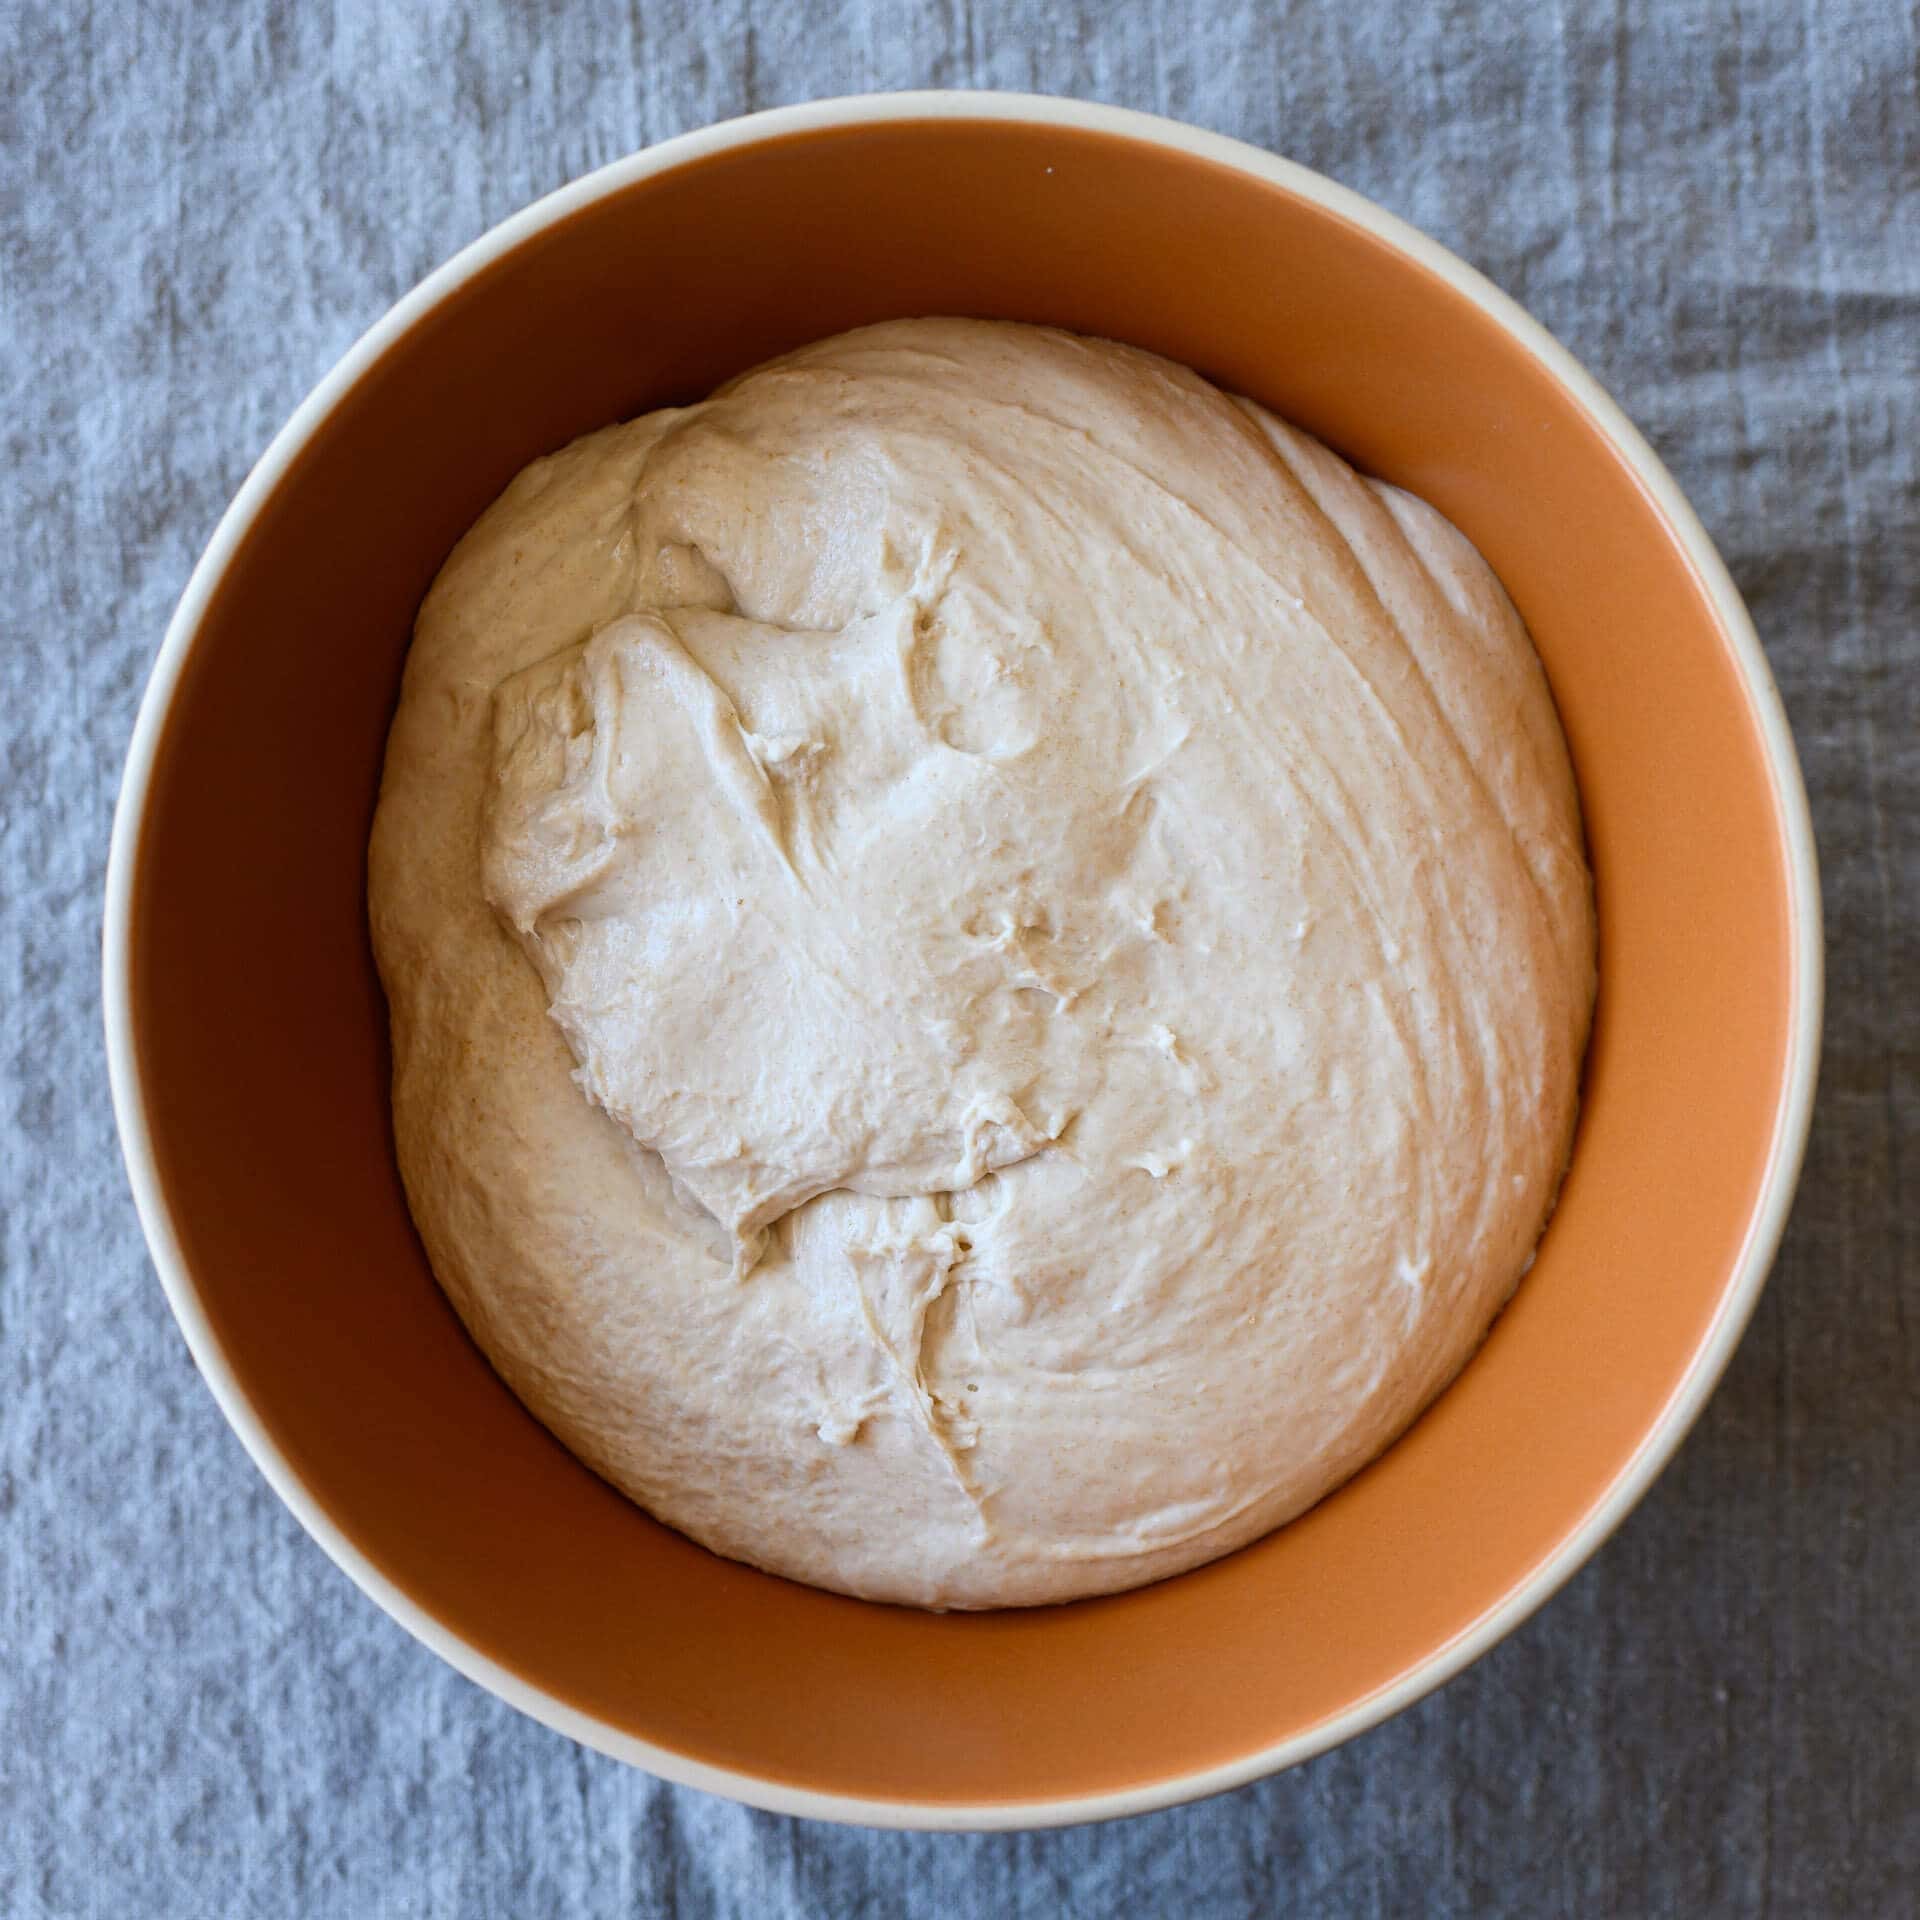
Knowing when to autolyse can make a big difference in baking. The timing depends on the type of flour and the recipe.
White Flour
For white flour, a short autolyse of about 10-30 minutes is often enough. This gives the flour time to hydrate and start developing gluten.
Whole Wheat Flour
When using whole wheat flour, I prefer a longer autolyse. Whole wheat flour has a tougher bran, so letting it rest for up to 2 hours can be beneficial.
It’s also important to consider your schedule. I might go for a shorter autolyse if I’m in a rush. Extending the autolyse period can improve the dough’s texture and flavor when I have more time. I usually adjust based on how the dough feels. I’ve found that the best time varies with the flour and the humidity in the air, so it’s best to check.
After autolyse, the dough should be more elastic and easier to handle. If it doesn’t feel right, let it rest a bit more. In my experience, the key is flexibility. You can tailor the autolyse time to suit your baking needs and schedule.
Here’s an additional video about whether to autolyse or not.
By: The Bread Code
How to Autolyse: Step-by-Step Guide
Learning how to autolyse dough involves starting with the basic ingredients: flour and water. This process helps improve the dough’s texture and makes it easier to handle.
Step 1: Measure Ingredients
- Flour: Use the amount specified in your recipe.
- Water: Measure precisely to ensure proper hydration.
Step 2: Mix Flour and Water
In a large mixing bowl, I pour in the water first. Then, I gradually add the flour while stirring. This method ensures the flour gets fully hydrated.
Step 3: Light Kneading
I lightly knead the mixture with my hands until no dry flour spots. The dough will still be rough at this stage.
Step 4: Rest Period
Cover the bowl with plastic wrap or a cloth. Let the dough rest for at least 30 minutes. This rest period is crucial for developing gluten.
Step 5: Add Remaining Ingredients
After the rest, add the preferment (if using) salt and any additional water. Mix the dough until it becomes smooth and elastic.
Did You Know?
There is a risk of over-autolysing dough. Signs include a very sticky and slack dough that is difficult to handle. Over-autolysed dough might also have reduced strength and need to hold its shape better during baking.
Autolysing for Different Types of Flour
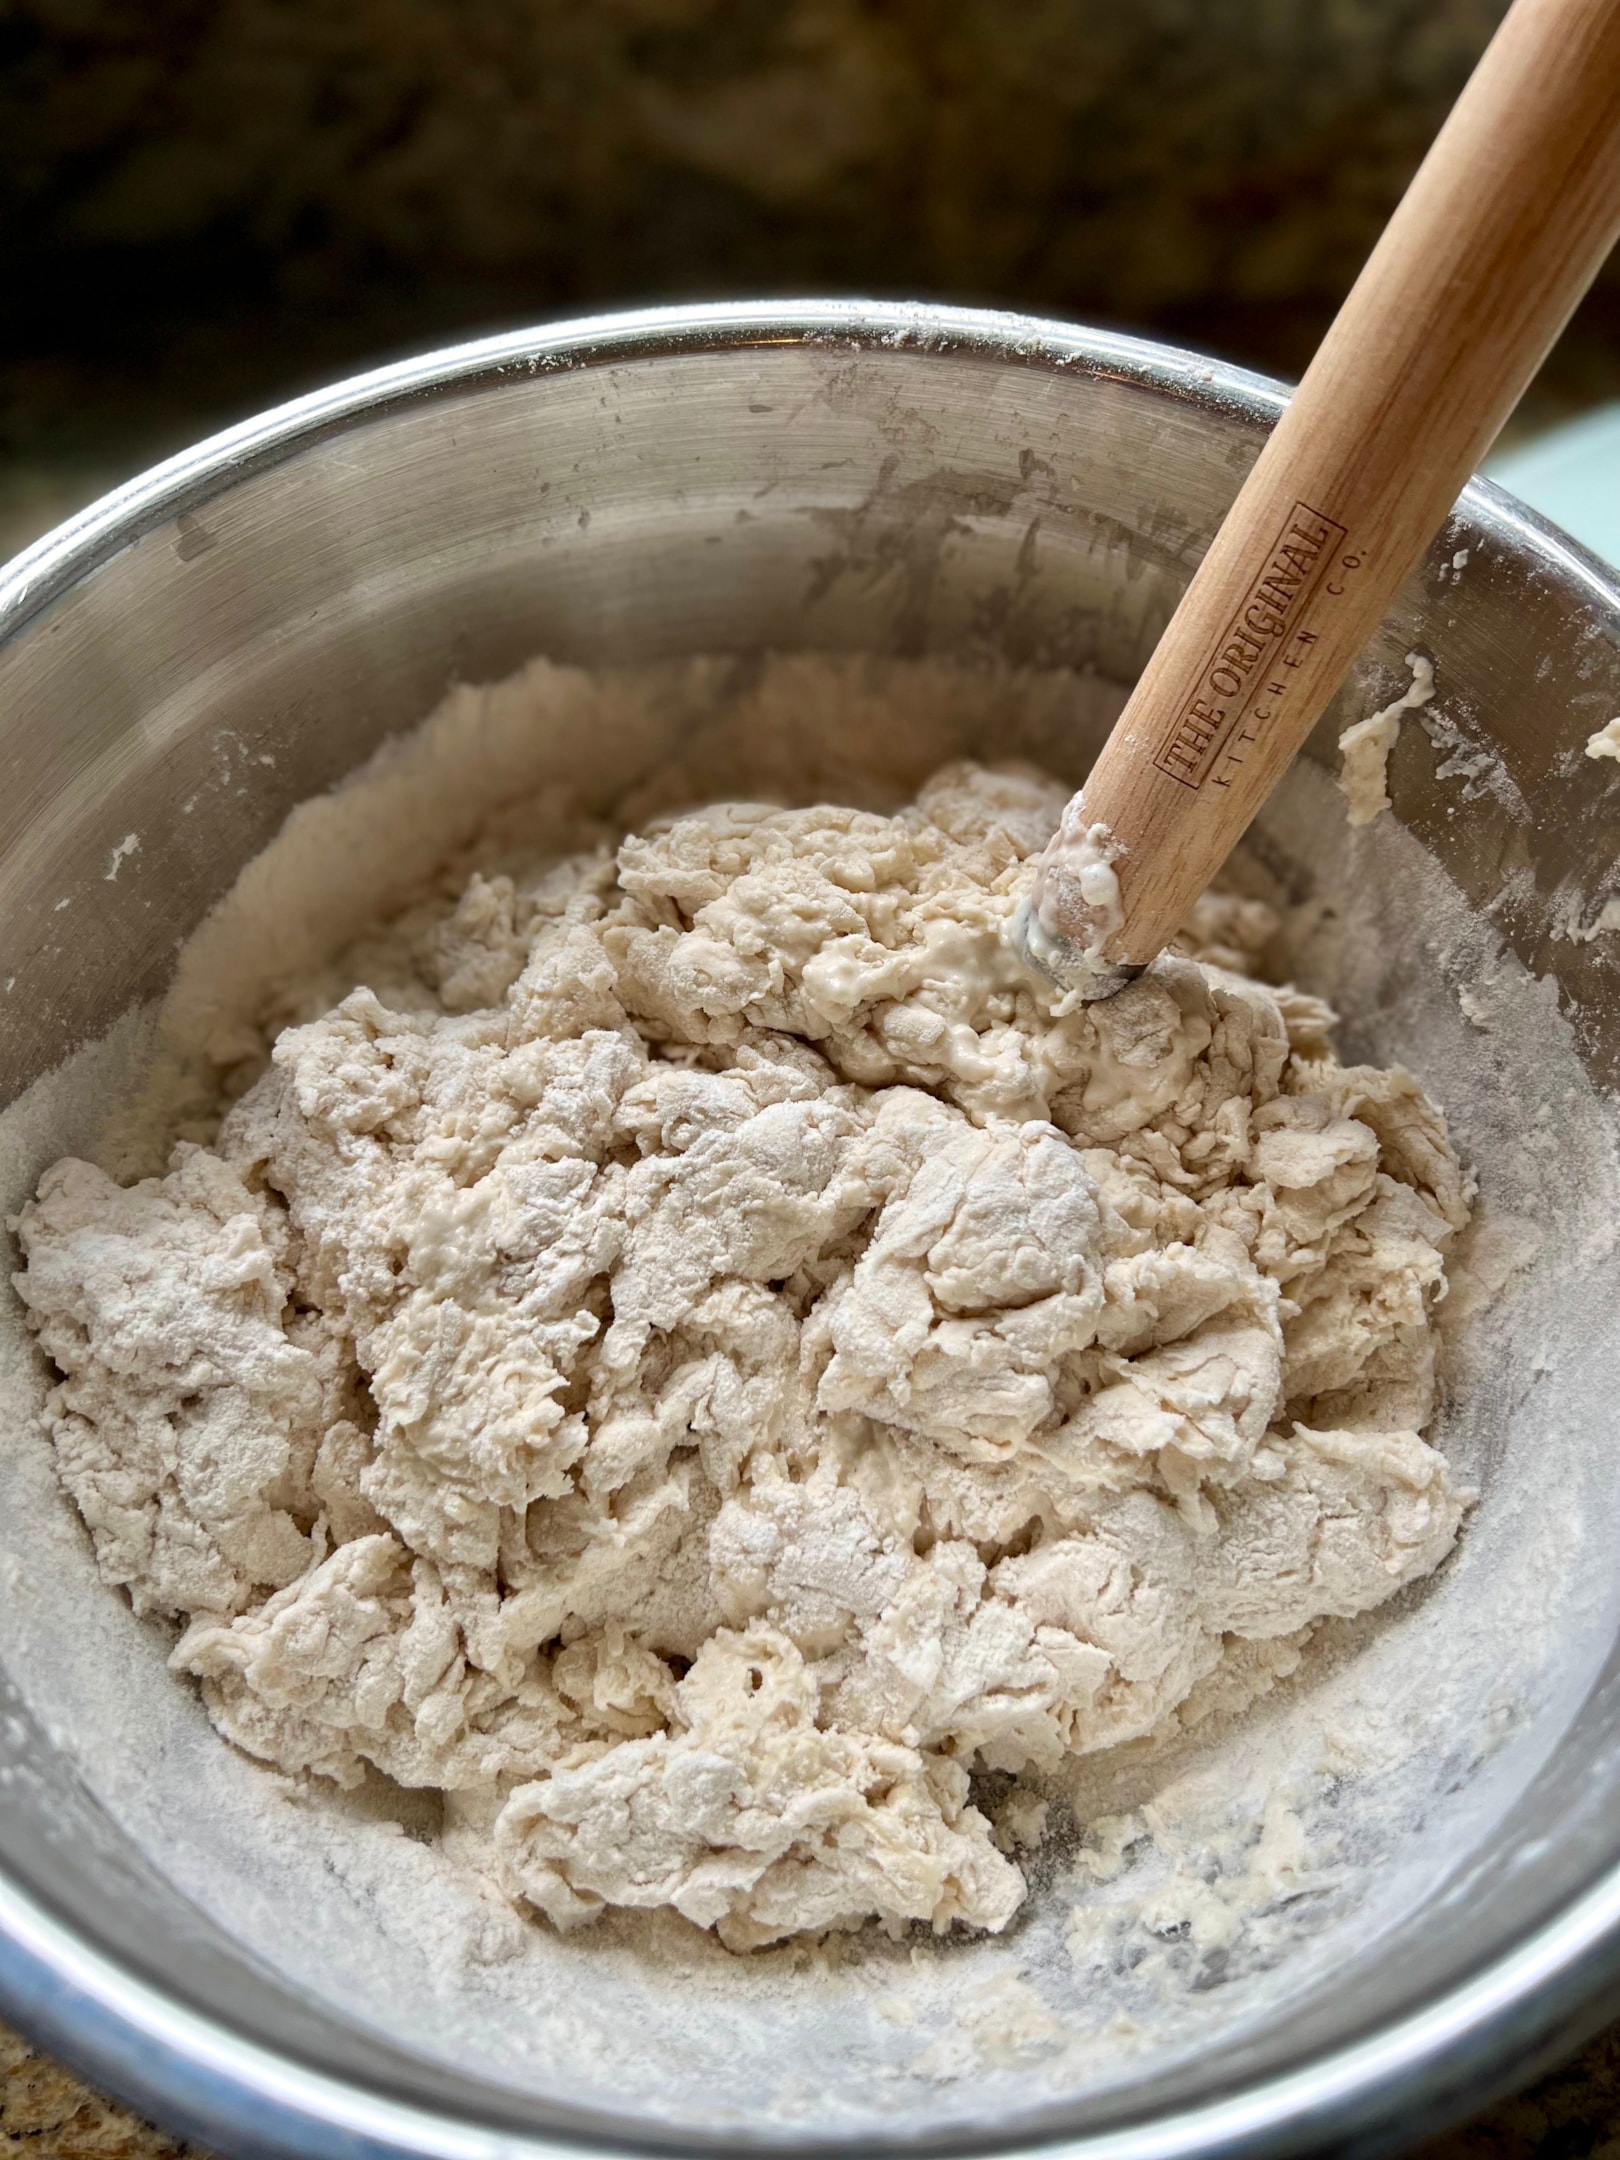
When working with different types of flour, the autolyse process can vary a bit. Each type of flour has different protein and fiber content, which affects how it absorbs water and develops gluten.
White Bread Flour
White bread flour is high in protein. It benefits greatly from the autolyse method. Mix the flour and water, then let it rest for 30-60 minutes. This helps the dough become extensible and easier to shape.
Whole Wheat Flour
Whole wheat flour has more fiber due to the bran. The bran can cut the gluten strands. I often use a longer autolyse, around 60-90 minutes to compensate. This extra time helps the bran soak up water and soften before kneading.
Rye Flour
Rye flour has less gluten than wheat flour. I generally don’t pre-soak rye flour. When I occasionally do, I keep the autolyse short, about 20-30 minutes. Overdoing it with rye can make the dough sticky and hard to handle.
Spelt Flour
Spelt flour has a different gluten structure. It’s more fragile. A 20-30 minute autolyse can help, but any longer might weaken the dough. I handle spelt flour dough more gently during mixing.
How to Autolyse Dough: Common Mistakes and How to Avoid Them
Impatient Resting Times
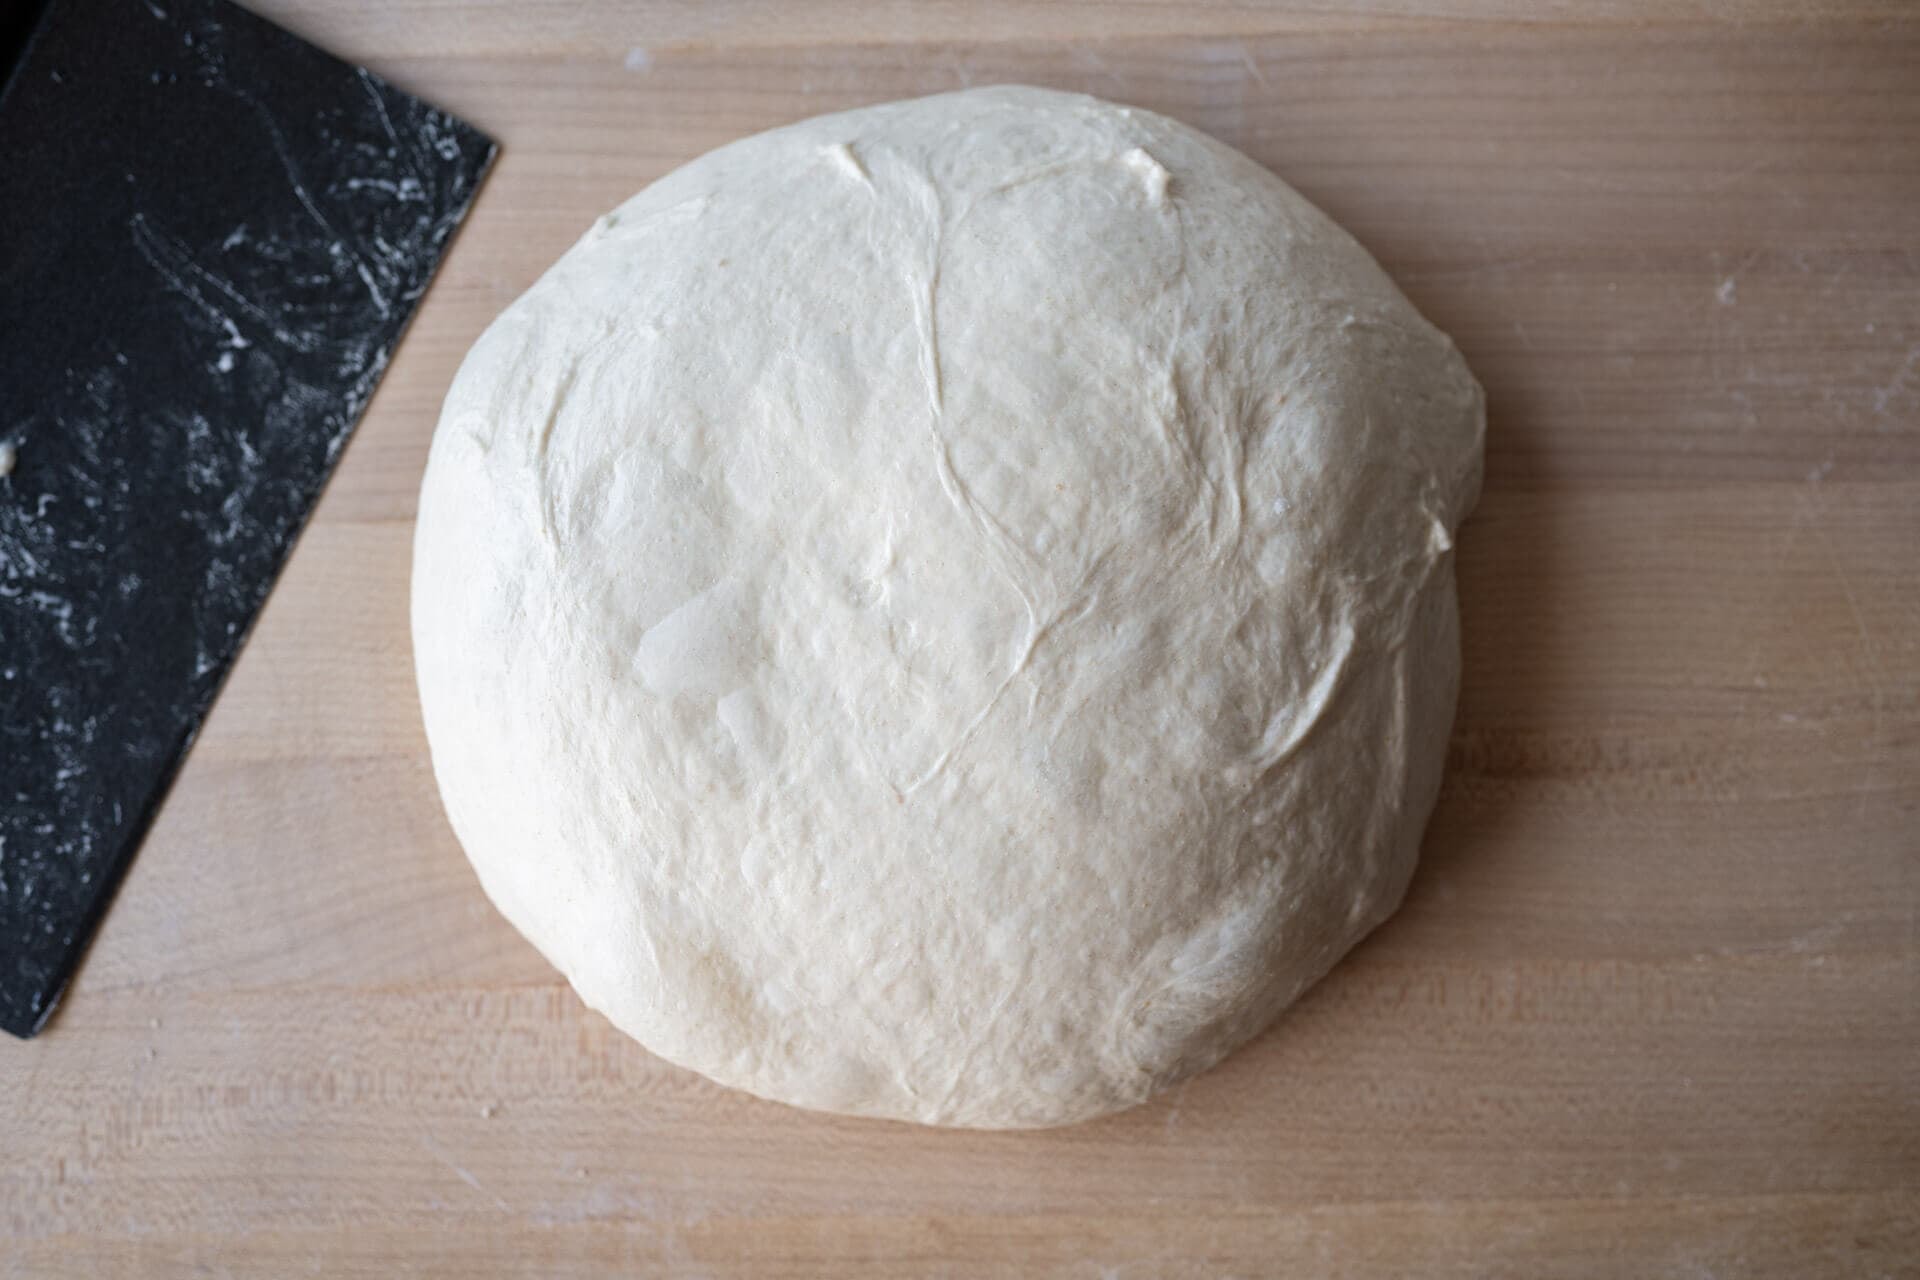
One common mistake is not giving the dough enough time to rest. The autolyse process needs time for the flour to hydrate and gluten to develop fully. I usually let it rest for at least 30 minutes. Rushing this step can lead to poorly developed dough.
Incorrect Water Temperature
Using water that’s too hot or too cold can affect the autolyse. I always use water at room temperature or just slightly higher. Hot water can kill yeast, while cold water can slow the process.
Adding Salt or Yeast Too Early
Avoid adding anything to the flour and water mix until after the analyse. Adding salt or yeast too early can interfere with the dough’s rest. During autolyse, only mix flour and water. This rest period helps improve the dough’s texture and strength. Yeast and salt should be added after the autolyse.
Overmixing the Dough
Overmixing can lead to a tough dough. I gently mix flour and water until just combined. Overworking the dough at this stage will break down gluten, which is counterproductive.
Ignoring Flour Type
Different flours need different rest times. Whole wheat flour, for example, typically needs a longer autolyse than white flour. When unsure, use the window pane test. The autolyse windowpane test is used in bread making to assess the gluten development in dough.
To perform the windowpane test, you take a small piece of dough and gently stretch it between your fingers. If the dough can be stretched thin enough to become translucent without tearing, the gluten is well-developed.
This is a sign that your dough is ready for further processing, such as adding salt, yeast, or kneading. The autolyse method can help achieve a good windowpane result with minimal effort, as it allows the dough to develop gluten effectively during the resting period.
Skipping the Process Entirely
Skipping autolyse can result in dense bread. This step is crucial because it improves dough elasticity and structure. Even a short rest makes a big difference, reducing kneading time later.
Inconsistent Environment
Keeping dough to rest in a consistent environment can affect results. I always ensure a stable, draft-free area to rest the dough. This keeps the autolyse process smooth and predictable.
Advanced Tips for Autolysing
When autolysing dough, following a few advanced techniques is important to get the best results.
Experiment with Timings
I often vary the autolyse time to see how it affects the dough. A longer autolyse, like 2 hours, can result in a more developed gluten structure.
Temperature Control
Maintaining the right temperature is key. I aim to autolyse at room temperature, around 70-75 degrees Fahrenheit. Colder environments slow down the process.
Hydration Levels
I sometimes adjust the water content. For wetter doughs, increasing hydration can enhance extensibility. For firmer doughs, I use less water.
Flour Choices
Using different types of flour can make a big difference. Whole wheat flour, for example, benefits greatly as the rest period allows the bran to soften.
Salt Addition Timing
Delaying the addition of salt until after the autolyse phase can lead to better flour hydration. Salt tightens the gluten structure, so adding it later gives the proteins in the flour more time to develop.
Gentle Mixing
When incorporating ingredients after the autolyse, I prefer gentle folding instead of vigorous mixing. This keeps the dough relaxed and extensible.
Adjusting for Enzyme Activity
If the dough becomes too sticky, I reduce autolyse time or hydration. This helps manage enzyme activity, preventing over-softening of the dough.
Incorporating Autolyse Into Your Baking Routine
Incorporating autolyse into your baking routine is simple and transformative. First, I mix the flour and water from my recipe until no dry flour remains. This step ensures full flour hydration, setting the stage for better dough development.
Next, I let this mixture rest. The resting period can range from 20 minutes to 1 hour. Longer rest times can improve the dough’s texture and structure.
Steps to Follow
- Combine flour and water: Mix until fully hydrated.
- Rest the dough: Let it sit for 20-60 minutes.
- Add other ingredients: After resting, incorporate levain, salt, and any additional water.
Here’s an additional video on how to autolyse dough.
By: The Bread Code
Unlocking Bakery-Quality Bread: The Transformative Power of Autolysis
Mastering the art of autolysis is a game-changer for any avid baker. By learning how to autolyse dough, you’re enhancing more than just a single step in your process; you’re elevating the entire quality of your baking. This technique, which involves mixing flour and water and allowing it to rest, significantly improves the dough’s gluten development, texture, and flavor. It simplifies the mixing and kneading, making your bread-making experience smoother and more efficient. Whether you’re working with white flour or whole grains, the benefits of autolysis are clear: it leads to better hydration, a superior rise, and a beautifully textured loaf.
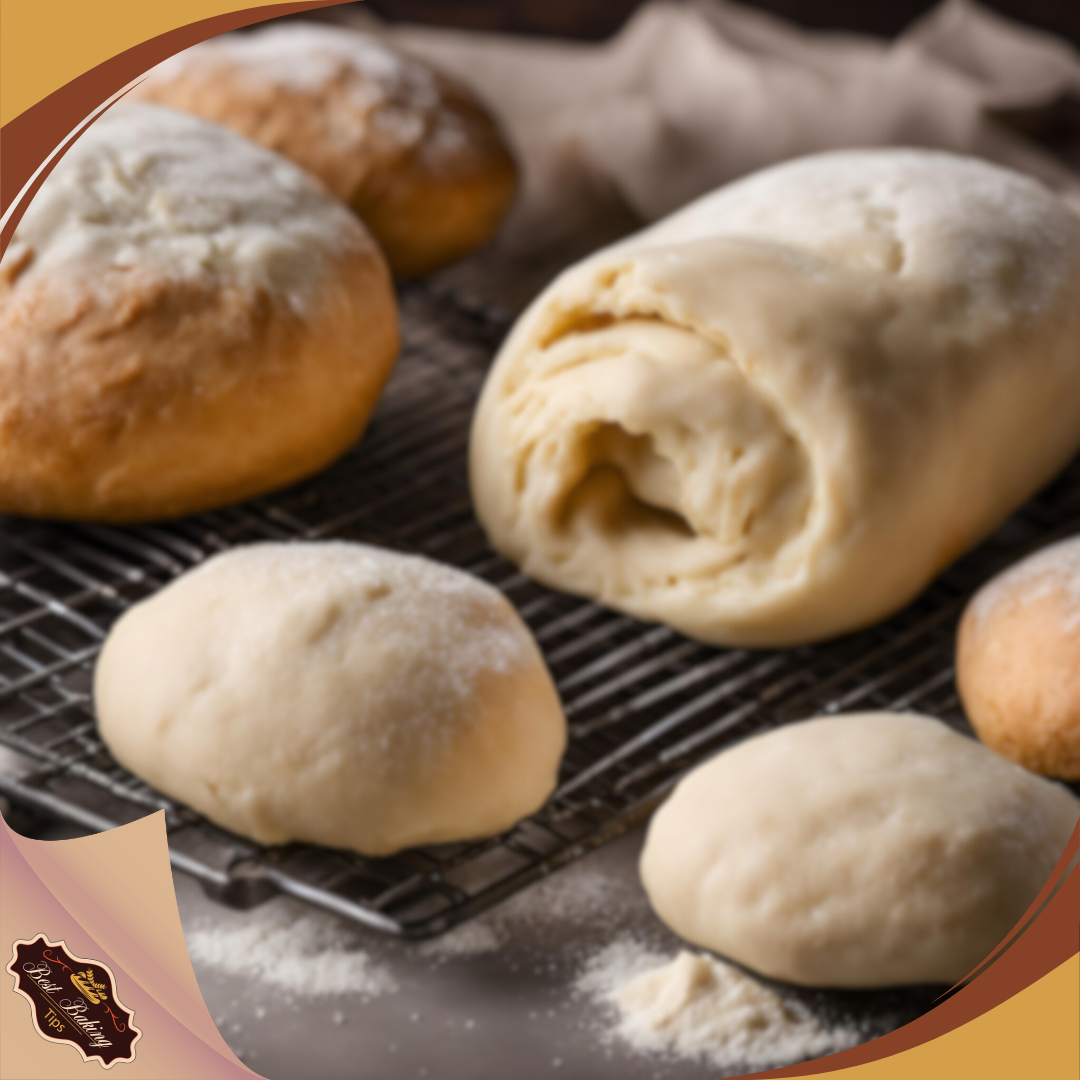
Incorporating autolyse into your baking routine improves the quality of your bread and connects you with traditional baking techniques that have been cherished for generations. The simplicity of the method belies its profound impact, making your dough easier to handle and resulting in a more flavorful and well-structured loaf. By understanding and applying this technique, you’ll unlock the potential for bakery-quality results in your kitchen, creating bread that’s as delightful to bake as it is to enjoy.
Frequently Asked Questions
What is the Purpose of Autolysing Dough in Bread Making?
Autolysing dough helps the flour fully hydrate, which activates enzymes that break down proteins to develop gluten. This makes the dough easier to knead and improves its texture by making it more extensible.
How Does the Inclusion or Exclusion of Starter Affect the Autolyse Process?
Including the starter during autolyse can speed up enzyme activity but may also start fermentation early. Excluding the starter during autolyse focuses on hydration and gluten development without beginning fermentation, giving more control over the process.
Under What Circumstances Should You Not Perform an Autolyse?
You should avoid autolysing if the dough has a high percentage of whole grains, as this can make the dough too slack. Also, if you’re using extremely high-protein flour, autolyse might not be necessary.
Elevate Your Baking Skills with Us!
Follow us on Facebook, Instagram, Pinterest, Twitter, and TikTok for:
- Engaging content
- Expert advice
- Product reviews
- Tips and techniques
Join our passionate baking community and discover the best tools and tips to create delicious treats at home!
#BakingBrilliance #BakingTips #BakingCommunity #BakeWithUs


