==================
Affiliate Statement
Best Baking Tips is supported by our audience. When you purchase through one of our links, we may earn a small affiliate commission. As an Amazon Associate I earn from qualifying purchases. Your cost is not affected.
==================
How To Properly Measure Ingredients
Essential Tips for Accurate Cooking
A little of this and a little of that might work for some cooking. But knowing how to properly measure ingredients is essential for baking. 0
- While making soup might allow for variables, baking requires more exact measurements. In fact, Measuring ingredients correctly is key to successful baking. Even small errors can lead to big problems in recipes.
To measure dry ingredients like flour, use the spoon and level method. For liquid ingredients, measure at eye level in a clear measuring cup. These techniques ensure accuracy and consistency in your baking.
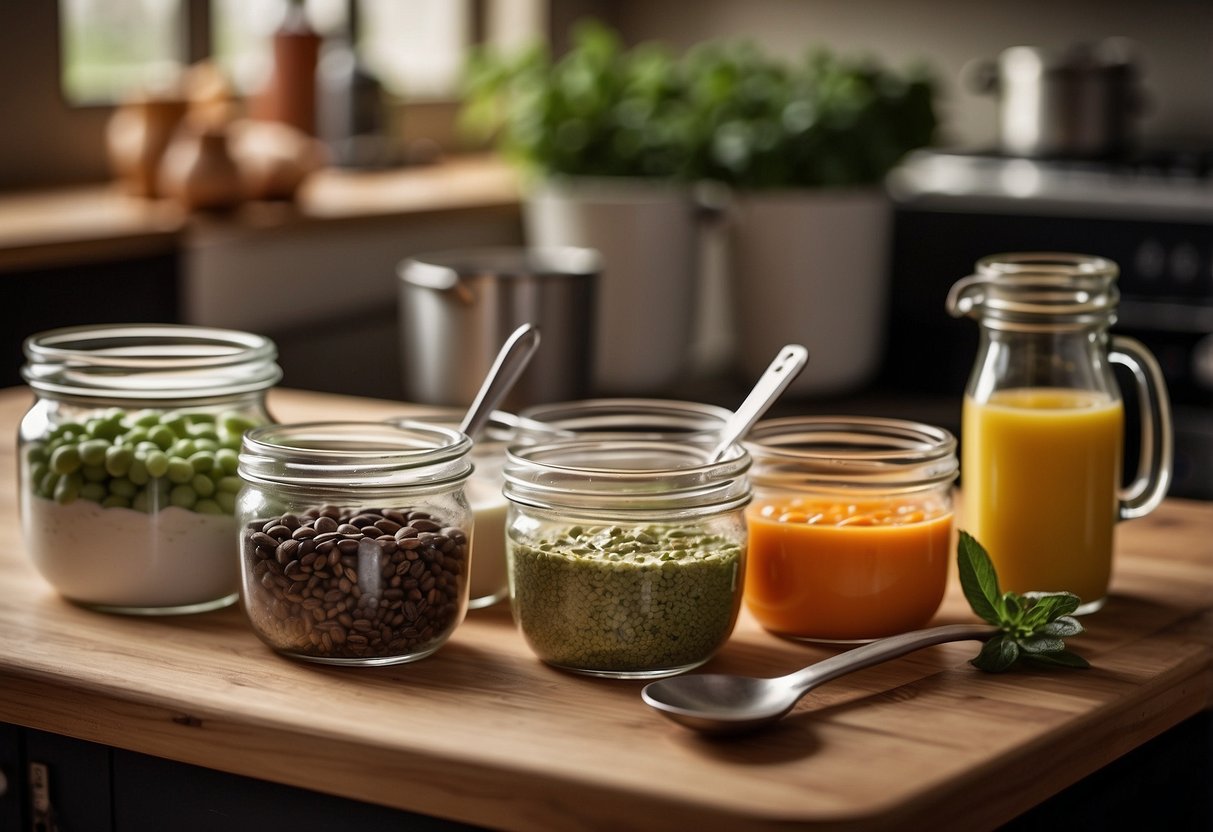
Proper measurement isn’t just about following rules. It’s also about understanding how ingredients work together. When I take the time to measure carefully, my baked goods turn out better. The texture is right, the flavors are balanced, and everything rises as it should.
I find that having the right tools makes measuring much easier. A set of dry measuring cups, liquid measuring cups, and measuring spoons are must-haves in my kitchen. With these basics, I can tackle almost any recipe with confidence.
Key Takeaways
- Use the spoon and level method for dry ingredients and eye-level measurement for liquids
- Invest in a set of measuring cups and spoons for accurate measurements
- Weigh ingredients when possible for the most precise results
Understanding Measurement Units
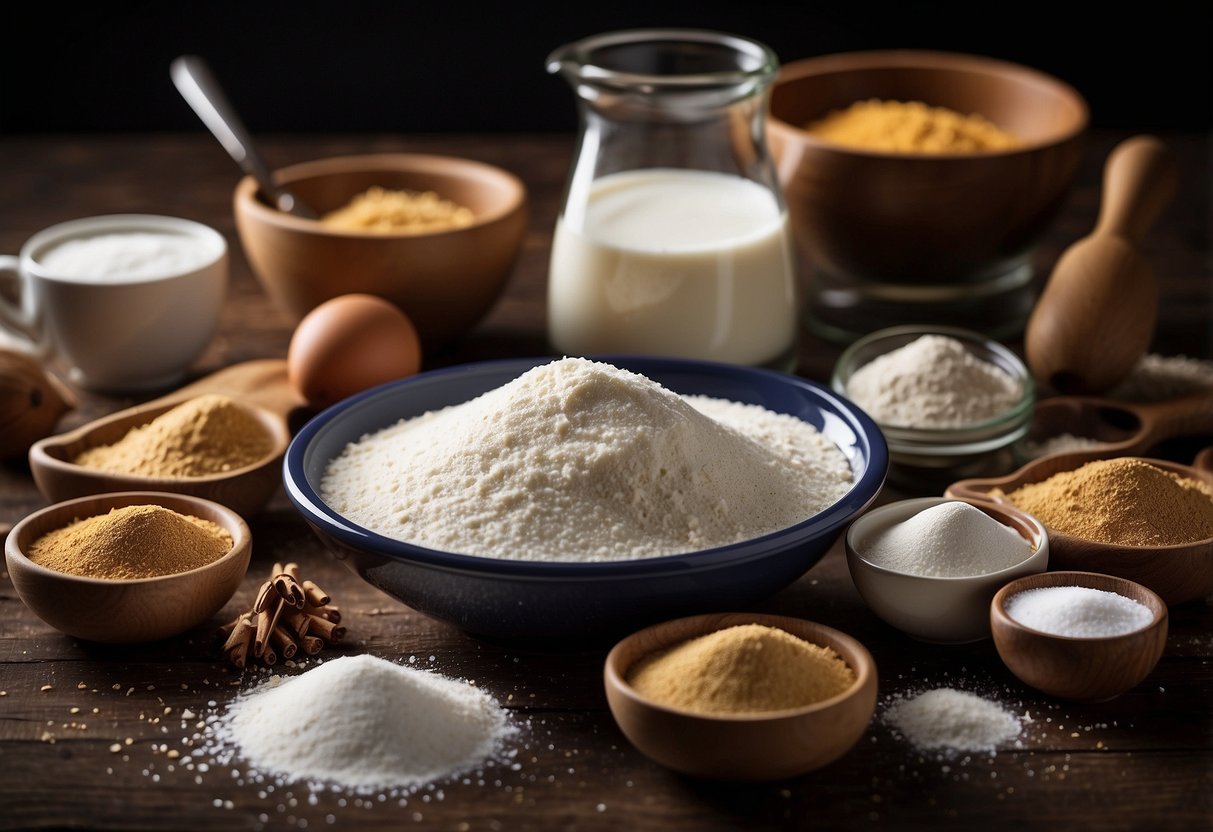
Accurate measurements are key to successful cooking and baking. Different units and systems can be confusing, but mastering them will improve your results.
Volume Versus Weight
Volume measures ingredients by the space they occupy, while weight measures their mass. For liquids, I use volume measurements like cups or fluid ounces. For dry ingredients, weight is more precise.
A cup of flour can vary in weight depending on how it’s packed. That’s why I prefer using a kitchen scale for dry goods. It gives consistent results every time.
For small amounts, teaspoons and tablespoons work well for both wet and dry ingredients. But be careful – these can be less accurate for larger quantities.
Metric Versus Imperial
The metric system uses units like grams, milliliters, and liters. Imperial units include ounces, cups, and pints. I find metric easier for scaling recipes, as it’s based on multiples of 10.
In the US, recipes often use imperial units. But many cookbooks now include both systems. It’s helpful to know some basic conversions:
- 1 cup = 237 ml
- 1 ounce = 28 grams
- 1 pound = 454 grams
Having measuring tools for both systems ensures I can follow any recipe accurately.
Decoding Measurements
Recipes sometimes use abbreviations or unfamiliar terms. Here’s a quick guide to common ones:
- tsp = teaspoon
- tbsp = tablespoon
- c = cup
- oz = ounce
- lb = pound
- g = gram
- ml = milliliter
I always check if a recipe uses weight or volume for dry ingredients. “1 cup flour (120g)” tells me I can use either method.
For butter, “1 stick” in US recipes equals 1/2 cup or 113 grams. Knowing these equivalents helps me measure ingredients correctly every time.
Tools and Equipment
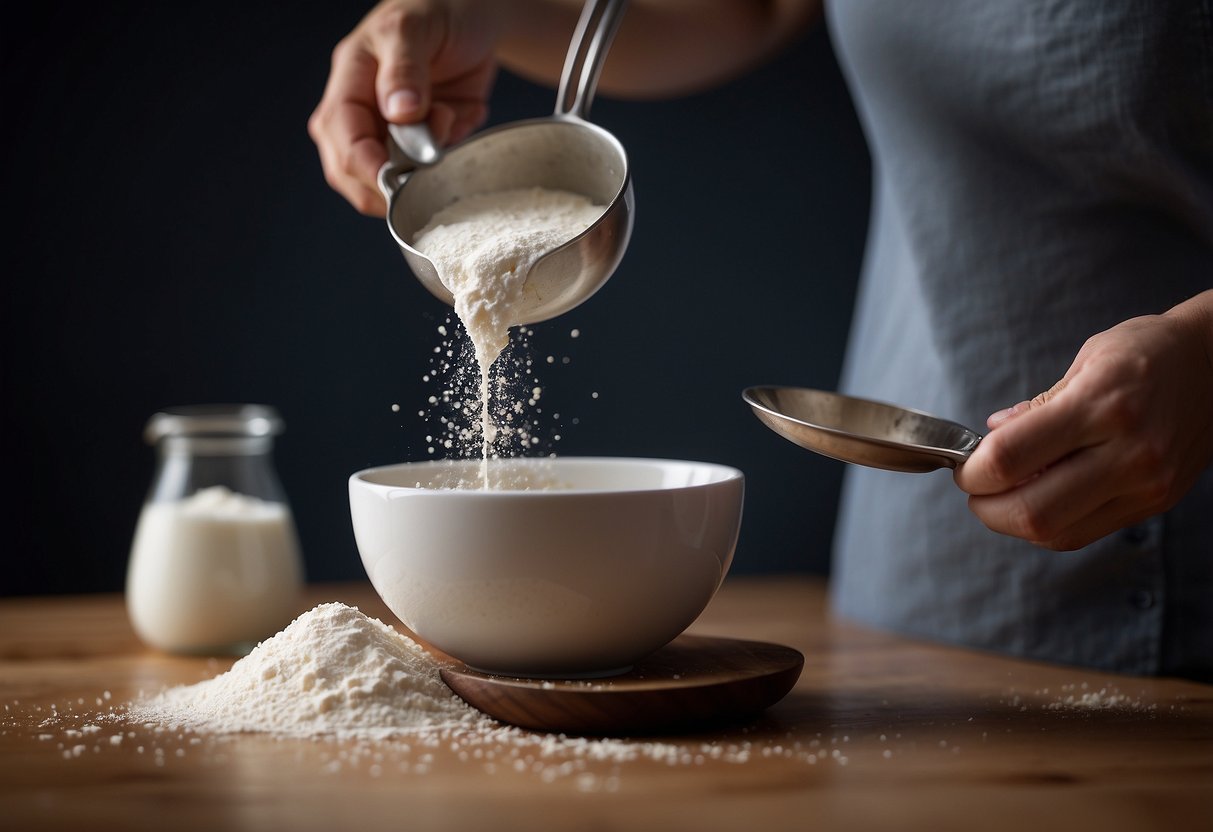
Proper measuring tools are essential for accurate baking and cooking. I’ll cover the key equipment you need to measure ingredients precisely.
Measuring Cups and Spoons
I always keep a set of measuring cups and spoons in my kitchen. Dry measuring cups come in 1/4, 1/3, 1/2, and 1 cup sizes. They have flat rims for leveling ingredients.
Liquid measuring cups have spouts and markings on the side. I use these for oils, water, and other liquids.
Measuring spoons typically include 1/4 teaspoon, 1/2 teaspoon, 1 teaspoon, and 1 tablespoon. Some sets have additional sizes like 1/8 teaspoon.
I make sure to level dry ingredients in cups and spoons with a straight edge. For brown sugar, I pack it firmly into the cup.
Digital and Mechanical Scales
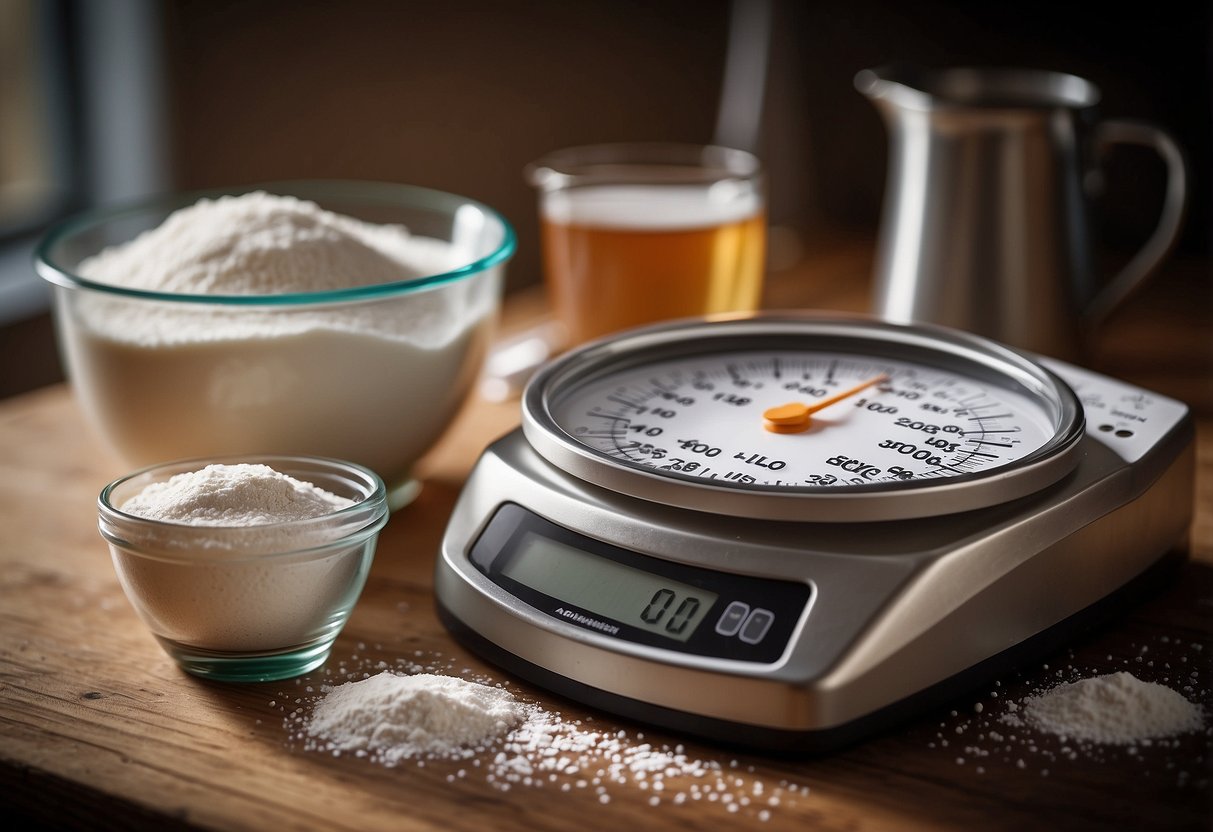
A kitchen scale is my go-to for the most precise measurements. Digital scales are easy to use and often measure in grams and ounces.
To use a scale, I place my bowl on it and press “tare” to zero it out. Then I add ingredients one by one, zeroing after each.
Some common weight conversions:
- 1 cup flour ≈ 120 grams
- 1 cup sugar ≈ 200 grams
- 1 cup butter ≈ 226 grams
Mechanical scales work too, but I find digital ones more accurate for small amounts.
Measuring Jars and Beakers
For larger liquid amounts, I use measuring jars or beakers. These often have markings for cups, ounces, and milliliters.
I look at liquid levels at eye level to get accurate readings. The bottom of the meniscus (curved surface) should touch the measurement line.
Pyrex measuring cups are heat-safe and great for melting ingredients in the microwave. I have 1-cup, 2-cup, and 4-cup sizes.
Some useful conversions:
- 1 cup = 8 fluid ounces
- 2 cups = 1 pint
- 4 cups = 1 quart
I also keep a conversion chart handy for quick reference when cooking or baking.
Measuring Dry Ingredients
Accurate measurement of dry ingredients is key for baking success. I’ll explain the best techniques for common dry ingredients.
Flour: Spoon and Sweep
I always use the spoon and sweep method for measuring flour. First, I fluff the flour in its container with a spoon to loosen it. Then I gently spoon it into my measuring cup, allowing it to overflow slightly.
I never pack the flour or tap the cup. This can add too much flour to your recipe. Instead, I use a straight edge like a knife to sweep across the top of the cup. This levels off the excess flour.
For the most precise measurements, I recommend using a kitchen scale. Weighing flour eliminates any guesswork.
Sugar: Scoop and Level
When measuring granulated or brown sugar, I use the scoop and level method. I dip my measuring cup directly into the sugar container to fill it. Then I use a straight edge to level it off.
For brown sugar, I pack it firmly into the cup. It should hold its shape when I turn the cup upside down. If a recipe calls for “lightly packed” brown sugar, I press it in less firmly.
Powdered sugar is different. I sift it first to remove lumps, then spoon it into the measuring cup and level it off.
Smaller Components: Pinch and Dash
For tiny amounts of ingredients like salt or spices, precise measurements are crucial. I use proper measuring spoons instead of eyeballing it.
A “pinch” is about 1/8 teaspoon. A “dash” is about 1/8 teaspoon of liquid. For very small amounts, I use mini measuring spoons that come in sizes like “smidgen” (1/32 tsp) and “drop” (1/64 tsp).
I always level off dry ingredients in measuring spoons using a straight edge. This ensures I’m not adding too much of potent ingredients like baking powder or salt.
Measuring Wet Ingredients
Accurate measurement of wet ingredients is crucial for recipe success. I’ll explain the best techniques for different types of liquids and wet ingredients.
Liquids: Pour and Read at Eye Level
To measure liquids, I use a clear glass or plastic measuring cup. I place it on a flat surface and pour in the liquid.
I bend down to check the measurement at eye level. This helps me see the bottom of the liquid’s meniscus – the curved surface that forms in the cup.
For accuracy, I make sure the bottom of the curve lines up with the measurement line. I avoid lifting the cup, as this can change the liquid’s level.
For smaller amounts, I use measuring spoons. I fill them to the brim and level off with my finger or a knife.
Sticky Substances: Oil the Cup
When measuring sticky ingredients like honey or molasses, I lightly coat the measuring cup with oil first. This helps the ingredient slide out easily.
I use a rubber spatula to scrape out every last bit. This ensures I get the full amount the recipe calls for.
For peanut butter or shortening, I use the water displacement method. I fill a larger measuring cup with water, then add the sticky substance until the water level rises to the desired measurement.
Eggs: Cracking and Separating
When a recipe calls for eggs, I crack them into a separate bowl first. This prevents shell pieces from getting into the batter.
To separate yolks and whites, I crack the egg and gently transfer the yolk between the two halves of the shell. The white falls into a bowl below.
For recipes needing just egg white, I use 2 tablespoons of liquid egg white per whole egg. If I need just yolks, I use 1 tablespoon of yolk per whole egg called for in the recipe.
Specialty Ingredients
Measuring specialty ingredients requires extra care and attention. Precision is key for leaveners, while spices and herbs demand consideration of freshness and form.
Leaveners: Precise Measurements Matter
When it comes to leaveners like baking powder and baking soda, accuracy is crucial. I always use level measurements for these ingredients. A little too much or too little can significantly impact the texture of baked goods.
For baking powder, I use 1 teaspoon per cup of flour as a general rule. With baking soda, I stick to 1/4 teaspoon per cup of flour. These are just starting points, though. I adjust based on the recipe.
Remember that leaveners lose strength over time. I replace mine every 3-6 months to ensure optimal performance in my baking.
Spices: Freshness and Potency
Spices can vary greatly in potency, which affects how I measure them. Fresher spices are more potent, so I use less. Older spices might require more to achieve the same flavor impact.
I store my spices in airtight containers away from heat and light. This helps maintain their potency. When measuring, I use these guidelines:
- Ground spices: 1/4 to 1/2 teaspoon per 1 pound of meat or 4 servings
- Whole spices: 1 to 2 teaspoons per 1 pound of meat or 4 servings
I always start with less and add more to taste. It’s easier to add than to take away.
Herbs: Chopped Versus Whole
Measuring herbs can be tricky because their volume changes when chopped. I follow this rule of thumb: 1 tablespoon of fresh herbs equals 1 teaspoon of dried herbs.
For fresh herbs, I measure after chopping unless the recipe specifies otherwise. Chopped herbs pack more tightly in a measuring spoon than whole leaves.
When using whole herb leaves, I measure loosely packed. For chopped herbs, I measure more firmly packed. This ensures consistent flavor across different recipes.
I always taste as I go when using herbs. Their flavor can vary based on freshness and variety, so adjusting to taste is key.
Temperature Considerations
Temperature plays a crucial role in measuring ingredients accurately. Getting it right affects how ingredients mix and interact, ultimately impacting your baking results.
Ingredients at Room Temperature
I always make sure my ingredients are at room temperature before measuring. This is especially important for butter, eggs, and dairy. Room temperature ingredients blend more easily and create a smoother batter.
For butter, I take it out of the fridge 30-60 minutes before use. If I’m in a hurry, I cut it into small cubes to speed up the process. Eggs warm up faster when placed in a bowl of warm water for 5-10 minutes.
Room temperature ingredients ensure more accurate measurements. Cold butter, for example, is harder and can trap air pockets when measured.
Dealing with Heat and Humidity
Heat and humidity can affect ingredient measurements, especially for dry goods like flour. In hot, humid conditions, flour absorbs moisture from the air, making it heavier.
To combat this, I store flour in an airtight container. Before measuring, I give it a good stir to loosen it up. If it feels damp, I might measure out a bit less than the recipe calls for.
For chocolate and butter, high temperatures can cause melting. I keep them in the fridge until I’m ready to measure. If a recipe specifies melted ingredients, I melt them just before adding to the mix.
Practical Tips and Tricks
Measuring ingredients correctly is key to successful cooking and baking. I’ll share some helpful techniques to improve your accuracy and efficiency in the kitchen.
Consistency in Measuring
I always make sure to use the right tools for each ingredient. For dry goods, I use flat-topped measuring cups and level them off with a straight edge. With liquids, I use clear measuring cups and check at eye level.
I avoid shaking or tapping dry measuring cups, as this can pack ingredients too tightly. For brown sugar, I pack it firmly into the cup until it holds its shape when turned out.
When measuring small amounts, I find teaspoons and tablespoons more accurate than partial cup measurements. I keep a conversion chart handy for quick reference.
Corrective Measures
If I realize I’ve added too much of an ingredient, I don’t panic. For liquids, I can often pour out the excess. With dry ingredients, I carefully scoop out the extra.
I keep extra ingredients on hand in case I need to adjust ratios. If a recipe is too dry, I add small amounts of liquid. If too wet, I incorporate more dry ingredients gradually.
For baking, precision is crucial. I measure all ingredients before starting to avoid mistakes. This also helps me catch any missing items early.
Storing and Maintenance of Tools
I store my measuring tools in a clean, dry place to prevent warping or damage. Plastic cups go on upper shelves to avoid heat exposure that could alter their shape.
After each use, I wash my tools thoroughly, especially if they held fats or sticky substances. For metal cups, I dry them immediately to prevent rust.
I regularly check my tools for accuracy. To test liquid measures, I fill to the 1-cup line with water and pour into another reliable measure. For dry cups, I compare weight to volume ratios of ingredients like sugar.
Frequently Asked Questions
Measuring ingredients correctly is key to successful baking. It takes practice and the right tools to get precise measurements every time.
What is the most accurate way to measure dry ingredients for baking?
The most accurate way to measure dry ingredients is by weight using a digital kitchen scale. I recommend zeroing out the scale with an empty bowl, then adding ingredients until you reach the specified weight.
This method is far more precise than using measuring cups. It eliminates issues like compaction or air pockets that can throw off volume measurements.
How do you ensure precise measurement of liquid ingredients?
For liquids, I use clear glass or plastic measuring cups with easy-to-read markings. I place the cup on a flat surface and bend down to check at eye level.
This helps me see exactly where the liquid hits the measurement line. I avoid relying on the meniscus, which is the curved surface at the top of the liquid.
What techniques should be used to measure flour to ensure the best baking results?
When measuring flour by volume, I use the spoon and level method. I fluff the flour, spoon it into the measuring cup, and level off the excess with a straight edge.
This prevents compacting, which can lead to using too much flour. For even better results, I weigh flour on a scale, aiming for about 120-125 grams per cup of all-purpose flour.
Can you describe the step-by-step process for measuring both dry and liquid ingredients?
For dry ingredients, I start by placing my mixing bowl on a digital scale. I zero it out, then add ingredients one by one, zeroing between each.
For liquids, I use a clear measuring cup on a flat surface. I pour slowly and check at eye level to ensure accuracy. I always measure sticky ingredients like honey in a greased measuring cup for easy release.
What are the best tools for measuring ingredients in cooking to maintain consistency?
I rely on a few key tools for consistent measurements. A digital kitchen scale is essential for precise weights. I also use nested measuring cups for dry goods and clear measuring cups for liquids.
Measuring spoons in various sizes are crucial for smaller amounts. I prefer metal spoons with long handles that can easily reach into spice jars.
How are ingredients measured differently for cookies compared to cakes or bread?
For cookies, I often use volume measurements like cups and teaspoons. Slight variations usually don’t drastically affect the outcome.
Cakes and bread are more sensitive to precise ratios. For these, I always weigh ingredients on a scale. This ensures the proper balance of flour, liquid, and leavening agents for the best texture and rise.

