==================
Affiliate Statement
Best Baking Tips is supported by our audience. When you purchase through one of our links, we may earn a small affiliate commission. As an Amazon Associate I earn from qualifying purchases. Your cost is not affected.
==================
How To Prepare Your Baking Pans
Essential Steps for Perfect Results
Your cake baked up perfectly and you gave it a short time to cool before removing from the pan. And then…it stuck! Part of your cake is stuck to the bottom of your pan. Knowing how to prepare your baking pans correctly is a crucial step in achieving perfect results. I’ve found that taking a few extra minutes to prep my pans can make a big difference in how easily my baked goods release and how well they turn out.
Greasing and flouring pans or using parchment paper are effective methods to prevent sticking and ensure easy removal.

Different types of baked goods may require different pan prep techniques.
For cakes, I like to use a combination of grease and flour. For breads, a light coating of oil or butter usually does the trick.
When baking cookies, I often reach for parchment paper or a silicone baking mat for easy cleanup.
Key Takeaways
- Proper pan preparation prevents sticking and ensures easy removal of baked goods
- Different baked items may require unique preparation methods
- Regular care and maintenance of baking pans improves their longevity and performance
Understanding Pan Preparation
Preparing baking pans correctly is key for successful baking. It affects how easily your baked goods release and how evenly they cook. I’ll explain why it matters and cover common pan types.
Importance of Pan Preparation
Proper pan preparation prevents sticking and helps baked goods release cleanly. It can impact browning, texture, and even cooking times.
For cakes, I always grease and flour my pans. This creates a barrier between the batter and pan. It gives cakes a nice crust and helps them slip out easily.
Some recipes, like certain cookies, work best on ungreased pans. The dough can grip the pan and spread properly. I always check the recipe instructions.
Lining pans with parchment paper is another great option. It makes removal super easy and keeps pans cleaner.
Types of Baking Pans
Different pans need different prep. Here are common types:
- Metal pans: Often need greasing and flouring
- Glass pans: Usually just need greasing
- Silicone pans: Often don’t need any prep
- Non-stick pans: May still benefit from light greasing
For bundt pans, I use a baking spray with flour. It gets into all the nooks and crannies.
Muffin tins can be greased or lined with paper liners. For savory recipes, I prefer greasing directly.
Sheet pans for cookies often don’t need prep. But for sticky items like caramels, I always line with parchment.
Preparing Different Types of Pans
Baking pans come in various materials and sizes. I’ll cover key methods to prepare them for best results. These techniques help prevent sticking and ensure easy release of baked goods.
Greasing and Flouring
I start by coating the pan with a thin layer of fat. Butter, oil, or shortening work well. I spread it evenly using a pastry brush or paper towel.
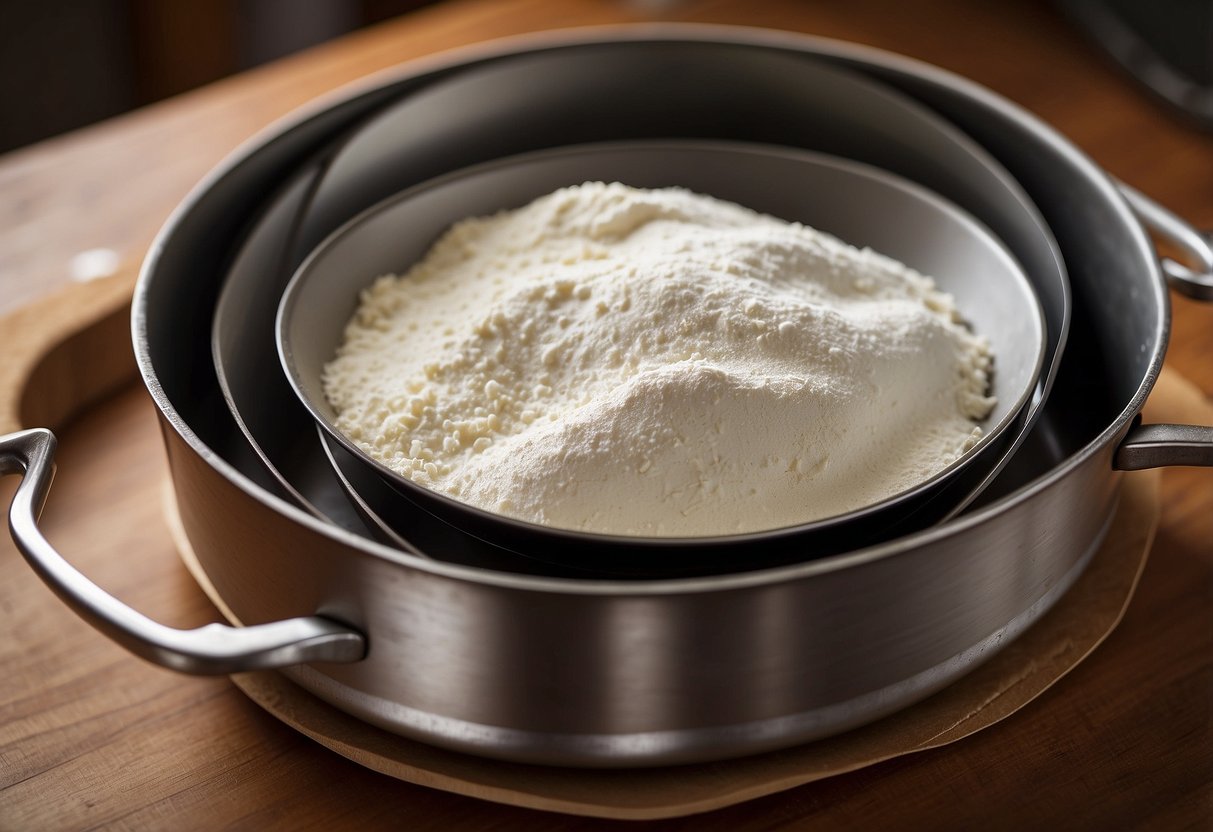
Next, I add a tablespoon of flour. I tilt and tap the pan to coat all surfaces. Any excess flour gets dumped out.
This method works great for cakes and quick breads. It creates a thin crust that helps the baked good release cleanly. For chocolate cakes, I use cocoa powder instead of flour to avoid white marks.
Some tips:
- Use softened butter for easier spreading
- Apply a very thin, even layer to avoid greasy spots
- Tap out all excess flour to prevent clumps
Parchment Paper Lining
Parchment paper is my go-to for many baked goods.
I cut a piece to fit the bottom of the pan. For square or rectangular pans, I leave some overhang on two sides. This creates “handles” to lift out the baked item.
I lightly grease the pan first so the paper sticks. Then I press the paper in, smoothing out any wrinkles. For round pans, I trace the bottom and cut out a circle.
Parchment is great for:
- Brownies and bar cookies
- Cakes that need to be inverted
- Sticky items like caramel or toffee
It provides easy release and protects delicate crusts.
Using Non-Stick Sprays
Non-stick sprays offer quick, even coverage. I use them for intricate pans like bundt or madeleine molds.
The fine mist reaches all the nooks and crannies. I hold the can 6-8 inches away and spray in a sweeping motion.
A light coating is all that’s needed. Too much can leave a sticky residue.
For best results:
- Spray just before adding batter
- Use over a sink to contain overspray
- Choose a neutral-flavored spray for most baking
Some bakers avoid sprays on non-stick surfaces, as they can build up over time.
Butter and Sugar Coating
This technique creates a sweet, crisp crust on cakes and quick breads.
I start by greasing the pan with softened butter. Then I add a few tablespoons of granulated sugar.
I tilt and tap the pan to coat all surfaces with sugar. Any excess gets dumped out. The sugar sticks to the butter, creating a barrier.
As the item bakes, the sugar caramelizes slightly. This adds flavor and helps with release. It works especially well for:
- Pound cakes
- Coffee cakes
- Muffins
For a twist, I sometimes use cinnamon sugar or finely chopped nuts instead of plain sugar.
Addressing Common Challenges
Getting your baking pans ready can be tricky. Let’s look at some issues you might face and how to fix them.
Sticking
Stuck cakes are frustrating. To prevent this, I use parchment paper in my pans.
I cut it to fit, then spray the pan lightly before placing the paper.
For pans without removable bottoms, I grease them well. A mix of oil and flour works great. I spread it evenly with a pastry brush.
Silicone molds are naturally non-stick. But I still give them a light spray for extra insurance.
Uneven Baking
Uneven baking can ruin a perfect recipe.
I make sure my oven rack is level before baking. This helps the batter spread evenly.
I also rotate my pans halfway through baking to counter hot spots in the oven.
For layer cakes, I use cake strips. These insulate the sides of the pan, helping the cake rise more evenly.
Filling pans only 2/3 full prevents overflow and promotes even baking.
Warping and Damage
Warped pans can lead to lopsided cakes. I avoid sudden temperature changes to prevent this.
I don’t put hot pans in cold water or vice versa.
I also store my pans carefully. Stacking them with paper towels in between prevents scratches.
For non-stick pans, I use plastic or silicone utensils. Metal can damage the coating.
I hand wash my pans when possible. If using a dishwasher, I make sure they’re dishwasher safe first.
Regular inspection helps me spot any damage early. I replace pans when they show signs of wear to ensure the best baking results.
Specialty Pans and Techniques
Some baking pans require special preparation methods. These techniques help ensure your baked goods release easily and come out looking great.
Bundt Pans
Bundt pans can be tricky to prepare due to their intricate designs. I recommend using a baking spray with flour for the best results.
Spray the pan thoroughly, making sure to coat all the nooks and crannies.
For extra insurance, I dust the greased pan with flour. Tap out any excess. This dual method helps prevent sticking in those hard-to-reach spots.
If you prefer not to use spray, you can use softened butter. I apply it with a pastry brush to coat the entire surface evenly. Then I dust with flour as before.
Remember to invert the pan and tap out any excess flour. This prevents a floury residue on your finished cake.
Springform Pans
Springform pans are ideal for delicate desserts like cheesecakes. To prepare, I start by greasing the bottom and sides with butter or cooking spray.
Next, I line the bottom with parchment paper. Here’s a tip: place the bottom of the pan on parchment, trace around it, and cut out the circle. This ensures a perfect fit.
For the sides, I use a strip of parchment paper. This makes it easier to remove the cake later. I secure it in place with cooking spray or butter.
If your recipe calls for a water bath, wrap the outside of the pan in foil. This prevents water from seeping in through the seam.
Silicone Bakeware
Silicone bakeware is naturally non-stick, but I still prepare it for best results. I lightly grease the pan with cooking spray or butter. This helps with browning and easy release.
For even baking, I place silicone pans on a baking sheet. This provides stability and helps distribute heat evenly.
When using silicone molds for small items like muffins or cupcakes, I place them on a baking sheet before filling. This makes it easier to transfer them to the oven.
After baking, I let the items cool in the silicone mold for a few minutes. Then I gently push on the bottom to release. The flexibility of silicone makes this easy.
Maintenance and Care
Taking good care of your baking pans helps them last longer and perform better. I’ll cover some key cleaning and storage practices to keep your pans in top shape.
Cleaning Practices
I always clean my baking pans after each use. For everyday cleaning, I wash them in warm, soapy water and rinse thoroughly. Stubborn messes need extra attention. I soak the pan in hot water and dish soap for about 30 minutes to loosen stuck-on food.
For tougher jobs, I make a paste with baking soda and water. I spread this on problem areas and let it sit for 15-20 minutes before scrubbing gently. Vinegar and baking soda can also work wonders. I pour 1 cup of vinegar and 2 teaspoons of baking soda on the pan and let it fizz for 30 minutes.
I avoid using steel wool or harsh scrubbers on non-stick surfaces. These can damage the coating. For non-stick pans, I stick to soft sponges or cloths.
Storage Solutions
Proper storage keeps my baking pans in good condition. I make sure pans are completely dry before storing to prevent rust. Stacking pans can lead to scratches, so I use pan protectors or paper towels between them.
I store my baking sheets vertically in a cabinet or pantry. This saves space and makes them easy to grab. For round cake pans, I nest them with care, using pan separators to avoid scratching.
Hanging pans is another great option. I use a pegboard or pot rack to keep them organized and easily accessible. This also prevents dents from stacking.
I store silicone baking mats flat or rolled up, never folded. This prevents creases that could affect their performance. By following these storage tips, I keep my pans in great shape for years of baking.
Optimizing Baking Results
To get the best results when baking, I recommend preparing your pans properly. This starts with choosing the right size pan for your recipe. Using the correct pan size ensures your baked goods turn out as intended.
For most cakes and breads, I suggest greasing the pan, even if it’s nonstick. This extra step helps prevent sticking. Nonstick spray works well for many recipes.
Lining pans with parchment paper is another trick I use often. It’s especially helpful for cakes and brownies. Here’s a quick way to line a pan:
- Cut parchment larger than the pan
- Snip corners
- Press into pan
For delicate cakes, I sometimes use both grease and parchment for foolproof results.
When baking at high altitudes, I make a few adjustments:
- Increase oven temp by 15-25°F
- Decrease baking time slightly
- Reduce sugar slightly
- Add a bit more liquid
These small changes help compensate for lower air pressure at higher elevations.
Environmental Considerations
When preparing baking pans, I think about the environmental impact. I choose reusable silicone baking mats instead of disposable parchment paper. This small change reduces waste.
I also opt for metal pans over single-use aluminum foil pans. Metal pans last longer and can be recycled at the end of their life.
For greasing pans, I use a refillable oil spray bottle rather than aerosol sprays. This cuts down on packaging waste.
When cleaning pans, I scrape off excess batter before washing. This saves water and reduces the need for harsh cleaning chemicals.
I store my pans properly to extend their lifespan. Stacking them with care prevents scratches and dents that could lead to early replacement.
For specialty bakes, I borrow pans from friends or family when possible. This avoids buying pans I’ll rarely use.
Lastly, I repurpose old baking pans for organizing craft supplies or as plant trays. This gives them a second life before recycling.
Frequently Asked Questions

Preparing baking pans correctly is key to successful cakes and other baked goods. Here are answers to common questions about pan prep techniques, alternatives, and special pan types.
How can I prepare cake pans if I don’t have parchment paper?
If you’re out of parchment paper, you can still prep your cake pans. I recommend greasing the pan with butter or cooking spray, then dusting it with flour. Tap out any excess flour.
Another option is to use a non-stick baking spray that contains flour. This combines the greasing and flouring steps into one easy application.
What are the essential steps to prep a cake pan with parchment paper?
To prep a pan with parchment, start by cutting a piece larger than your pan. Grease the pan lightly, then press the parchment into place. Trim any excess paper hanging over the edges.
For round pans, I like to trace the pan onto the parchment and cut out a circle. This gives a perfect fit in the bottom of the pan.
What are three different methods to ready a pan for baking?
Three common pan prep methods are:
- Grease and flour: Coat the pan with butter or oil, then dust with flour.
- Parchment paper: Line the pan with parchment for easy cake removal.
- Non-stick spray: Use a baking spray with flour for a quick all-in-one option.
What’s the best way to use a cake tin with a removable bottom?
For a pan with a removable bottom, I grease the sides and bottom thoroughly. Then I cut a circle of parchment for the bottom.
This helps prevent batter from leaking and makes it easy to remove the cake. Be sure to place the pan on a baking sheet in case of any leaks.
How should unshortened cakes be prepped in a pan?
Unshortened cakes like angel food cake need special pan prep. I don’t grease the pan for these cakes. The batter needs to cling to the sides to rise properly.
Instead, I use a clean, dry tube pan. Some bakers line the bottom with parchment, but leave the sides bare.
What techniques prevent cakes from sticking to a bundt pan?
To prevent sticking in a bundt pan, I start by greasing every nook and cranny. I use a pastry brush to get into all the details. Then I dust with flour or cocoa powder.
Make sure there’s no excess water in the pan crevices. This can cause the cake to stick. A non-stick baking spray with flour also works well for bundt pans.


