==================
Affiliate Statement
Best Baking Tips is supported by our audience. When you purchase through one of our links, we may earn a small affiliate commission. As an Amazon Associate I earn from qualifying purchases. Your cost is not affected.
==================
Stained glass cookies are not only fun to look at, but they’re also delicious! These cookies are made with sugar cookie dough and colored candy, and they’re perfect for any holiday or special occasion. If you’ve never made stained glass cookies before, don’t worry – this blog post will walk you through everything you need to know. So let’s get started!
Stained Glass Cookies: Your New Holiday Cookie Treat
Tired of your usual sugar cookie recipe? Or you may already find it too common or have no time to decorate it with royal icing for the holidays. So here’s a new cookie recipe that you will surely love. Aside from it uses its simple sugar cookie recipe, no major decorating is involved. You only need a few Christmas-themed cookie cutters, and you are good to go!

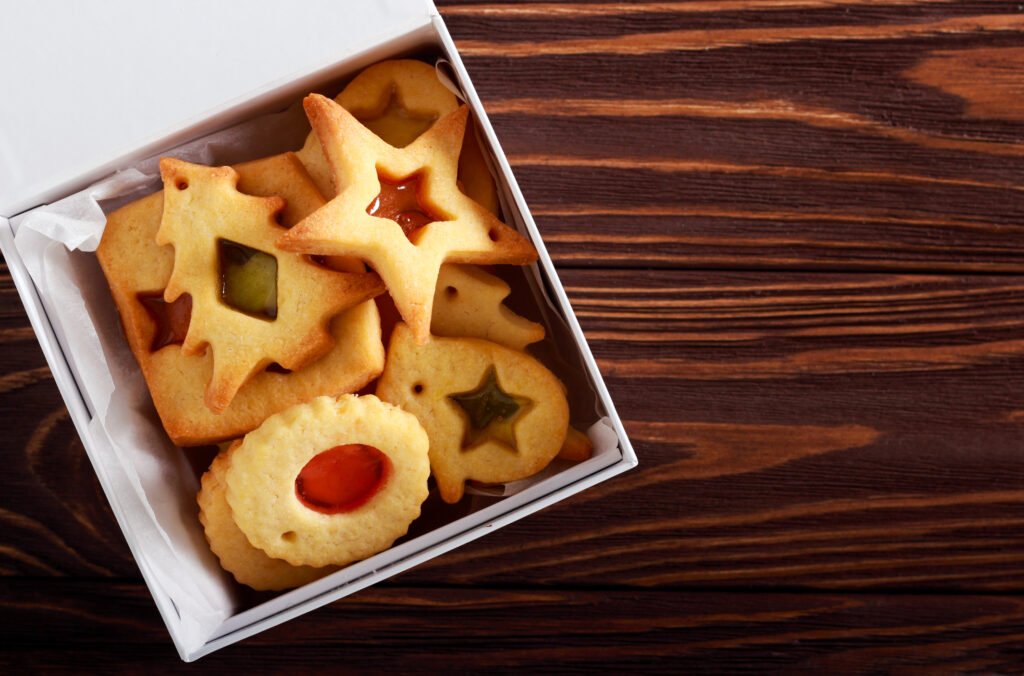
The trick is simple, only the center of each must be cut out and filled with crushed hard candies before baking. As the cookies bake, the candy melts, resulting in a stunning windowpane appearance. No additional icing or decorating is needed! You may add this delightful and quite spectacular cookie to your holiday baking.
Stained Glass Window Cookies And How It Tastes Like
Despite how pretty it looks, its base is only made with the traditional buttery sugar cookie. They are pretty soft with somewhat crunchy edges if you don’t overbake them. You can add more glitter using sparkling sugar, but this is optional; you can skip this and dust it with powdered sugar instead for some snow effect. The melted candy center cools and hardens back into candy after it has cooled, making an illusion of stained glass. Flavor-wise– the sugar cookies are sweet with a hint of vanilla and match perfectly with the tartness and fruity flavor of the candy.
The sugar cookies can be prepared in minutes. Once done, it is very crucial to refrigerate it first before cutting and after shaping. This ensures that the cookie will retain its shape even when baking. Then, re-roll the scraps, fill them with crushed candies, and bake the cookies until they are golden brown. Set aside a few hours to complete this recipe.
What Best Candies to Use
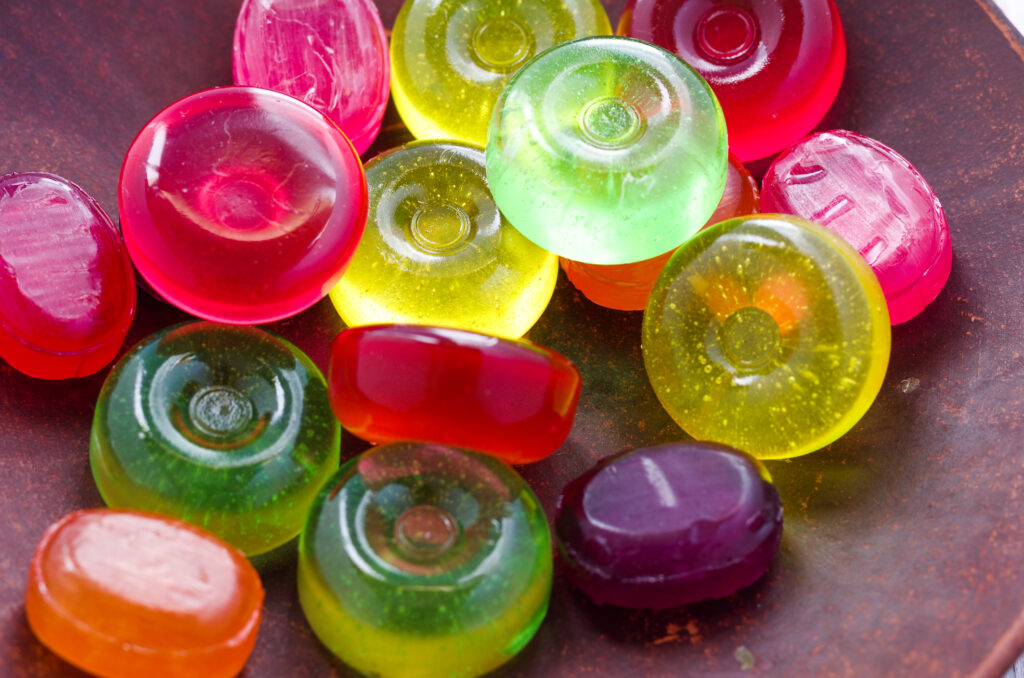
Any hard candy that is semitransparent will do. Clear fruity lollipops are a few examples. You can also make hard candy from scratch if this type of candy is not readily available in your area. There are tons of recipes online, but it can be a little challenging though. Another option I recommend is using fruit jam instead; however, since this will not harden, you may need to sandwich two cookies, and only one on top will be decorated. This will not create a transparent effect on the cookies.

Few Tweaks and Tricks
Sugar cookies freeze well for up to three months of storage. The key is to layer the sugar cookies between pieces of parchment paper in a freezer-safe container when the candy center has cooled and hardened. Thawing can be done at ambient temperature or in a refrigerator. As for the raw cookie dough, you can freeze it for up to three months. But make sure to thaw it properly before rolling it out to make it easier to handle.
For the optional topping, you can add sparkling sugar sprinkles on top of the cookie before baking it. These sugar sprinkles are often found in the grocery store’s baking section. You can stick it to your cookie by brushing it with little egg white first.

Stained Glass Cookies
Ingredients
- 20 pcs hard candies choose color or use assorted color
- 1 cup unsalted butter softened
- 1 cup granulated sugar
- 1/4 tsp salt
- 2 pcs eggs large
- 1 tsp vanilla extract
- 3 cups all-purpose flour add more for dusting
Instructions
- Unwrap the hard candies, then divide them into small resealable bags according to color. Use a meat mallet to break it up into small pieces, then set it aside.
- Combine butter, sugar, and salt and thoroughly blend it using an electric stand mixer.
- Add the eggs one at a time while adding the vanilla.
- Over low speed on the mixer, gently add the flour, and blend until thoroughly blended.
- Shape the dough into a rectangle using a scraper, wrap it in plastic wrap, and chill for an hour.
- Divide the cold dough into three. Start working with one portion, and refrigerate the rest.
Shaping and Cutting:
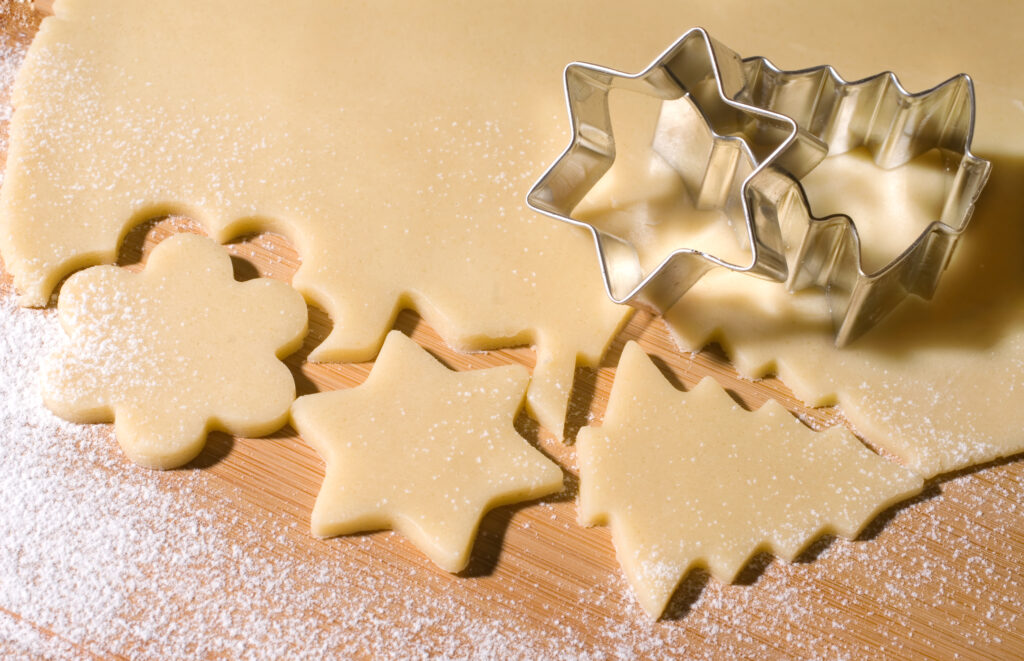
- On a floured surface, roll out the dough until it is approximately 1/5 inch thick. Use a cookie cutter in any shape you like to create as many huge shapes as you can (approx. 3.5-inch cutter).
- Place the cut shapes on a baking sheet that has been covered with silicone baking mats. Then from each cookie, cut a smaller version of the same form (with a 1.75-inch cutter). Roll and cut the leftover dough again.
- Fill cut-out centers about 3/4 of the way with crushed hard candies. Chill cookies in the refrigerator until it's firm, about 15 - 20 minutes, while you preheat the oven to 350 degrees.
- For 12-14 minutes, bake the cookies until firm and the center has melted.
- Allow it to cool in the baking tray until the hard candies are already set and hardened.
- With the remaining chilled dough, repeat the process and keep it in an airtight package

