==================
Affiliate Statement
Best Baking Tips is supported by our audience. When you purchase through one of our links, we may earn a small affiliate commission. As an Amazon Associate I earn from qualifying purchases. Your cost is not affected.
==================
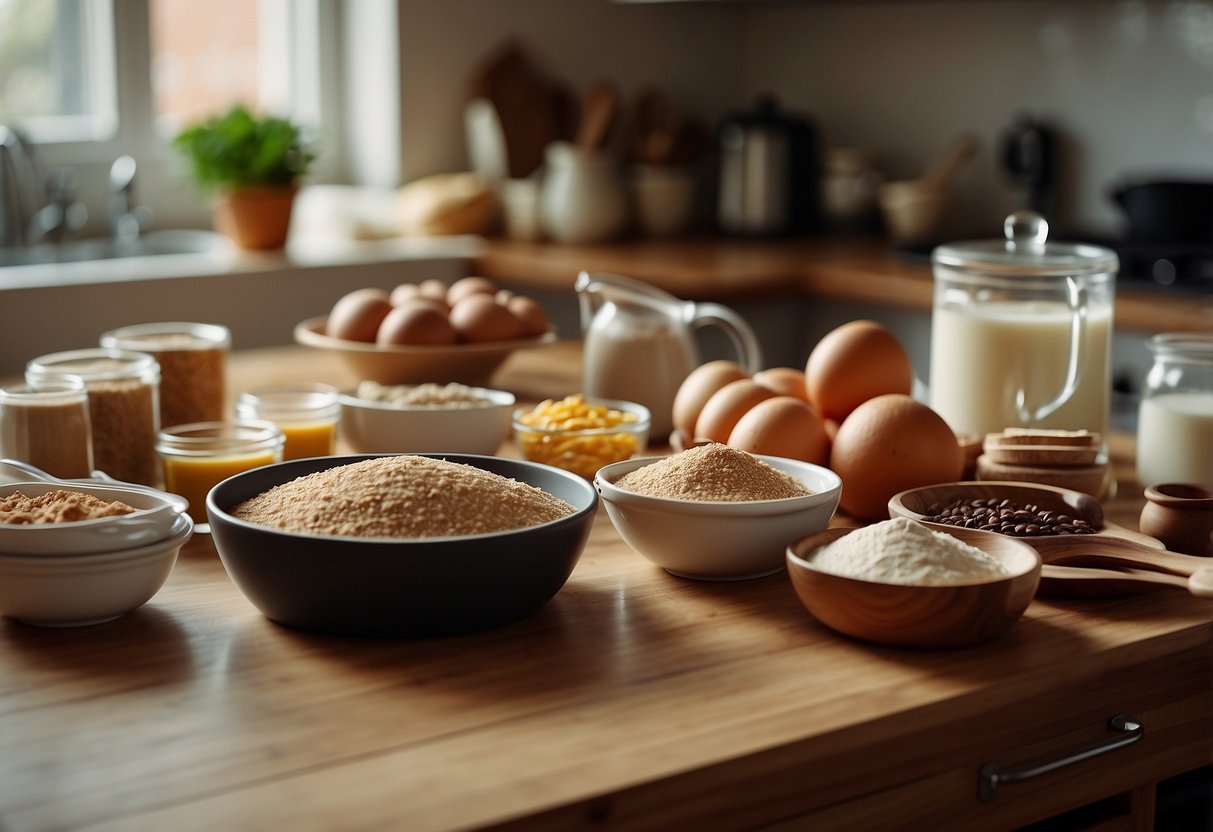
Intro To Baking: Tools And Equipment You Need
Essential Items for Beginner Bakers
Baking is a fun and rewarding hobby that anyone can enjoy. As a beginner, I found that having the right tools made a big difference in my success.
To get started with baking, you’ll need some basic equipment like measuring cups, mixing bowls, baking pans, and a whisk or electric mixer.
I remember feeling overwhelmed at first by all the gadgets in baking supply stores. But I learned that you don’t need everything right away. A few key items will let you make lots of delicious treats. As you bake more, you can slowly add to your collection.
With the right tools on hand, you’ll be ready to try all kinds of yummy recipes. From cookies to cakes to breads, the possibilities are endless. Let’s look at the must-have items to stock your kitchen for baking success.
Key Takeaways
- A few essential baking tools will get you started on your baking journey
- Invest in quality basic equipment before buying specialized items
- Proper care and storage of baking tools helps them last longer
Essential Baking Tools
Baking requires specific tools to get the best results. I’ll cover the key items you need in your kitchen to start creating delicious baked goods.
Measuring Cups and Spoons
Accurate measurements are crucial for baking success. I recommend getting both dry and liquid measuring cups.
Dry cups are for ingredients like flour and sugar. Liquid cups have a spout for easy pouring.
A set of measuring spoons is essential for smaller amounts. Look for durable metal or plastic options that won’t warp over time.
I suggest getting cups in 1/4, 1/3, 1/2, and 1 cup sizes. For spoons, you’ll need 1/4 teaspoon, 1/2 teaspoon, 1 teaspoon, and 1 tablespoon.
Remember to level off dry ingredients for accuracy. Liquid ingredients should be measured at eye level on a flat surface.
Mixing Bowls
A good set of mixing bowls is indispensable. I prefer glass or stainless steel bowls in various sizes. They’re durable and easy to clean.
Look for bowls with non-slip bottoms to prevent sliding while mixing. Nested sets save space in your kitchen.
I recommend having at least three sizes:
- Small (1-2 quarts) for whisking eggs or making sauces
- Medium (3-4 quarts) for most cake and cookie batters
- Large (5-6 quarts) for bread doughs or big batches
Bowls with pour spouts and measurement markings are handy extras.
Whisk and Spatulas
A wire whisk is perfect for blending dry ingredients or whipping up egg whites. I suggest getting a medium-sized whisk for versatility.
Spatulas come in different shapes and materials. I recommend:
- Silicone spatulas for scraping bowls and folding batters
- Offset spatulas for spreading frosting
- Metal spatulas for lifting and transferring baked goods
Look for heat-resistant options that won’t melt if left near a hot surface.
Wooden spoons are also useful for mixing heavier doughs.
Baking Pans
The right pans make a big difference in your baking results. I suggest starting with these basics:
- 9-inch round cake pans (two for layer cakes)
- 9×13-inch rectangular pan for sheet cakes and bars
- 9×5-inch loaf pan for quick breads
- 12-cup muffin tin
- Cookie sheet with a raised edge
Non-stick coatings are convenient but may wear over time. I prefer light-colored aluminum pans for even heat distribution.
Always check your recipe for specific pan sizes and adjust as needed.
Oven Thermometer
An oven thermometer is a small but important tool. It helps ensure your oven is at the right temperature for baking.
Many ovens run hotter or cooler than their settings indicate. This can lead to under or over-baked goods.
Place the thermometer in the center of your oven. Check it regularly and adjust your oven’s temperature as needed.
Look for a thermometer with large, easy-to-read numbers. Some have hooks to hang from oven racks.
Advanced Baking Equipment
I’ve found some key tools that can take your baking to the next level. These items help with mixing, shaping, and baking more complex recipes.
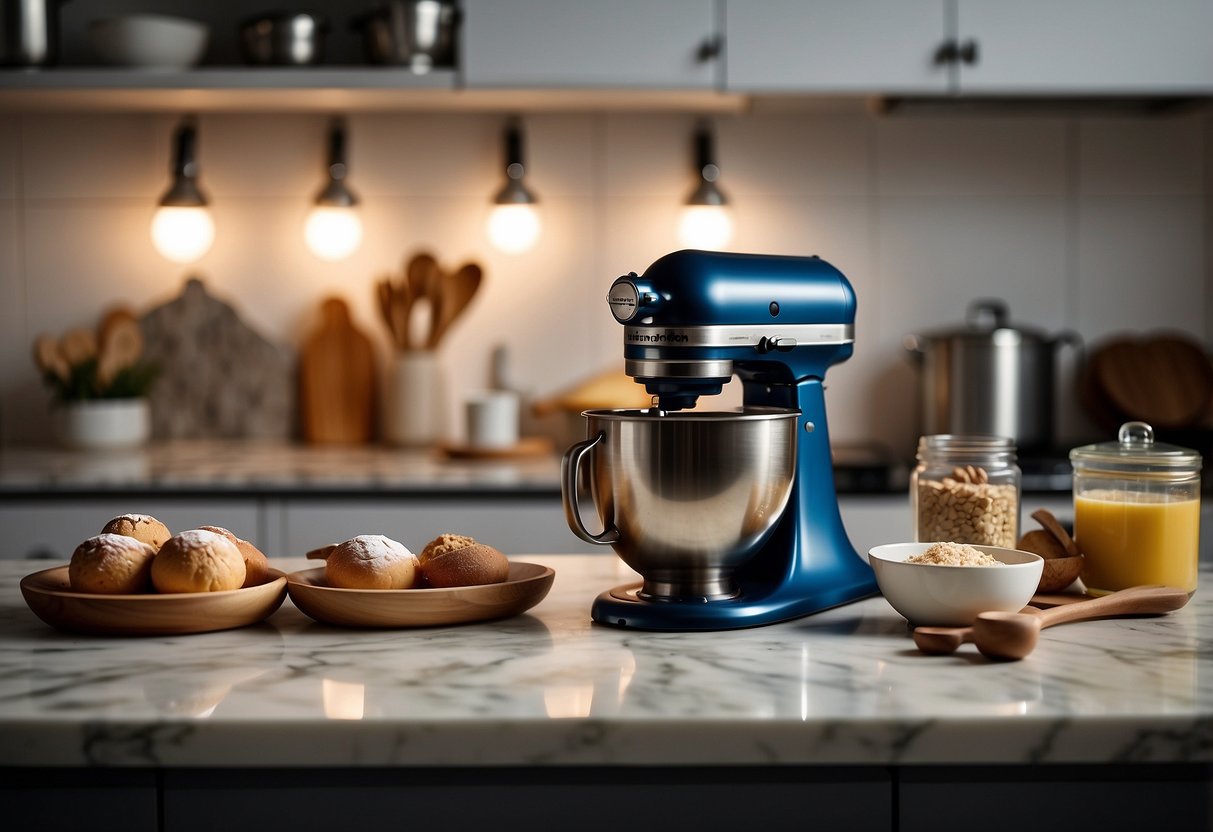
Stand Mixers
Stand mixers are powerhouses in the kitchen. They make mixing large batches of dough easy. I love that they free up my hands for other tasks.
KitchenAid mixers are popular for good reason. They come with different attachments for various jobs. The dough hook kneads bread dough perfectly. The paddle attachment is great for cake batters.
I recommend getting a mixer with at least a 5-quart bowl. This size works well for most home baking needs. Look for models with multiple speeds for better control.
Pastry Blender
A pastry blender is a simple but useful tool. It cuts butter into flour quickly and evenly. This is key for making flaky pie crusts and biscuits.
I prefer metal blenders with sturdy blades. They work better than plastic ones. The blades should be sharp and curved.
Using a pastry blender is easy. Just press it down into your flour and butter mixture. Rock it back and forth until you get pea-sized pieces.
Bench Scraper
A bench scraper is one of my most-used tools. It’s great for dividing dough and cleaning up work surfaces.
I use mine to portion out bread dough for rolls. It also helps transfer chopped ingredients to bowls.
Look for a scraper with a comfortable handle. The blade should be sturdy stainless steel. Some have measurements on the edge, which can be handy.
Baking Stone
A baking stone is key for crusty breads and crispy pizza. It holds heat well and gives food a nice, even bake.
I keep my stone in the oven all the time. It helps regulate oven temperature. Preheat it for at least 30 minutes before use.
Choose a stone that fits your oven well. Thicker stones retain heat better. Round or rectangular shapes both work fine.
Dough Proofing Basket
Proofing baskets, also called bannetons, help shape bread dough. They create that pretty pattern you see on artisan loaves.
I use rattan baskets lined with linen. The natural material wicks away moisture from the dough surface.
Dust the basket well with flour before use. This prevents sticking. After proofing, turn the dough out onto a baking sheet or stone.
Different sizes work for various loaf shapes. Start with a 9-inch round basket for basic sourdough.
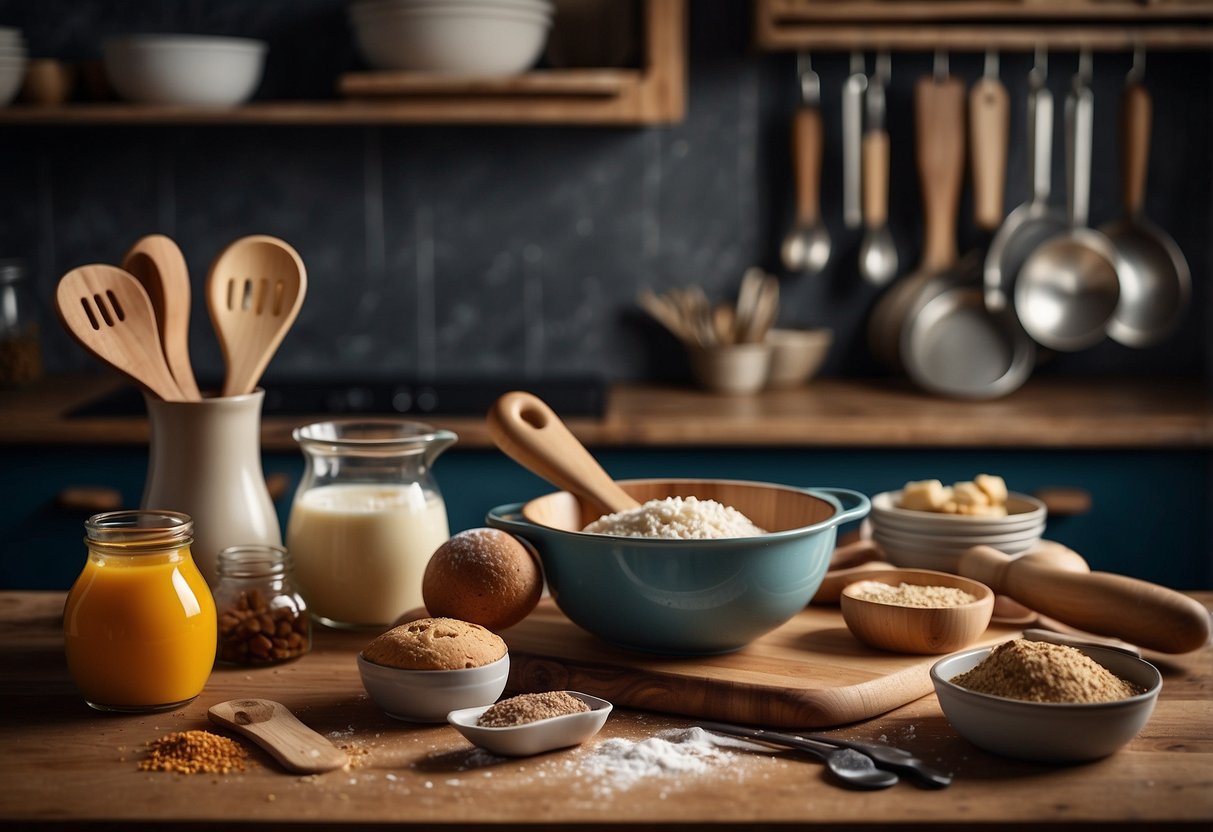
Preparation Tools
Baking requires specific tools to measure, mix, and prepare ingredients properly. These tools help ensure consistent results and make the baking process smoother.
Sifter or Sieve
A sifter or sieve is essential for aerating dry ingredients like flour and powdered sugar. I find it helps remove lumps and ensures even distribution when mixing.
To use a sifter, I pour the dry ingredients in and turn the handle or squeeze the trigger. This pushes the ingredients through a fine mesh.
For a sieve, I gently tap or shake it over a bowl. Both tools achieve similar results, but I prefer a sieve for its versatility. I can also use it to strain liquids or rinse small fruits.
When baking cakes or delicate pastries, sifting is crucial. It creates a lighter texture and helps prevent dense, tough baked goods.
Rolling Pin
A good rolling pin is indispensable for many baking tasks. I use it to roll out cookie dough, pie crusts, and pastry.
There are several types of rolling pins:
- Wooden: Classic and versatile
- Marble: Stays cool, ideal for pastry
- Silicone: Non-stick and easy to clean
- French (tapered): Offers more control
I prefer a wooden rolling pin for its durability and even pressure. To use it effectively, I flour the surface and pin lightly to prevent sticking.
For an even thickness, I use adjustable rings on the ends of the pin. This ensures my dough is the same depth throughout, leading to more uniform baking.
Parchment Paper
Parchment paper is a baker’s best friend. I use it to line baking sheets and cake pans. It prevents sticking and makes cleanup a breeze.
Key benefits of parchment paper:
- Non-stick surface
- Heat-resistant
- Reusable (to an extent)
- Creates even browning
I often use it when baking cookies. It allows me to slide the entire batch off the hot sheet quickly, preventing over-baking.
For cake pans, I trace the bottom, cut out a circle, and line the pan. This ensures easy removal after baking.
Pastry Brush
A pastry brush is a versatile tool. I use it for various tasks, such as applying egg wash to pastries or brushing melted butter on bread dough.
It’s perfect for applying egg wash to pastries or brushing melted butter on bread dough.
I prefer silicone brushes because they’re heat-resistant and easy to clean. They also don’t shed bristles like some natural-hair brushes.
Uses for a pastry brush:
- Greasing pans
- Glazing pastries
- Removing excess flour from dough
- Applying syrups or marinades
When using a pastry brush, I dip it lightly in the liquid and tap off excess. This ensures an even application without oversaturating the food.
Cookie Scoop
A cookie scoop, also known as a portion scoop, is a game-changer for uniform cookies. It helps me create consistently sized cookies that bake evenly.
Cookie scoops come in various sizes, typically measured in tablespoons. I keep a few different sizes on hand for different recipes.
Benefits of using a cookie scoop:
- Uniform size and shape
- Faster portioning
- Less mess than using spoons
- Can be used for muffins and cupcakes too
To use a cookie scoop, I fill it with dough, level it off, and release it onto the baking sheet. This method is much faster and cleaner than using two spoons.
Decorating Essentials
Cake decorating takes your baking to the next level. The right tools help create beautiful designs and add a professional touch to your creations.
Piping Bags and Tips
Piping tips are crucial for cake decorating. I use them to make borders, flowers, and intricate designs. Disposable plastic bags work well for beginners. For more frequent use, I recommend reusable cloth or silicone bags.
Different tip shapes create various effects. For example, round tips are great for writing and dots. Meanwhile, star tips make rosettes and borders, and leaf tips add foliage to floral designs.
I always keep a variety of sizes on hand. Larger tips work well for covering more area, while smaller ones allow for delicate details.
Offset Spatula
An offset spatula is my go-to tool for smooth frosting. Its angled blade helps spread icing evenly without touching the cake surface.
I use it to create clean edges and smooth sides on layer cakes. It’s also great for lifting and moving delicate items like cookies or fondant cutouts.
Metal spatulas work best for me, but plastic ones are fine for beginners. I recommend having at least two sizes – a larger one for cakes and a smaller one for detail work.
Fondant Tools
Fondant tools help shape and texture this pliable icing. A fondant roller is essential for rolling out even sheets. I prefer non-stick silicone rollers to prevent sticking.
Smoothers help eliminate air bubbles and create a polished finish. Meanwhile, cutting wheels make clean, straight lines, and modeling tools allow me to add intricate details and textures.
I also use a fondant mat to prevent sticking and make cleanup easier. It has measurement guides that help me roll fondant to the right size and thickness.
Edible Decorations
Edible decorations add color and flair to cakes. Sprinkles come in various shapes and colors. I use them to add texture or create patterns.
Edible glitter gives a sparkly finish. It’s perfect for adding shine to fondant or buttercream. Meanwhile, food coloring gels are more concentrated than liquid colors. They let me achieve vibrant hues without changing the frosting consistency.
Edible pearls and metallic dragees add elegance to wedding and special occasion cakes. I also keep edible flowers on hand for a natural, delicate touch.
Storage and Maintenance
Proper storage and upkeep of baking tools are key to their longevity and performance. I’ll cover essential practices for keeping your equipment organized, clean, and well-maintained.
Airtight Containers
I recommend using airtight containers to store dry ingredients and tools. These containers keep out moisture and pests, preserving the quality of your baking supplies.
For flour and sugar, I use large plastic or glass containers with tight-fitting lids. Smaller containers work well for baking powder, baking soda, and spices.
I label each container clearly with the contents and date. This helps me track freshness and avoid mix-ups.
Metal tins or ceramic canisters can also work, as long as they seal tightly. I avoid containers that let in light, which can degrade some ingredients over time.
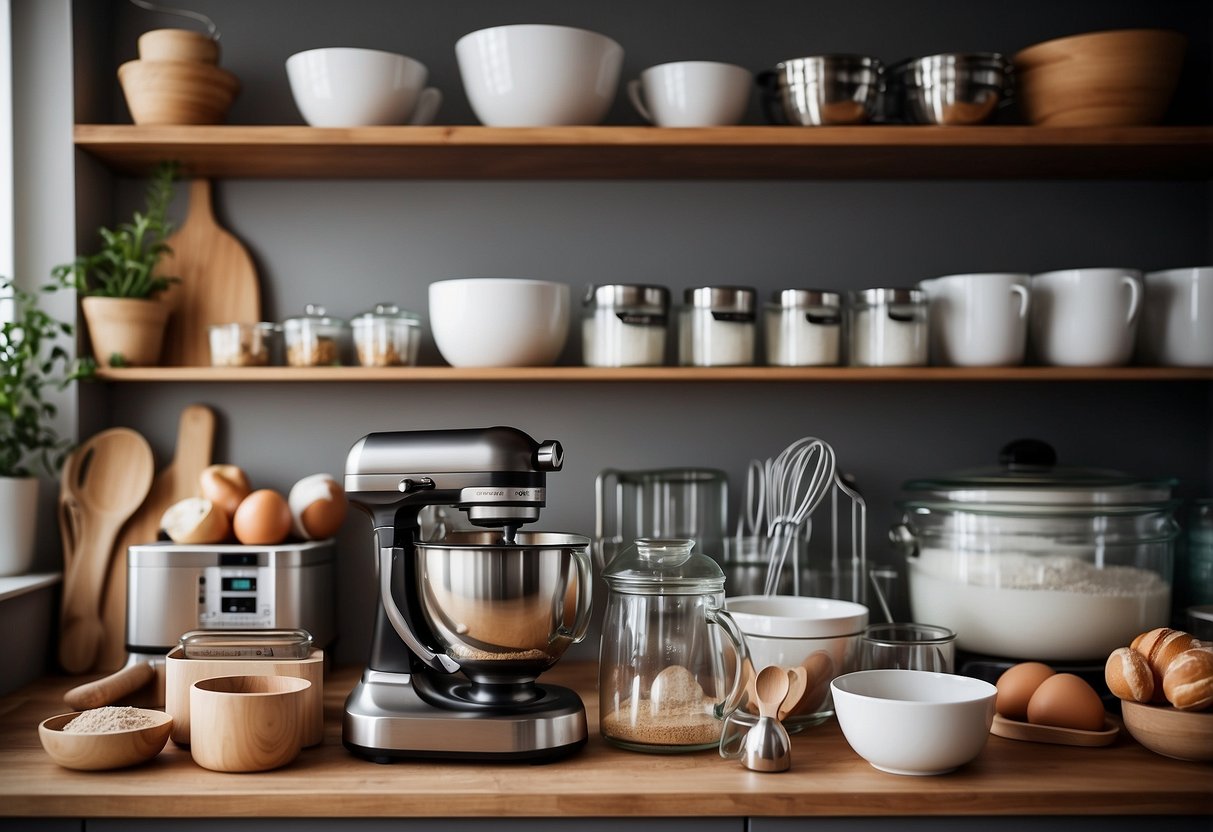
Tool Organizer
Keeping baking tools organized makes them easy to find and use. I use a variety of organizers to keep my equipment tidy.
A utensil holder on the countertop keeps frequently used items like spatulas and whisks within reach. For less-used tools, I use drawer dividers to separate items by type.
Hanging racks work well for measuring cups and spoons. I can quickly grab the size I need without digging through drawers.
For larger items like mixing bowls and baking sheets, I use vertical organizers or adjustable shelves in my cabinets. This maximizes space and prevents stacking damage.
Cleaning Supplies
I keep specific cleaning supplies on hand for my baking tools. Mild dish soap and warm water are suitable for most items.
For stubborn residues, I use a non-abrasive scrubber or sponge. Baking soda paste works well for tough stains without scratching surfaces.
I avoid harsh chemicals that could leave residues on baking tools. Food-safe cleaning products are best for items that come into direct contact with ingredients.
For wooden utensils, I use a mixture of warm water and vinegar to sanitize without damaging the wood. I always dry these items thoroughly to prevent warping.
Maintenance Tips
Regular maintenance keeps baking tools in top condition. I inspect my equipment often for signs of wear or damage.
For metal tools, I watch for rust and remove it promptly with a paste of lemon juice and salt. I oil wooden handles occasionally to prevent drying and cracking.
I sharpen knives and pastry cutters regularly to maintain their effectiveness. Dull blades can be dangerous and make baking tasks harder.
I replace non-stick bakeware when the coating starts to peel or scratch. Using silicone or parchment liners can extend the life of these items.
For electric mixers, I follow the manufacturer’s maintenance guidelines. This usually includes lubricating moving parts and checking for loose attachments.
Safety Equipment
Baking safely requires proper protective gear and emergency preparedness. I’ll cover key items to keep you protected in the kitchen and ready for any accidents.
Oven Mitts and Gloves
I always use heat-resistant oven mitts or gloves when handling hot bakeware. Silicone mitts offer great heat protection and grip. Cloth mitts work well too, but I make sure they’re thick enough.
I keep mitts near the oven for easy access. It’s important to have a pair long enough to protect forearms from oven rack burns.
For delicate tasks, I use thin cotton gloves under my mitts. This gives me more dexterity while still protecting my hands.
Aprons
A good apron is essential for keeping clothes clean and protected. I prefer full-coverage bib aprons that shield my chest and legs.
Water-resistant aprons are great for messy baking projects. Pockets are handy for holding small tools and recipes.
I make sure my apron ties securely and fits comfortably. This prevents it from getting in the way while I work.
First Aid Kit
I keep a well-stocked first aid kit in my kitchen for minor injuries. It includes:
- Adhesive bandages
- Gauze pads
- Burn gel
- Antiseptic wipes
- Tweezers
- Small scissors
I check the kit regularly and replace any used or expired items. Knowing basic first aid is important too. I’ve learned how to treat minor burns and cuts safely.
For serious injuries, I keep emergency numbers posted visibly in the kitchen. Quick action can make a big difference in an accident.
Frequently Asked Questions
Baking requires specific tools and equipment. The right items make baking easier and more enjoyable. Quality tools help create better results.
What are the essential baking tools and equipment for beginners?
Beginners need a few key items to start baking. Measuring cups and spoons are crucial for accurate recipes. A mixing bowl, whisk, and spatula help combine ingredients.
I also recommend getting baking pans and sheets. An oven thermometer ensures the right temperature. These basics allow you to make many recipes.
Which baking tools and equipment should I invest in as a first-time baker?
As a first-time baker, I suggest investing in versatile items. A stand mixer or hand mixer makes mixing dough and batters easier.
Quality baking pans in different sizes are useful. A kitchen scale helps with precise measurements. These tools will serve you well as you explore baking.
Can you list the top 10 must-have tools for baking and their uses?
- Measuring cups and spoons – for accurate ingredient amounts
- Mixing bowls – for combining ingredients
- Whisk – for blending and aerating
- Spatula – for scraping and folding
- Baking pans – for cakes, cookies, and other baked goods
- Mixer – for beating and kneading
- Rolling pin – for flattening dough
- Cooling rack – for proper cooling of baked items
- Pastry brush – for glazing and greasing
- Oven thermometer – for accurate baking temperatures
What baking essentials are needed for someone just starting out?
I recommend starting with basic tools. Get measuring cups, spoons, and a kitchen scale. Then, buy a mixing bowl, whisk, and spatula.
Baking sheets and cake pans cover most recipes. An oven thermometer ensures proper baking. These items allow you to make many recipes as you learn.
Which equipment is commonly used in professional bakeries?
Professional bakeries use heavy-duty versions of home baking tools. They often have large stand mixers and commercial ovens. Proofing cabinets for dough rising are also common.
Bakeries use specialized equipment like dough sheeters and industrial-sized food processors. Many also have walk-in refrigerators and freezers for storage.
How do I choose quality baking tools and equipment on a budget?
I suggest focusing on essential items first. Look for sturdy construction and good reviews.
Avoid the cheapest options, as they may not last.
Consider multi-purpose tools to save money. Sales and secondhand stores can offer good deals.
Invest in quality for items you’ll use often, like measuring tools and mixing bowls.