==================
Affiliate Statement
Best Baking Tips is supported by our audience. When you purchase through one of our links, we may earn a small affiliate commission. As an Amazon Associate I earn from qualifying purchases. Your cost is not affected.
==================
Baking Terminologies Explained
Essential Culinary Vocabulary for Home Bakers
Baking is a wonderful art that brings joy to many. As a baker, I’ve learned that understanding baking terms is key to success in the kitchen. Knowing the right words helps you read recipes, follow steps, and make tasty treats with ease.
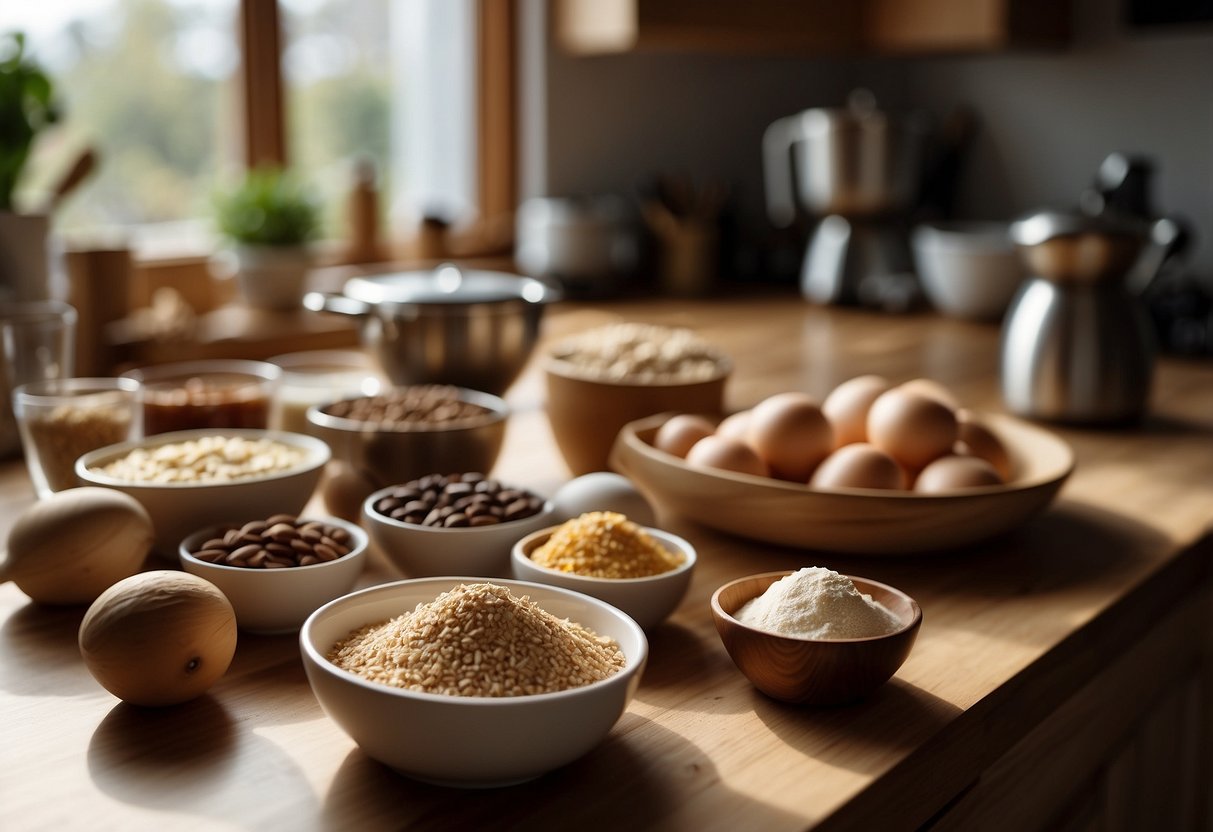
Baking has its own special language. Words like cream, fold, and proof might seem odd at first. But once you learn what they mean, a whole new world of baking opens up. It’s like learning the ABCs of baking.
I want to help you get better at baking. In this post, I’ll explain common baking terms in simple ways. You’ll learn what batter is, how to beat ingredients, and much more. By the end, you’ll feel more sure of yourself in the kitchen.
Key Takeaways
- Knowing baking terms helps you follow recipes better
- Baking has its own special words for tools, methods, and ingredients
- Learning these terms can make you a more skilled and confident baker
Fundamentals of Baking
Baking is both an art and a science. It requires understanding key terms, mastering basic techniques, and using precise measurements. These skills form the foundation for creating delicious baked goods.
Baking Basics
Baking starts with mixing ingredients to form a batter or dough. I always preheat my oven before I start. This ensures even baking.
For cakes and cookies, I cream butter and sugar first. This traps air and makes the final product light and fluffy.
When making bread, I knead the dough to develop gluten. This gives bread its structure and texture.
I use different techniques for different baked goods:
- Creaming for cakes and cookies
- Kneading for bread
- Folding for delicate batters like soufflés
Common Baking Terms
I often come across these baking terms:
- Cream: To beat butter and sugar until light and fluffy
- Fold: To gently combine ingredients without deflating air bubbles
- Proof: To let dough rise before baking
- Blind bake: To pre-bake a pie crust before adding filling
I also use special equipment:
- Stand mixer for heavy batters
- Dutch oven for crusty bread
- Pastry cutter for making flaky pie crusts
Measurement and Scaling
Precise measurements are crucial in baking. I use different tools for dry and wet ingredients:
- Measuring cups for dry ingredients
- Liquid measuring cups for wet ingredients
- Kitchen scale for the most accurate measurements
I level off dry ingredients with a straight edge. This ensures I don’t add too much or too little.
When scaling recipes, I use ratios. For example, if I want to double a recipe, I multiply all ingredients by two. This keeps the proportions correct.
I also consider pan sizes when scaling. A recipe for an 8-inch cake pan won’t work well in a 9-inch pan without adjustments.
Ingredient Functions
Baking relies on specific ingredients that each play a crucial role. I’ll explain how common baking ingredients work together to create delicious treats. Understanding these functions helps bakers achieve better results.
Flours and Their Uses
Flour forms the base of most baked goods. All-purpose flour is versatile and works in many recipes. Bread flour has more protein, making it ideal for chewy breads. Cake flour is finely milled for tender cakes. Whole wheat flour adds fiber and nutty flavor.
I use different flours based on the texture I want:
- All-purpose: Cookies, muffins, quick breads
- Bread flour: Yeast breads, pizza dough
- Cake flour: Cakes, delicate pastries
- Pastry flour: Pie crusts, biscuits
Flour provides structure to baked goods. Its proteins form gluten when mixed with liquid, creating an elastic network that traps air bubbles.
Leavening Agents
Leavening agents create rise and lightness in baked goods. The three main types are:
- Baking soda: Reacts with acid to produce carbon dioxide bubbles
- Baking powder: Contains both acid and base, activates with moisture and heat
- Yeast: Living organism that feeds on sugars, producing CO2
I use baking soda in recipes with acidic ingredients like buttermilk or vinegar. Baking powder works well in neutral recipes. Yeast is best for breads that need slow rising.
These agents create air pockets that expand during baking, making treats fluffy and light.
Fats in Baking
Fats add flavor, richness, and tenderness to baked goods. Common fats include:
- Butter: Rich flavor, helps create flaky textures
- Oil: Keeps baked goods moist, good for quick breads
- Shortening: Creates tender, flaky pie crusts
I choose fats based on the desired outcome. Butter adds great flavor to cookies and cakes. Oil works well in muffins and some cakes. Shortening is perfect for extra-flaky pie crusts.
Fats also help create air pockets when creamed with sugar, leading to lighter textures in cakes and cookies.
Sugars and Sweeteners
Sugars do more than just add sweetness. They:
- Tenderize baked goods
- Help with browning
- Attract moisture, keeping treats fresh longer
I use different sugars for various effects:
- Granulated sugar: All-purpose sweetener
- Brown sugar: Adds moisture and caramel notes
- Powdered sugar: Dissolves easily for smooth frostings
Liquid sweeteners like honey or maple syrup add unique flavors and extra moisture to recipes.
Sugar contributes to texture by interfering with gluten formation, resulting in more tender baked goods.
Eggs in Baking
Eggs are versatile ingredients in baking. They:
- Bind ingredients together
- Add structure and stability
- Contribute to leavening
- Enhance flavor and color
I use whole eggs to bind ingredients in cakes and cookies. Egg whites can be whipped to add volume to meringues and angel food cakes. Yolks enrich custards and ice creams.
Eggs function as binders and help create a stable structure in baked goods.
Liquids Role
Liquids are essential in baking. They:
- Hydrate dry ingredients
- Activate leavening agents
- Help develop gluten in flour
- Contribute to texture and flavor
I use different liquids for various effects:
- Water: For lean breads and crisp crusts
- Milk: Adds richness and helps with browning
- Buttermilk: Tenderizes and adds tang
The amount of liquid affects the final texture. Too little can result in dry, tough baked goods. Too much can make them soggy or dense.
Liquids hydrate other ingredients and help create the right consistency in batters and doughs.
Baking Methods
Baking involves several key techniques that contribute to creating delicious treats. These methods help bakers achieve the right texture, flavor, and appearance in their baked goods.
Mixing Techniques
I start by combining ingredients using different mixing methods. For cakes, I often use the creaming method. This involves beating butter and sugar until light and fluffy. Then I add eggs one at a time.
For muffins and quick breads, I use the muffin method. I mix dry ingredients in one bowl and wet ingredients in another. Then I combine them gently.
The biscuit method works well for scones and biscuits. I cut cold butter into dry ingredients until the mixture resembles coarse crumbs. Then I stir in liquid ingredients.
For pie crusts, I use the rubbing-in method. I rub cold butter into flour with my fingertips until it looks like breadcrumbs.
Kneading Dough
Kneading develops gluten in bread dough. I push the dough away with the heel of my hand, fold it over, and repeat. This creates a smooth, elastic texture.
For softer doughs, I use a gentle kneading technique. I fold the dough over itself and press down lightly. This prevents overworking.
Some recipes call for no-knead methods. I mix ingredients minimally and let time do the work. The dough develops gluten as it rests.
Machine kneading is an option for larger batches. I use a stand mixer with a dough hook attachment. This saves time and energy.
Proofing and Fermentation
Proofing allows yeast to produce carbon dioxide, making dough rise. I place the dough in a warm, draft-free spot. A proofing box or turned-off oven works well.
I look for visual cues to know when dough is properly proofed. It should double in size and spring back slowly when poked.
Some recipes call for multiple proofing stages. This develops more flavor and improves texture. I punch down the dough between proofs to redistribute the yeast.
Fermentation is a longer process used for sourdough. I feed my starter regularly and let the dough ferment for several hours or even days.
Baking and Cooling
I always preheat my oven before baking. This ensures even heat distribution. I use an oven thermometer to check accuracy.
Different baked goods require different temperatures. Bread often needs high heat, while delicate pastries need lower temperatures.
I avoid opening the oven door too often. This prevents heat loss and ensures even baking. I use the oven light to check progress.
Proper cooling is crucial. I let cakes and breads cool in their pans for a few minutes. Then I transfer them to a wire rack. This prevents soggy bottoms.
For cookies, I let them cool on the baking sheet briefly. Then I move them to a rack. This helps them set without overcooking.
Types of Bakes
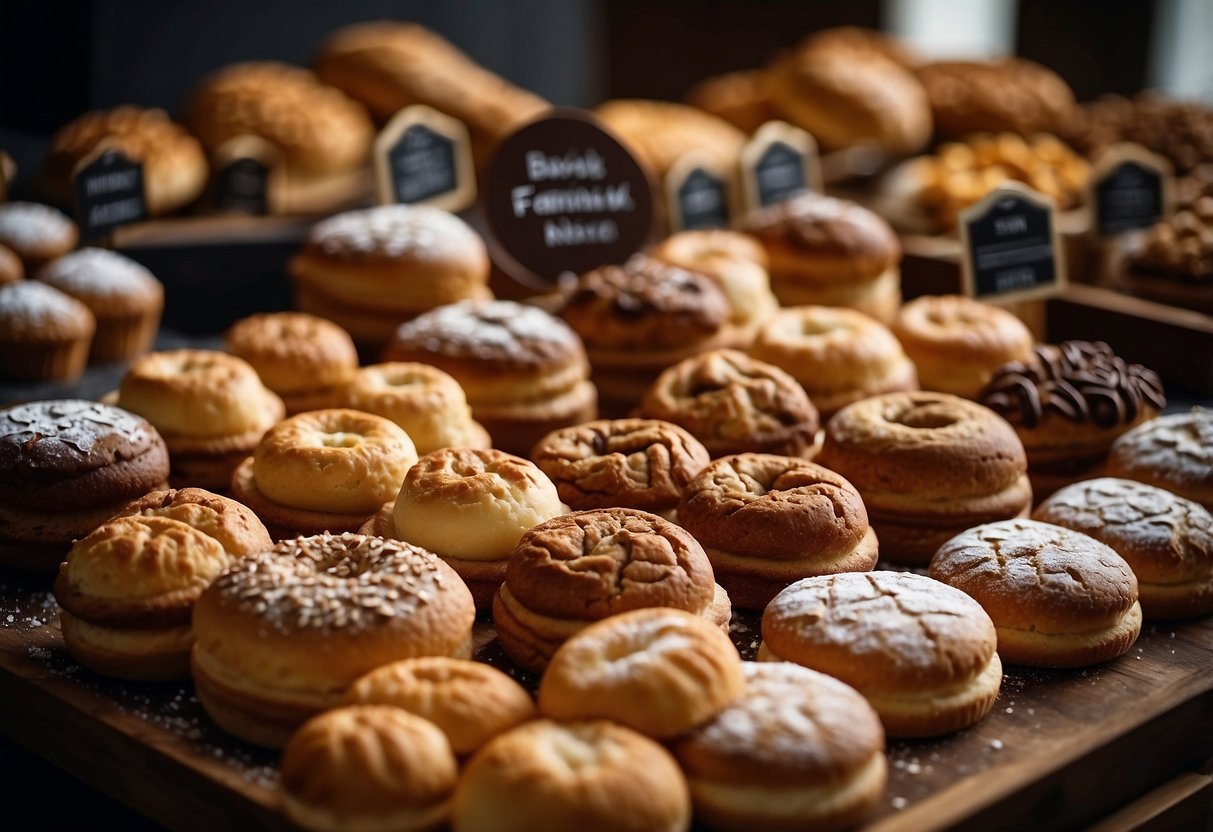
Baking offers a wide variety of delicious treats. Each type has its own unique characteristics and techniques. Let’s explore some popular categories of baked goods.
Yeast Breads
Yeast breads are a staple in many cuisines. They use yeast as a leavening agent, which makes the dough rise. The process involves mixing flour, water, yeast, and salt to form a dough.
This dough needs time to ferment and rise. During this period, the yeast produces carbon dioxide, creating air pockets in the bread.
Common examples of yeast breads include:
Yeast breads often have a chewy texture and complex flavors. They require patience but can be very rewarding to make at home.
Quick Breads
Quick breads are faster to make than yeast breads. They use chemical leavening agents like baking soda or baking powder instead of yeast. This means they don’t need time to rise before baking.
Some popular quick breads are:
- Banana bread
- Zucchini bread
- Cornbread
- Muffins
Quick breads are often sweet, but can also be savory. They’re great for beginners because they’re simple to make. Most quick bread recipes use the “muffin method” of mixing. This involves combining wet and dry ingredients separately, then mixing them together.
Pastries
Pastries are a broad category of baked goods. They’re often made with a dough that contains fat, like butter or shortening. This fat is layered or cut into the flour, creating a flaky texture when baked.
Some common types of pastries include:
- Croissants
- Danish pastries
- Pies
- Tarts
Pastry-making can be challenging. It often requires precise temperature control and careful handling. But the results can be spectacular, with light, flaky layers that melt in your mouth.
Cookies and Biscuits
Cookies and biscuits are small, sweet treats. They come in many flavors and textures. Some are soft and chewy, while others are crisp and crunchy.
Common types include:
- Chocolate chip cookies
- Oatmeal raisin cookies
- Shortbread
- Macarons
Cookie dough is usually made by creaming butter and sugar, then adding eggs and dry ingredients. The dough is then shaped and baked. Some cookies, like drop cookies, are very easy to make. Others, like decorated sugar cookies, can be more complex.
Cakes and Cupcakes
Cakes and cupcakes are sweet, often layered desserts. They can be simple or elaborate, depending on the recipe and decorating techniques used.
Some popular cake types are:
- Pound cake
- Sponge cake
- Layer cake
- Cheesecake
Cakes typically start with a batter, which is a mixture of flour, sugar, eggs, and fat. The batter is baked in pans, then often frosted or decorated. Cupcakes are just small, individual-sized cakes.
Cake baking requires careful measurement and mixing. The way ingredients are combined can affect the final texture of the cake.
Tool and Equipment Use
Baking requires specific tools and equipment to achieve the best results. Knowing how to use these items properly is key to successful baking.
Essential Baking Tools
I always start with the basics. Measuring cups and spoons are must-haves for accurate ingredient amounts. A good mixing bowl set is vital for combining ingredients.
I use a whisk for blending dry ingredients and a wooden spoon for stirring batters. A rubber spatula helps me scrape every bit of batter from the bowl.
For more precise baking, I rely on a kitchen scale. It ensures I get the exact weight of ingredients. A stand mixer is great for heavy-duty mixing tasks, but a hand mixer works well too.
I keep cake pans in various sizes for different recipes. A cooling rack is essential for letting baked goods cool evenly.
Oven Usage and Techniques
I always preheat my oven before baking. This ensures a consistent temperature throughout the baking process. An oven thermometer helps me check if my oven is at the right temperature.
I use the middle rack for most baking. This allows even heat distribution. For multiple items, I rotate the pans halfway through baking.
Convection ovens require adjustments. I lower the temperature by 25°F and reduce baking time slightly when using this setting.
I avoid opening the oven door too often. Each time it opens, heat escapes and can affect baking. Instead, I use the oven light to check progress.
Cookware and Bakeware
I use different types of bakeware depending on the recipe. Glass and ceramic dishes retain heat well, making them great for casseroles and pies.
Metal pans conduct heat quickly. I prefer them for cookies and cakes. Non-stick pans are handy, but I’m careful not to scratch them.
I line my baking sheets with parchment paper or silicone mats. This prevents sticking and makes cleanup easier.
For bread baking, I use a heavy-duty loaf pan. A pizza stone helps create a crispy crust for pizzas and artisan breads.
I always grease my pans unless a recipe says otherwise. This ensures easy removal of baked goods.
Decorating Techniques
I’ll now explain some key cake decorating techniques. These methods can turn a simple cake into a work of art.
Piping is a basic but essential skill. It involves using a pastry bag to create designs with icing. I use different tips to make flowers, borders, and writing on cakes.
Fondant covering gives cakes a smooth, polished look. I roll out this sugar paste and drape it over the cake. It creates a perfect canvas for more detailed work.
For a unique finish, I sometimes use a mirror glaze. This shiny coating reflects light and looks stunning. I pour it over a chilled cake for best results.
Buttercream frosting is versatile. I can spread it smooth or create textures. Swirls, rosettes, and ruffles are all possible with the right tools.
Stenciling is another technique I enjoy. I place a stencil on the cake and dust powdered sugar or cocoa over it. When I remove the stencil, a pattern remains.
Modeling with fondant or gum paste lets me make 3D decorations. I shape flowers, figures, and other objects to place on the cake.
These techniques take practice, but they’re fun to learn. Each one adds a special touch to my cakes.
Preservation and Storage
Proper storage techniques are crucial for maintaining the quality and safety of baked goods. I’ll cover key methods for storing, freezing, and extending the shelf life of various baked items.
Storing Baked Goods
I always store baked goods in airtight containers to keep them fresh.
For cookies and bars, I use plastic containers or resealable bags to prevent them from drying out. Cakes need a bit more care – I cover them with plastic wrap or place them in cake domes.
Bread requires different treatment. I store it at room temperature in paper bags or bread boxes. This lets it breathe while protecting it from drying out too quickly.
Pies and pastries with fillings need refrigeration. I keep them in the fridge, loosely covered, for up to 4 days.
Freezing Techniques
Freezing is great for long-term storage of baked goods.
I wrap items tightly in plastic wrap, then in foil before freezing. This double layer prevents freezer burn.
For cookies, I freeze them in a single layer on a baking sheet first. Once frozen, I transfer them to a freezer bag. This keeps them from sticking together.
Cakes freeze well too. I wrap unfrosted layers individually, then place them in a large freezer bag. For frosted cakes, I freeze them uncovered until the frosting hardens, then wrap tightly.
Prolonging Freshness
To keep baked goods fresh longer, I use a few simple tricks.
For breads and rolls, I add a slice of apple or a piece of bread to the storage container. These release moisture, keeping the baked goods soft.
I store cookies with a slice of bread too. The cookies absorb moisture from the bread, staying soft and chewy.
For cakes, I brush simple syrup on the layers before frosting. This adds moisture and helps preserve freshness.
Lastly, I always cool baked goods completely before storing. Storing warm items can lead to condensation, making them soggy.
Health and Safety Practices
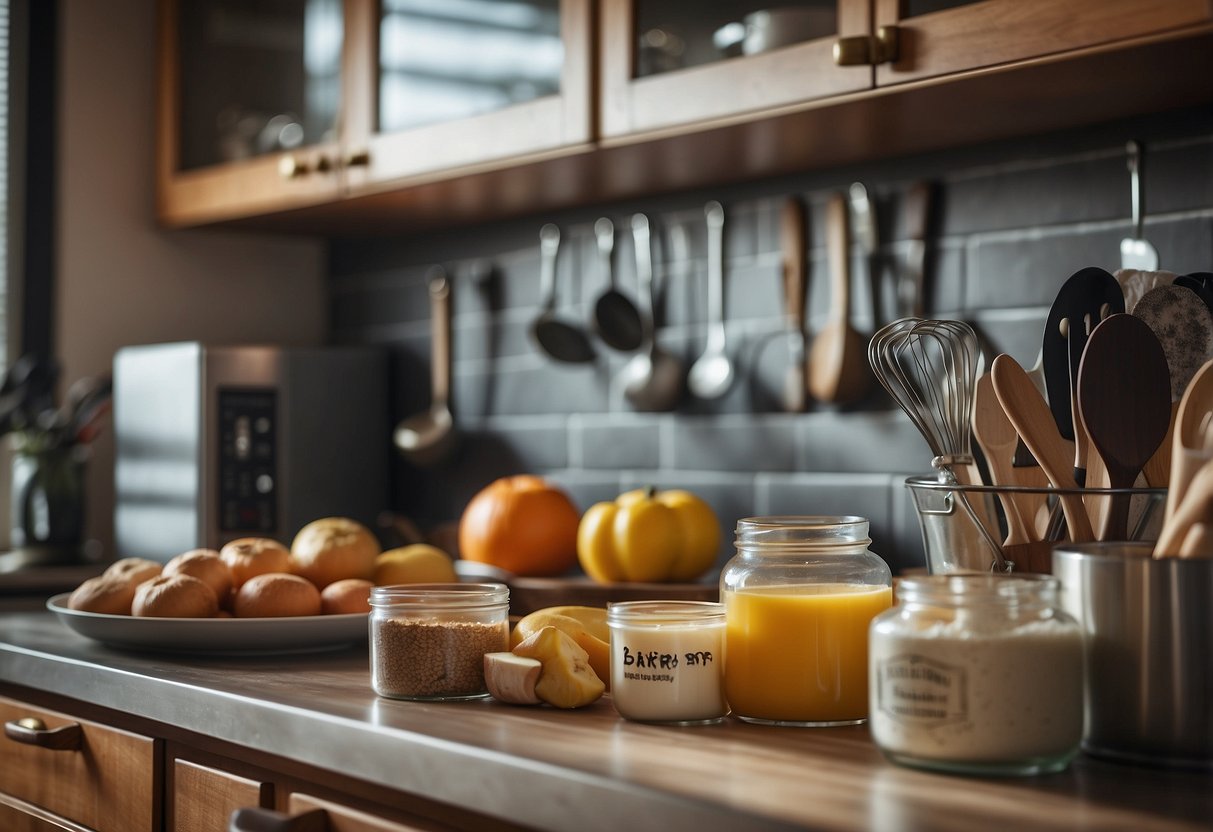
When baking, I always follow key safety rules to prevent accidents and ensure food safety.
I start by washing my hands thoroughly and tying back long hair.
I make sure to clean counters and assemble ingredients before starting. This helps me stay organized and avoid cross-contamination.
It’s crucial to store raw ingredients properly. I keep flour, eggs, and mixes separate from ready-to-eat foods to prevent the spread of harmful bacteria.
When handling hot items, I use oven mitts and proper tools. Burns are a common bakery hazard, so I’m extra careful around hot surfaces and equipment.
Flour dust can be harmful if inhaled regularly.
I try to minimize dust when measuring and mixing dry ingredients. Good ventilation in the kitchen is also important.
Food allergies are a serious concern. I always label my baked goods clearly with ingredient lists to protect those with allergies.
Proper cleaning of utensils, bowls, and baking sheets between uses is essential. This prevents flavors from mixing and stops bacteria growth.
Frequently Asked Questions
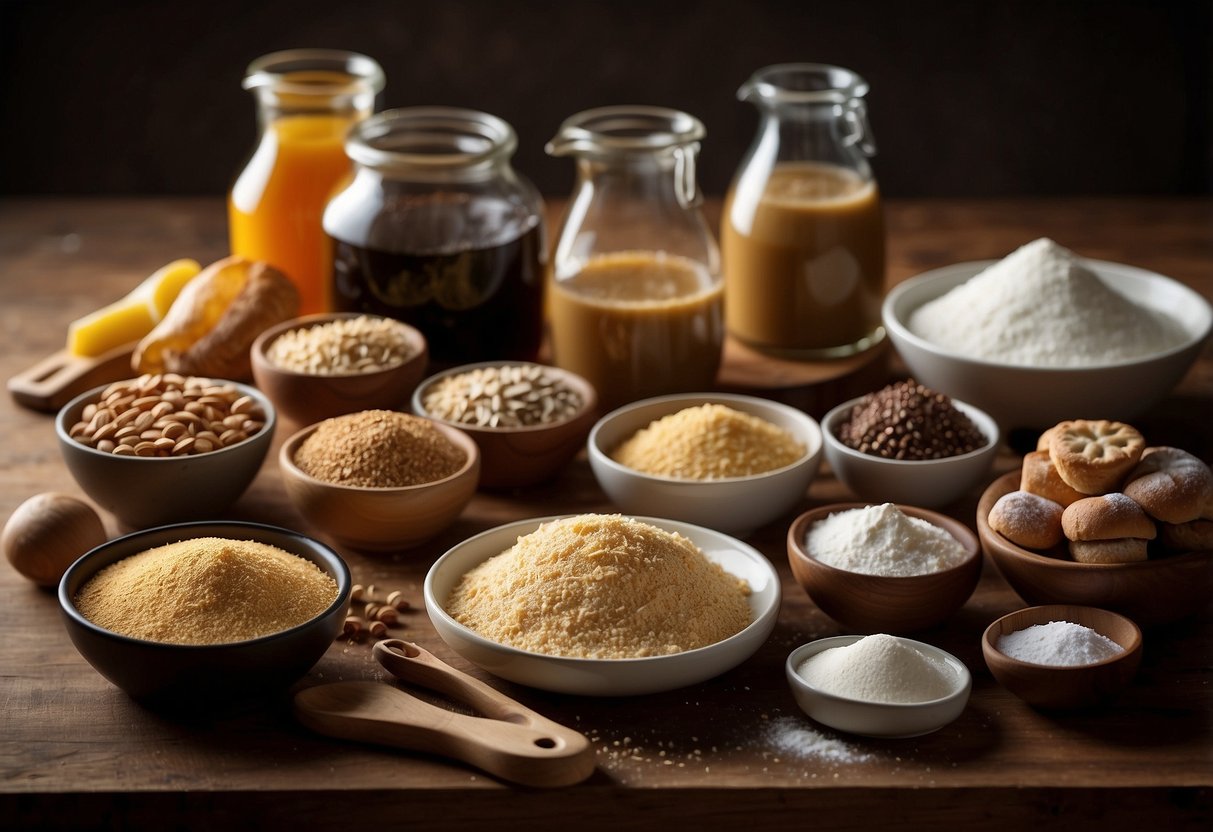
Baking has many terms that can confuse beginners. I’ll explain some key concepts to help you understand common baking techniques and processes.
What are the essential baking terms every beginner should know?
Baking is cooking food in an oven using dry heat. It’s important to preheat the oven before baking.
A batter is a thin mixture that can be poured. It’s made of flour, liquid, and other ingredients.
Dough is thicker than batter. It’s used as a base for many baked goods.
What is the difference between beating and folding in baking?
Beating means mixing ingredients quickly to add air. I use a whisk or electric mixer for this.
Folding is gentler. I use a spatula to carefully combine ingredients without losing air bubbles.
How do you define creaming in the context of preparing dough or batter?
Creaming means mixing sugar and softened butter until light and fluffy. This adds air to the mixture and helps make baked goods tender.
I usually use an electric mixer for creaming. The process can take several minutes.
Can you explain the term ‘proofing’ used frequently in bread making?
Proofing is letting dough rise before baking. During this time, yeast produces gas that makes the dough expand.
I cover the dough and put it in a warm place to proof. This step is crucial for good bread texture.
What does ‘blind baking’ mean and when is it typically used?
Blind baking is baking a pie crust without the filling. I do this for pies with no-bake fillings or very wet fillings.
To blind bake, I line the crust with parchment and fill it with weights. This keeps the crust from puffing up.
What do terms like ‘whisking’, ‘kneading’, and ‘tempering’ signify in baking?
Whisking means beating ingredients to mix them or add air. I use a whisk for this.
Kneading is working dough by hand or with a machine. This develops gluten for better texture.
Tempering means slowly warming or cooling an ingredient. I often temper chocolate or eggs to prevent curdling.

