==================
Affiliate Statement
Best Baking Tips is supported by our audience. When you purchase through one of our links, we may earn a small affiliate commission. As an Amazon Associate I earn from qualifying purchases. Your cost is not affected.
==================
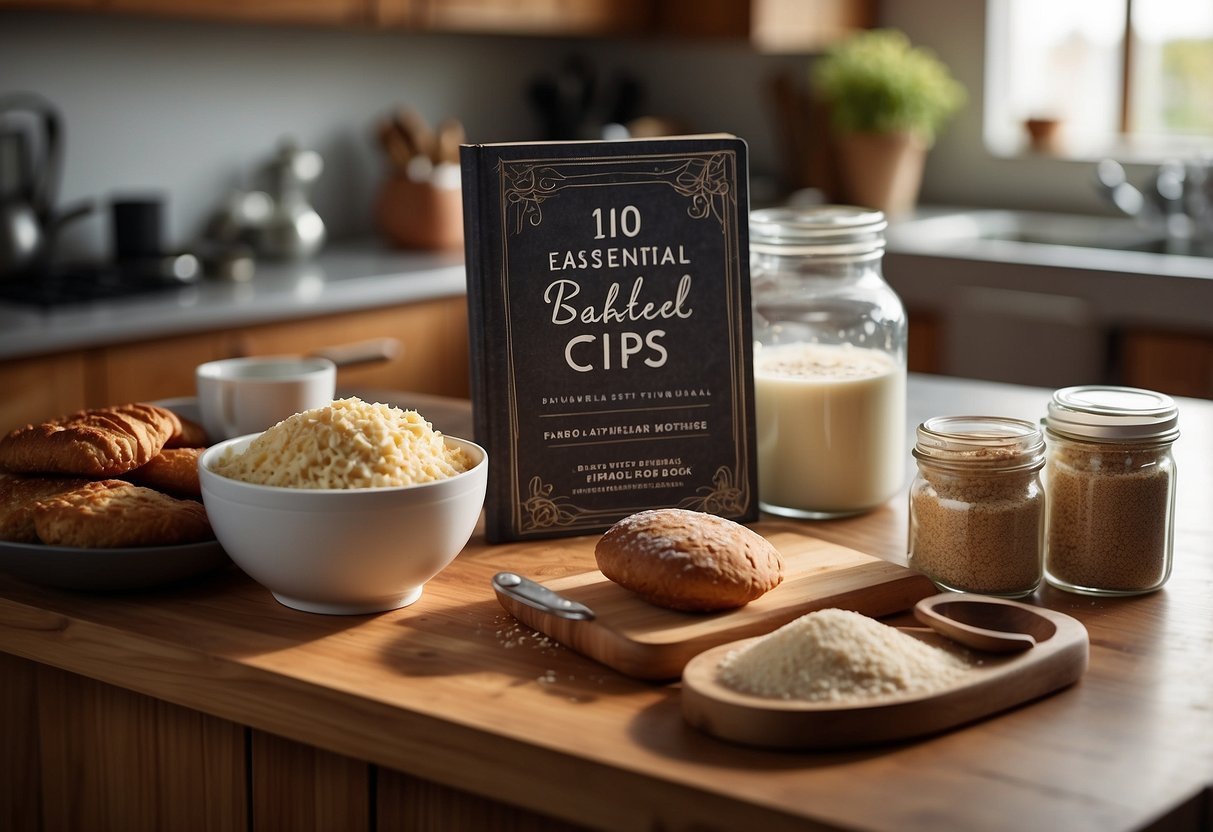
10 Essential Baking Tips For Beginners:
Master the Basics and Avoid Common Mistakes
I love baking and so do my kids. Baking can be a fun and rewarding hobby, but it can also feel overwhelming for beginners. I’ve been there, and I know how tricky it can be to get started. That’s why I’ve put together this list of 10 essential baking tips for newcomers.
These tips will help you avoid common mistakes and create delicious treats from the very beginning.
Getting started with baking doesn’t have to be complicated. With the right guidance, you can quickly learn the basics and start making tasty baked goods at home.
From measuring ingredients correctly to understanding your oven, these tips cover all the essentials you need to know.
Whether you’re looking to bake a simple batch of cookies or tackle a more complex cake recipe, these tips will set you up for success.
Let’s dive in and explore the key things every beginner baker should know to get perfect results in the kitchen.
Key Takeaways
- Accurate measuring and careful reading of recipes are crucial for baking success
- Using room temperature ingredients and proper mixing techniques improve baked goods
- Practicing and experimenting help develop baking skills and confidence over time
Understanding Baking Basics
Baking relies on precise measurements and techniques. I’ll explain the science behind baking, key ingredients, and essential equipment to help you get started.
The Science of Baking
Baking is a mix of chemistry and physics. When I combine ingredients and apply heat, chemical reactions occur. These reactions create the textures and flavors we love in baked goods.
Gluten formation is crucial in many baked items. When flour mixes with liquid, gluten proteins form. This gives structure to breads and cakes.
Leavening agents like yeast, baking soda, and baking powder make baked goods rise. They create gas bubbles that expand when heated.
Measuring ingredients accurately is vital in baking. Even small changes can affect the final product. I always use proper measuring tools and techniques.
Common Baking Ingredients
Flour is the base of most baked goods. All-purpose flour works for many recipes. Cake flour gives a finer texture, while bread flour has more protein for chewy breads.
Sugar sweetens and helps with browning. It also keeps baked goods moist.
Fats like butter, oil, or shortening add flavor and tenderness. They also help trap air for a lighter texture.
Eggs bind ingredients and add structure. They also help with leavening and browning.
Salt enhances flavors and strengthens gluten. Even in sweet recipes, a pinch of salt is often needed.
Leavening agents like baking powder, baking soda, and yeast make baked goods rise.
Baking Equipment Must-Haves
To start baking, I need some basic tools. Here’s a list of essentials:
- Measuring cups and spoons
- Mixing bowls
- Whisk and spatula
- Baking sheets and pans
- Parchment paper
- Cooling rack
An electric mixer is helpful but not required. I can mix most batters by hand.
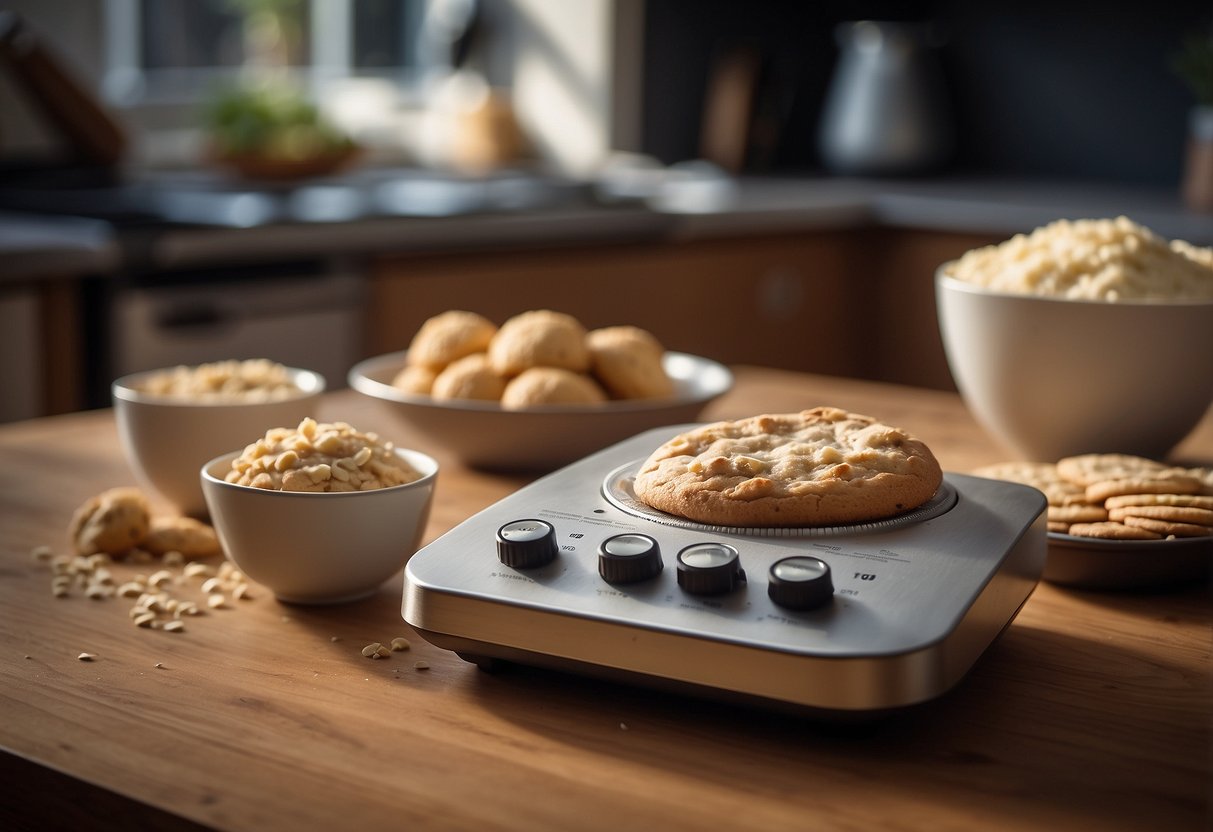
A kitchen scale is great for precise measurements. Many bakers prefer weighing ingredients over using volume measures.
I always keep an oven thermometer handy. It ensures my oven temperature is accurate, which is key for consistent results.
Silicone baking mats are a nice alternative to parchment paper. They’re reusable and provide a non-stick surface for cookies and pastries.
The Art of Measuring
Accurate measuring is key to baking success. I’ll cover the best techniques for dry and wet ingredients, plus why precision matters so much in baking.
Measuring Dry Ingredients
I always start with the right tools. For dry ingredients, I use flat-topped measuring cups. I scoop the ingredient, then level it off with a straight edge.
For flour, I use the spoon and level method. I spoon flour into the cup, then level it. This prevents packing and excess flour.
Sugar is easier. I scoop directly from the bag and level off.
For small amounts, I use measuring spoons. I fill them to the brim and level off.
A kitchen scale is great for precision. I zero the scale with a bowl on it, then add ingredients until I reach the right weight.
Measuring Wet Ingredients
For liquids, I use clear measuring cups with a spout. I place the cup on a flat surface and pour to the correct line.
I check at eye level to ensure accuracy. For thick liquids like honey, I spray the cup with cooking oil first. This helps it pour out easily.
For small amounts of liquid, I use measuring spoons. I fill to the brim, making sure not to spill.
Some recipes use weight for liquids too. In this case, I use my kitchen scale just like with dry ingredients.
The Importance of Precision
In baking, small measurement errors can lead to big problems. Too much flour can make cakes dry. Too little leavening agent can prevent proper rising.
I always measure carefully, even with familiar recipes. It’s tempting to eyeball amounts, but this often leads to inconsistent results.
Different ingredients have different densities. A cup of flour weighs less than a cup of sugar. That’s why weight measurements are often more accurate.
I keep my measuring tools clean and in good condition. Buildup or damage can affect accuracy.
When trying a new recipe, I stick exactly to the given measurements. Once I’m familiar with it, I might adjust to my taste.
Mixing Techniques
Mixing is a key step in baking that affects texture and quality. It’s important to use the right method and avoid overmixing for the best results.
Understanding Mixing Methods
I always choose the right mixing method for each recipe. Baking is a science that requires precision.
For cakes, I often use the creaming method. This means beating butter and sugar until light and fluffy.
For muffins and quick breads, I use the muffin method. I mix wet and dry ingredients separately, then combine them gently.
The folding method is great for delicate batters. I use it when adding whipped egg whites to cake batter. It helps keep the air bubbles intact.
Avoiding Overmixing
I’m careful not to overmix my batters. Too much mixing can make baked goods tough.
For cookies and cakes, I mix just until the ingredients are combined.
With muffins, I stir only until the flour is moistened. A few lumps are okay. They’ll bake out in the oven.
For bread dough, I knead only as long as the recipe states. Overkneading can make bread chewy.
I always use a gentle touch when folding in ingredients. This keeps the batter light and airy.
Working with Doughs and Batters
Doughs and batters are the foundation of most baked goods. Proper handling is key to achieving the right texture and consistency in your final product.
The Role of Gluten
Gluten is a protein found in wheat flour that gives baked goods structure. When you mix flour with liquid, gluten forms and creates a network of strands.
For tender cakes and pastries, I avoid overmixing. This keeps gluten development minimal. I mix just until the ingredients are combined.
For chewy breads, I knead the dough to develop more gluten. This creates a stronger structure that traps gas bubbles from yeast.
The type of flour matters too. All-purpose flour has a medium gluten content. Bread flour has more gluten for chewier textures. Cake flour has less for tender baked goods.
Resting and Chilling Recommendations
Resting and chilling dough or batter can improve the final product.
For cookies, I chill the dough for at least 30 minutes before baking. This helps prevent spreading and enhances flavor.
Bread dough benefits from resting periods called “proofing”. This allows gluten to relax and yeast to produce flavor compounds.
I always let pancake and waffle batter rest for 5-10 minutes. This allows the flour to fully hydrate and results in fluffier pancakes.
For pie crusts, I chill the dough for at least an hour. Cold butter creates flaky layers when baked. Room temperature ingredients are best for cake batters, though. They mix more easily for a smoother result.
Optimizing Oven Temperature
Getting your oven temperature right is key for baking success. It affects how your treats rise, brown, and set up properly.
Preheating is Essential
Preheating your oven is crucial for even baking. I always turn on my oven before I start mixing ingredients. This gives it time to reach the right temperature.
Most ovens need 15-20 minutes to preheat fully. For best results, I wait an extra 5 minutes after the oven signals it’s ready. This ensures the whole oven cavity is evenly heated.
Skipping preheating can lead to uneven baking. The bottom of your cake might burn while the top stays raw. Or your cookies could spread too much before setting.
Using Oven Thermometers
I never trust my oven’s built-in temperature display. Instead, I use an oven thermometer for accuracy. These inexpensive tools can reveal if your oven runs hot or cold.
Place the thermometer in the center of the oven. Check it after preheating and during baking. If it’s off, adjust your oven dial accordingly.
Some ovens have hot spots. To find these, I place slices of bread on each rack and toast them. Dark spots show where it’s hotter. Knowing your oven’s quirks helps you rotate pans for even baking.
The Timing of Baking
Baking times are crucial for getting perfect results. I’ll cover how to adjust baking times and test when your treats are done.
Baking Times and Variations
Baking times can vary based on many factors. Your oven, pan type, and even altitude can affect how long something needs to bake.
I always check recipes for suggested times, but I don’t rely on them completely. Instead, I start checking a few minutes early.
For high-altitude baking, I increase the oven temperature by 15-25°F and reduce baking time by 5-8 minutes per 30 minutes.
Darker pans absorb more heat, so I reduce temperature by 25°F when using them. Glass and ceramic dishes need lower temps too.
Testing for Doneness
I never trust baking times alone. Instead, I use these methods to check if my baked goods are ready:
- Cakes: Insert a toothpick in the center. It should come out clean or with a few moist crumbs.
- Bread: Tap the bottom. A hollow sound means it’s done.
- Cookies: Edges should be lightly browned. Centers may look slightly underbaked.
- Pies: Look for bubbling filling and golden-brown crust.
Letting baked goods cool fully is important too. This helps set the structure and makes cutting easier.
I always set a timer for the minimum baking time. Then I check every few minutes until done. This prevents overbaking and burned edges.
Cooling and Storing Baked Goods
Proper cooling and storage are key to keeping baked goods fresh and delicious. I’ll share some techniques to help your treats stay at their best.
Proper Cooling Techniques
I always let my baked items cool completely before storing. This prevents condensation and soggy textures.
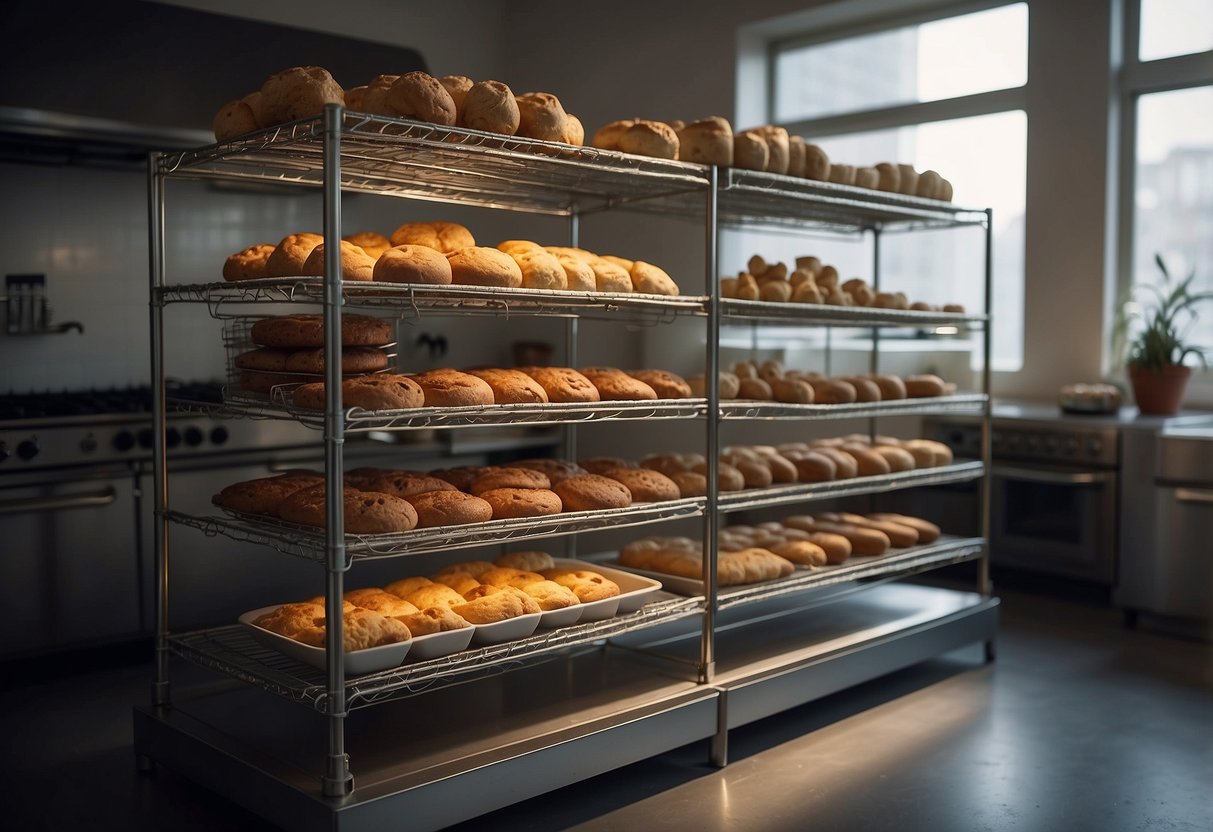
For cakes and breads, I cool them in the pan for 10-15 minutes. Then I remove them and place on a wire rack to finish cooling.
Cookies need less time. I leave them on the baking sheet for 5 minutes, then move to a rack. Parchment paper makes transferring cookies easy.
For pies and tarts, I cool them in the tin. This helps keep their shape. I aim for at least 2-3 hours of cooling time for most baked goods.
Storage Guidelines to Maintain Freshness
I store different baked items in specific ways to keep them fresh longer.
For cookies and bars, I use airtight containers. I add a slice of bread to keep them soft.
Cakes stay moist when wrapped in plastic wrap, then foil. I keep them at room temp for 2-3 days. For longer storage, I freeze them.
Breads go in paper bags at room temp. This keeps the crust crisp. For softer breads, I use plastic bags.
Pies with fruit fillings can sit out for a day. After that, I move them to the fridge. Cream or custard pies always go straight to the fridge.
Decorating and Presentation
Decorating and presenting baked goods adds the final touch that makes them truly special. I’ll share some easy decorating tips and serving ideas to make your creations shine.
Simple Decorating Tips
I always start with a crumb coat when frosting cakes. This thin layer of icing traps loose crumbs for a smoother final result. After it sets, I apply the main frosting layer.
For even coverage, I use a spatula to spread frosting on the sides and top. I smooth it out with gentle strokes.
Piping is an easy way to add flair. I use a star tip to pipe borders or rosettes. It’s simple – just squeeze and pull away.
Fresh fruit, chocolate shavings, or sprinkles make great toppings. I arrange them in patterns or sprinkle randomly for a playful look.
Serving Suggestions
I always let cakes cool completely before slicing. This prevents crumbling and helps the layers hold together.
For a polished look, I wipe my knife clean between cuts. This keeps each slice neat and tidy.
I like to serve cake on a pretty platter or cake stand. It elevates the presentation and makes it feel special.
Adding a garnish to each plate enhances the look. A mint sprig, chocolate curl, or dusting of powdered sugar works well.
For cupcakes, I use decorative liners and arrange them on tiered stands. It creates an eye-catching display for parties.
Practicing and Experimenting
Baking gets better with practice and trying new things. I’ll share tips on learning from mistakes and playing with different flavors and textures.
Learning from Mistakes
I’ve found that mistakes are great teachers in baking. When something doesn’t turn out right, I don’t get upset. Instead, I try to figure out what went wrong.
Was my oven too hot? Did I mix the batter too much? Maybe I forgot an ingredient? By asking these questions, I learn for next time.
I keep a baking journal to track what works and what doesn’t. This helps me avoid repeating errors. Over time, I’ve seen my skills improve through this process of trial and error.
Baking gets better with practice. Each mistake teaches me something new about ingredients, techniques, or my equipment.
Experimenting with Flavors and Textures
Once I’m comfortable with basic recipes, I like to get creative. I start small by swapping one ingredient for another. For example, I might use brown sugar instead of white in cookies.
I play with different mix-ins too. Nuts, dried fruit, or chocolate chips can transform a simple recipe. Sometimes I add spices like cinnamon or cardamom for extra flavor.
Texture is fun to experiment with as well. I might try making my cake layers thinner or thicker. Or I’ll add a crunchy topping to muffins for contrast.
Not every experiment works out. But when it does, it’s exciting to create something unique. This process helps me understand how ingredients work together.
Frequently Asked Questions
Beginners often have questions about baking basics. I’ll cover key tips on measurements, techniques, and tools to help new bakers get started successfully.
What are some fundamental rules to follow when starting to bake?
Measuring ingredients accurately is crucial when baking. I recommend using a kitchen scale for precise measurements.
Always read the full recipe before starting. This helps me gather all the ingredients and tools I’ll need.
Preheating the oven is essential. I make sure my oven is at the right temperature before putting anything in.
How can I improve my baking skills as a beginner?
Practice is key to improving baking skills. I try to bake regularly, even if it’s just once a week.
I start with simple recipes and gradually move to more complex ones as I gain confidence.
Watching baking videos and tutorials online has helped me learn proper techniques.
What are the key baking techniques every novice should learn?
Creaming butter and sugar is a fundamental skill for many cake and cookie recipes.
Learning to fold ingredients gently is important for delicate batters like sponge cakes.
Proper mixing techniques are crucial. I’ve learned not to overmix batters to avoid tough baked goods.
What should a beginner baker know about using baking powder?
Baking powder is a leavening agent that helps baked goods rise. I always check if my baking powder is fresh before using it.
Too much baking powder can cause a bitter taste. I follow recipes closely to use the right amount.
Baking powder loses its potency over time. I replace mine every 6-12 months for best results.
Could you recommend a comprehensive guidebook for beginner bakers?
“The Baking Bible” by Rose Levy Beranbaum is an excellent resource for beginners. It covers a wide range of recipes and techniques.
If you’re looking for another option, “Baking Basics and Beyond” by Pat Sinclair is also great. It explains the science behind baking in simple terms.
What advice do professional bakers have for someone new to baking cakes?
Professional bakers often stress the importance of room temperature ingredients. I take butter and eggs out of the fridge ahead of time.
They recommend greasing and flouring cake pans properly to prevent sticking.
Many pros advise against opening the oven door too often while baking. I use the oven light to check on my cakes instead.