==================
Affiliate Statement
Best Baking Tips is supported by our audience. When you purchase through one of our links, we may earn a small affiliate commission. As an Amazon Associate I earn from qualifying purchases. Your cost is not affected.
==================
Hey there, pie lovers! Are you ready to dive into the incredible world of baking the perfect apple pie? In this guide, we’ll walk you through every step. We’ll reveal the secrets to creating the most delicious apple pie. It will leave everyone craving more. With straightforward instructions, you’ll become a fruit pie master in no time!
The Secrets to Baking the Perfect Apple Pie
No matter your baking experience, this guide has something for everyone. We’ll share the ins and outs of crafting a buttery, flaky crust and a scrumptious apple filling. It will have your taste buds singing. And don’t worry about common pie-making mishaps – we’ve got tips to help you avoid those, too. Your perfect apple pie will come out looking and tasting heavenly!
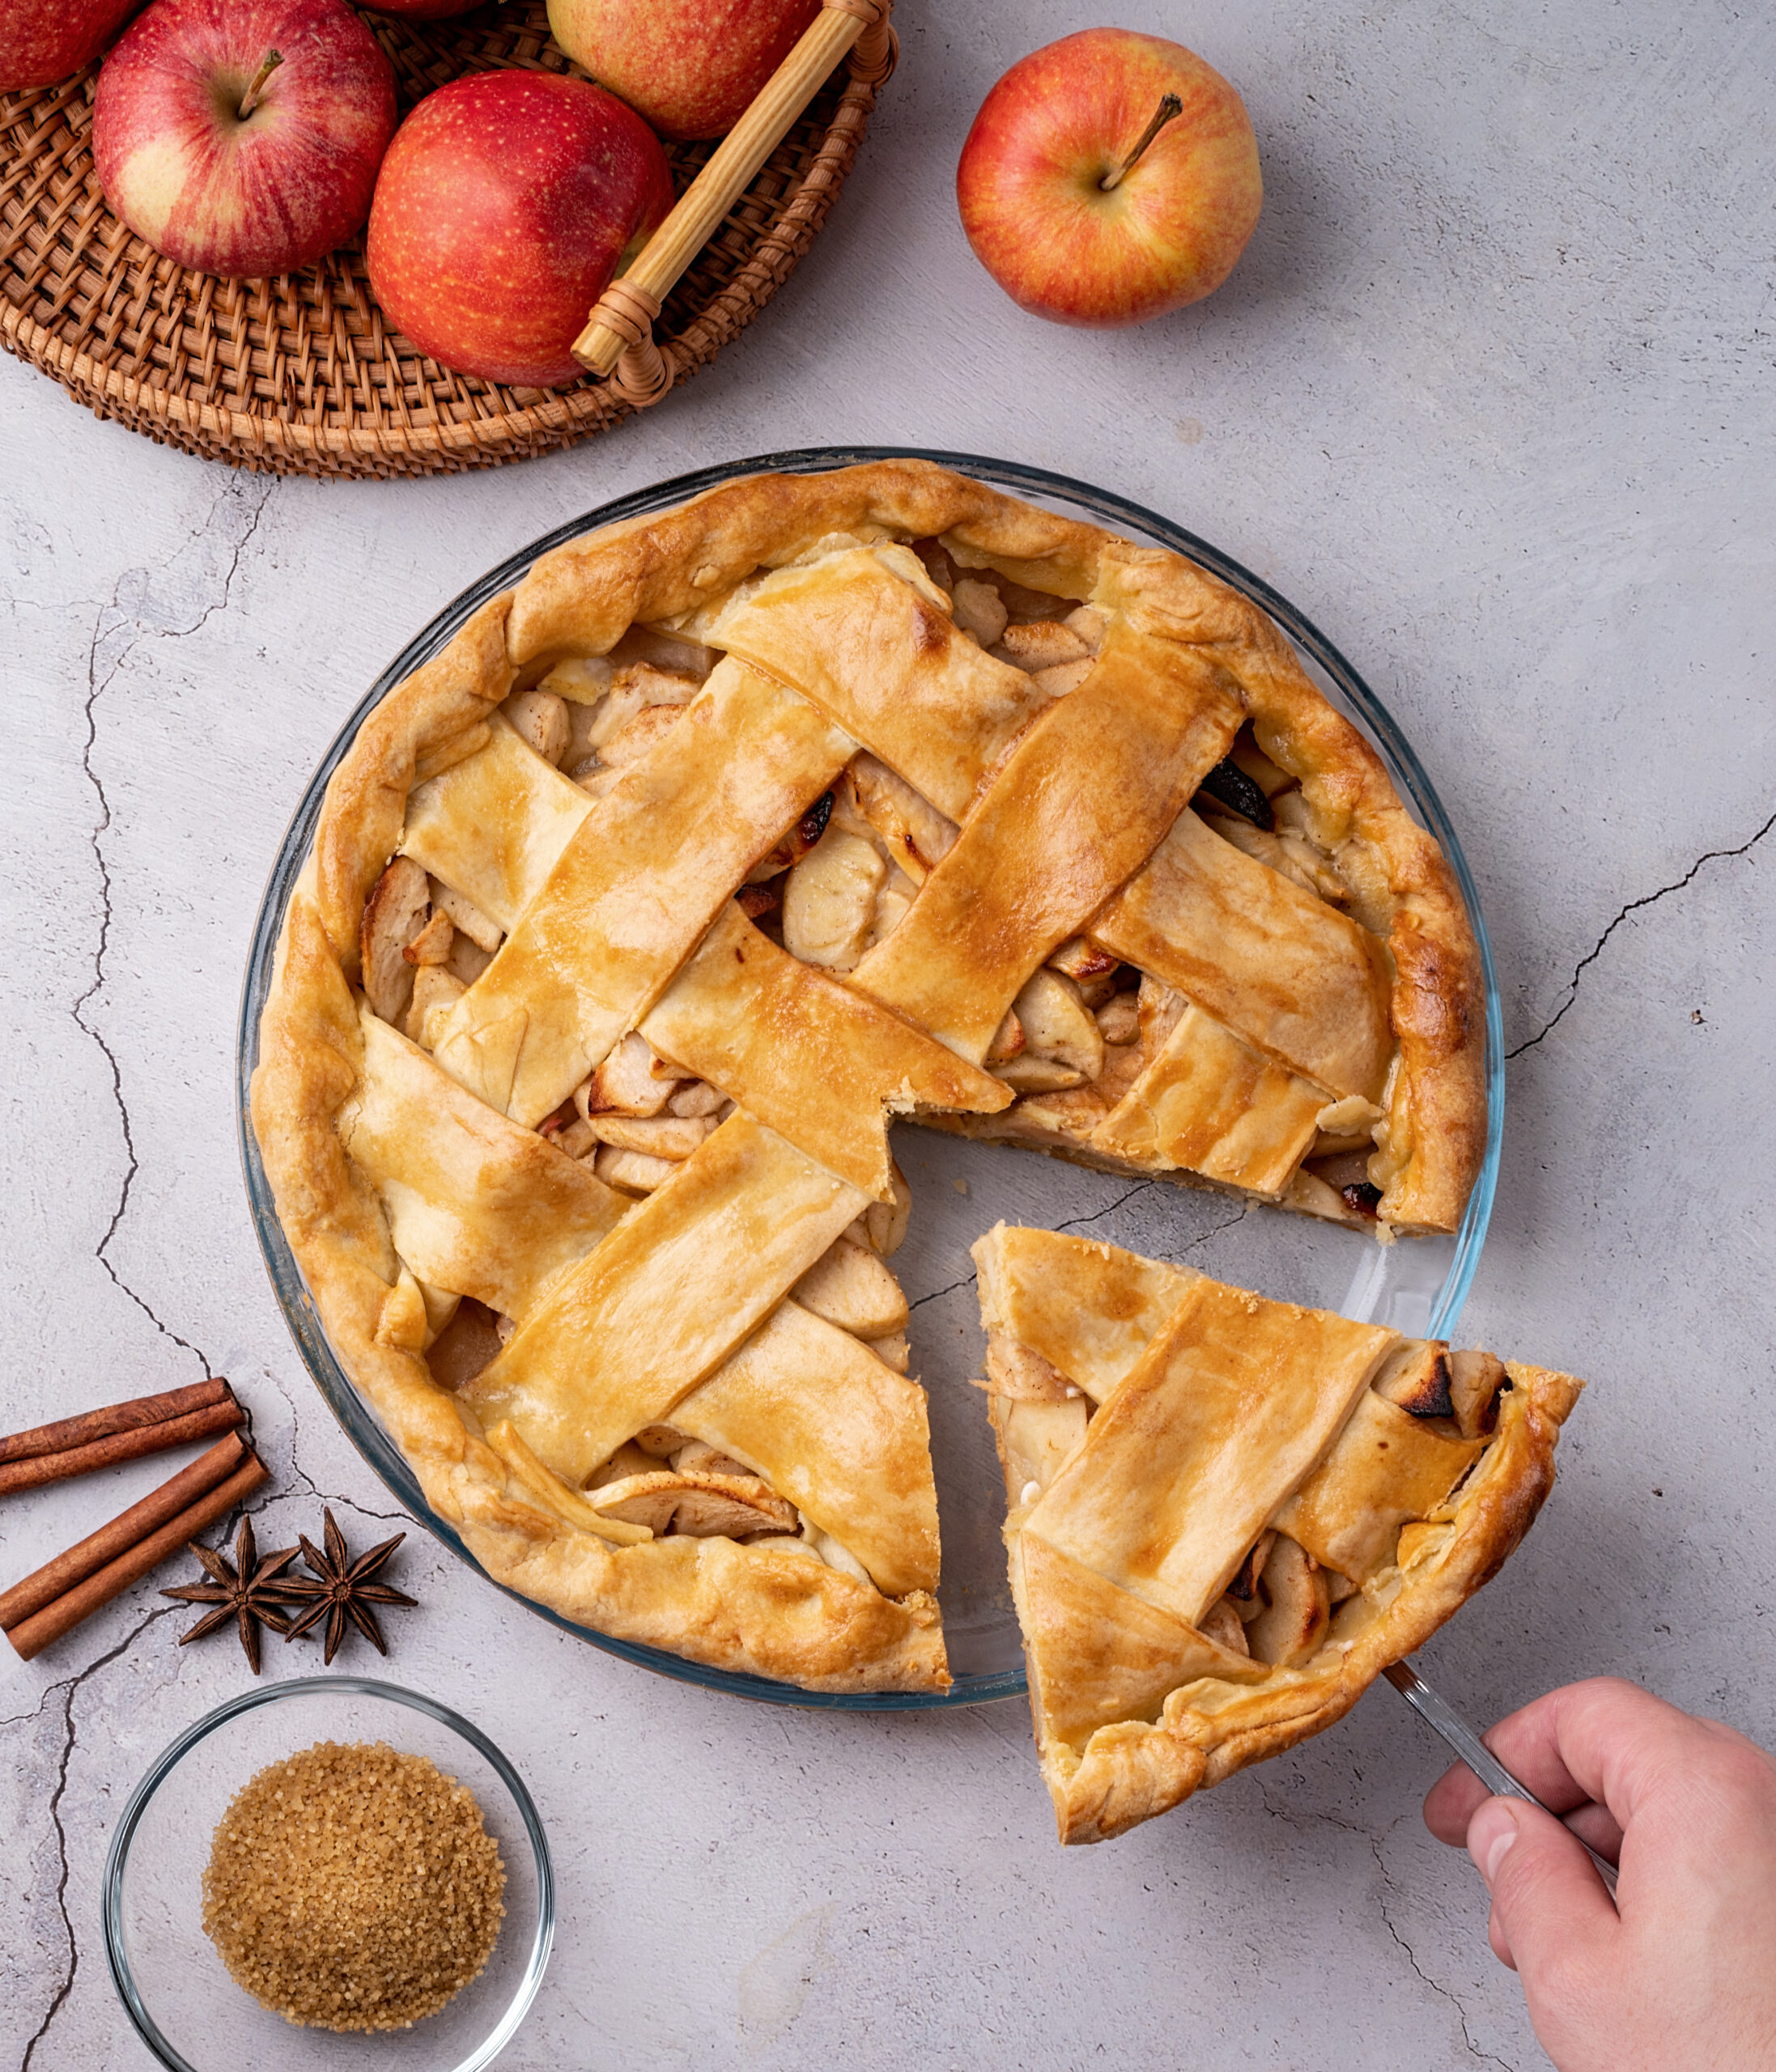
So, let’s get started on this exciting pie-making adventure. By this end, you’ll have all the know-how to impress your friends and family with a homemade apple pie. Prepare yourself to bake unforgettable fruit pies that’ll be the talk of the town!
Apple Pie: The All-American Classic Dessert
Apple pie is a delicious and iconic dessert loved by many. It’s one of the most popular fruit pies, and it’s no wonder why! The perfect apple pie has a golden, flaky crust that cradles a delightful filling made of apples, sugar, and spices like cinnamon.
Baking an apple pie is about creating harmony between the crust and the filling. The crust should be tender and buttery, while the filling should be a mouthwatering mix of sweet and tangy flavors. It’s the kind of dessert that brings people together and reminds us of cozy family gatherings and cheerful holidays.
The origins of apple pie can be traced back to Europe, but it has become a symbol of American culture and tradition. Apple pie is often associated with comfort and home-cooked goodness. This makes it a beloved favorite across generations. Whether you’re an expert baker or just starting, making the perfect apple pie is a fun and rewarding experience. Plus, you can share with your loved ones.
Your Essential Ingredients Guide
1. Apples
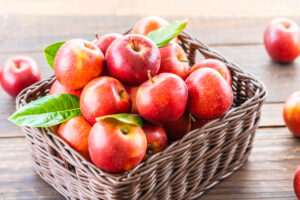
No surprise here! Choose a combination of sweet and tart apples for a balanced flavor. Popular choices include Granny Smith, Honeycrisp, and Golden Delicious. Peel and thinly slice the apples to ensure even cooking and a fantastic texture.
2. Sugar
This sweetens the apple filling and counteracts the tartness of the apples. You can put granulated sugar, brown sugar, or a mix of both. Adjust the sweetness to your liking.
3. Spices

Cinnamon and nutmeg are classic spices that infuse warmth into the apple filling. Adjust the amounts to suit your taste buds. Consider adding a pinch of allspice or cloves for extra complexity.
4. Lemon Juice

A touch of lemon juice brightens the filling’s flavors. And it also prevents the apples from browning. It adds a subtle tang that enhances the overall taste.
5. Cornstarch or Flour
This thickens the apple filling, ensuring it’s smooth when you slice the pie. Choose either cornstarch or flour, depending on your preference and pantry stock.
6. Pie Crust
You need a tender, flaky crust to achieve the perfect apple pie. Make your own using flour, butter, and ice-cold water. Or you can opt for a store-bought version for a quicker alternative. Remember, keeping the ingredients cold is vital to that flaky texture.
7. Butter
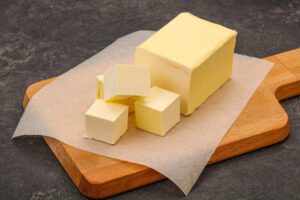
Small bits of cold butter added to the apple filling create a rich, velvety texture. It also gives it a hint of creamy deliciousness.
8. Egg Wash
Combine a beaten egg with a splash of water or milk and brush it on the pie crust before baking. This results in a beautiful golden color and a lovely shine.
9. Optional Add-ons
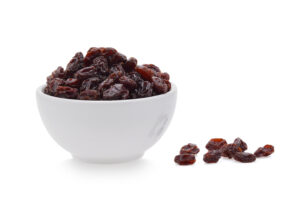
For a fun twist, add extras like raisins and dried cranberries. You can also splash some vanilla extract into the apple filling. Feel free to get creative and make your apple pie uniquely yours!
With these ingredients ready, you’re all set to create the perfect apple pie. And it will delight your friends and family! Roll up your sleeves, and let’s get baking!
Oops! Common Apple Pie Baking Mistakes to Avoid
Baking the perfect apple pie might seem like a piece of cake. But some sneaky traps can trip up your fruit pies. Let’s explore common blunders and how to dodge them so your apple pie always comes out perfect.
1. Soggy Crust
Nobody likes a soggy bottom! Preheat your oven and put the pie on the lowest rack to prevent this. This helps the bottom crust bake quickly, keeping it crisp.
2. Juicy Overload
Too much juice can lead to a soggy crust and a mess when slicing. Toss apples with sugar and wait 30 minutes. Drain extra liquid before adding apples to the crust.
3. Uneven Apples
Cut your apples evenly so they cook at the same rate. If some are thicker, they may not cook through, leaving a mix of soft and crunchy apples.
4. Tough Crust
To get a tender, flaky crust, don’t overwork the dough. Handle it right and keep the ingredients cold. This stops too much gluten from forming, which can make the crust tough.
5. Steam Trap
Remember to cut slits in the top crust of your perfect apple pie. This lets steam escape during baking, stopping the filling from getting watery and the crust soggy.
6. Temperature Trouble
Stick to the recipe’s suggested oven temperature. The crust may burn before the filling cooks if it’s too hot. The pie may take too long to bake if it’s too low, and the crust won’t brown properly.
By avoiding these common mistakes, you’ll be on the fast track to baking the perfect apple pie. It will wow your friends and family.
The Ultimate Guide to Baking the Perfect Apple Pie
Step 1: Crafting Your Pie Crust
Start by making the pie crust. In a big bowl, mix flour and salt. Add the cold, cubed butter, and blend it using a pastry cutter or fingers until it looks like coarse crumbs. Slowly add ice-cold water and mix until the dough forms. Split the dough into two equal parts, shape them into discs, wrap them in plastic, and chill for at least 1 hour.
Step 2: Creating the Perfect Apple Filling
While the dough chills, focus on the filling. First, peel, core, and slice your apples. In another bowl, mix the apple slices with sugar, spices like cinnamon and nutmeg, a splash of lemon juice, and cornstarch or flour for thickening. Stir until apples are evenly coated and set aside.
Step 3: Prepping Your Oven
Preheat your oven to 425°F or 220°C. This high temperature helps set the crust quickly. This will ensure that flaky texture we all love.
Step 4: Assembling Your Masterpiece
Roll out one dough disc on a floured surface to about 1/8-inch thick. Transfer it to a 9-inch pie dish, letting excess dough hang over the edges. Spoon the apple filling into the crust, creating an even layer. Add small pieces of butter for extra richness.
Step 5: Adding the Top Crust and Sealing
Roll out the second dough disc and place it over the filling. Trim excess dough, leaving a 1-inch overhang. Tuck the overhanging dough under itself and crimp the edges to seal. Cut a few slits in the top pie crust to let steam escape during baking.
Step 6: Getting That Golden-Brown Look
Whisk a beaten egg with a bit of water or milk. Brush this egg wash over the top crust. This will give your apple pie a beautiful golden-brown color and a glossy finish.
Step 7: Baking Your Pie to Perfection
Bake the pie for 20 minutes in the preheated oven. Then, lower the oven temperature to 375°F (190°C) and bake for another 30-40 minutes. The crust should be goldish and the filling bubbly. If the edges brown too quickly, cover them with foil to prevent over-browning.
Step 8: Cooling and Serving
After baking, let the pie cool on a wire rack for at least 2 hours. This allows the filling to set and makes slicing easier. Once cooled, serve your perfect apple pie with a scoop of ice cream or anything you like.
Step 9: Storing Leftovers
Cover the pie with plastic wrap or aluminum foil if you have leftovers. You can place it at room temperature for up to 2 days. For more extended storage, refrigerate it for up to 5 days. To reheat, warm the pie in a 350°F (175°C) oven for 15-20 minutes or until heated.
With these detailed steps, you’ll be ready to baking the perfect apple pie. I’m sure it will impress your friends and family!
The Secret Sauce: What Sets the Perfect Apple Pie Apart
A Crust to Crave
A perfect apple pie has a tender, flaky crust that’s simply irresistible. The secret is using cold butter and being gentle with the dough. Chilling the dough before rolling it out also helps create a delicate texture.
The Perfect Filling
A great apple pie has a just right filling – not too sweet or tart. Mix apple varieties, sugar, spices, and a thickener to achieve this. Combining different apples creates a complex flavor that sets your pie apart.
Smart Baking
Baking your pie at the right temperature and for the right time is critical. Start at a high temperature to set the crust. Then, lower it so the filling cooks without over-browning the crust.
A Stunning Look
A perfect apple pie doesn’t just taste good – it looks amazing, too! Creative patterns, fun cutouts, or fancy crimping can all make your pie a true showstopper.
The Perfect Apple Pie: Sweet Success at Last!
In a nutshell, achieving the perfect apple pie is all about a little knowledge and care. Begin with a fantastic, flaky crust that sets the stage for your fruit pie. Pick the right apples and seasonings to create a scrumptious filling. That’ll make your taste buds dance. Pay attention while baking. So you get that lovely golden crust and a filling that bubbles with deliciousness.
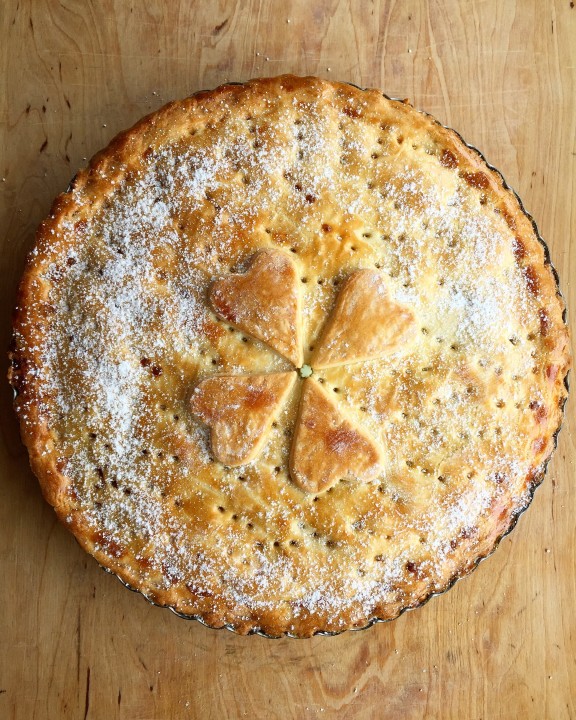
Remember that practice is vital in baking. Feel free to play with different apples or spice mixes to discover the perfect taste. Keep trying and fine-tuning your methods. You’ll soon become the apple pie expert everyone loves.
Finally, enjoy your masterpiece. Share your perfect apple pie with friends and family, or indulge yourself with a slice. There’s something special about a homemade fruit pie. And the joy of making such a delightful treat is priceless. So, put on your apron, get baking, and let the wonderful smell of perfect apple pies fill your home for years!
FAQs
How do I avoid a soggy pie? It's not fun!
You’re right; soggy pies are a no-go! Try pre-cooking the apples to release extra moisture before baking. Another trick? Brush the bottom crust with egg white or a thin layer of apricot jam to keep it crisp.
Can you share the secret to a super flaky crust?
Of course! Keep your butter and shortening cold, and don’t overwork the dough when mixing and rolling. Too much kneading means a tough crust, and we don’t want that!
Is it okay to make the crust ahead of time?
Absolutely! Wrap the dough in plastic and pop it in the fridge for a maximum of 2 days or freeze it for up to 3 months. Just remember to thaw it in the fridge overnight before using it.
How should I store my beautiful baked pie?
Let it chill at room temperature, loosely covered with foil or plastic wrap, for up to 2 days. You can put it in the fridge for up to 4 days, but the crust might not stay as crunchy.
What's the best way to reheat my pie?
Warm up your oven to 350°F (175°C) and let your perfect apple pie heat for 15-20 minutes. It’ll keep the crust flaky and the filling all cozy and delicious!
Can I freeze my baked apple pie for later?
You betcha! After it cools down, wrap your pie in plastic and then foil. Freeze it for up to 3 months. When you’re ready, thaw it in the fridge overnight and reheat it in the oven, as mentioned above.
Indulge Your Baking Passion with Us on Social Media! ??
Welcome to our vibrant baking community, where every day is a celebration of delicious creations. Join us on our social media platforms to dive into a world of baking bliss.
? Facebook: Explore our Facebook page for a delightful mix of recipes, baking tips, and engaging discussions. Get inspired by the delectable treats our community members are whipping up and share your own mouthwatering creations.
? Instagram: Follow us on Instagram for a visual feast of beautifully baked goodies. From picture-perfect cakes to scrumptious cookies, you’ll find endless inspiration and a supportive community that shares your passion.
? Pinterest: Dive into our Pinterest boards, where we’ve curated a treasure trove of baking ideas, from intricate cake designs to savory bread recipes. Save your favorites and embark on your next baking adventure.
? Twitter: Stay updated with the latest baking trends, product reviews, and quick tips on Twitter. Connect with fellow bakers and share your thoughts on all things baking.
Whether you’re a seasoned baker or just starting on your baking journey, our social media channels are your gateway to a world of sweetness. Join our passionate community, exchange ideas, and create mouthwatering memories. Let’s bake together and make every day a little sweeter! ?✨


